


Chapter 3 Creating and Editing Screens
Revision May, 2010 3-209
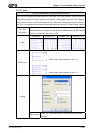
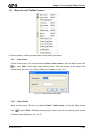
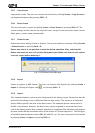
3.9.5 Copy Screen
ser can execute this function by clicking Screen > Copy Screen or
Shift + C
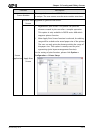
3.9.6 Paste Screen
en by clicking Screen > Paste Screen or pressing Shift + P. The
screen settings are the same as the original screen, except for the new screen name. Screen
Editor gives a screen name automatically.
3
.
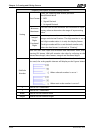
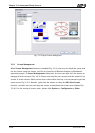
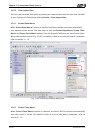
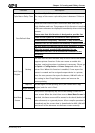
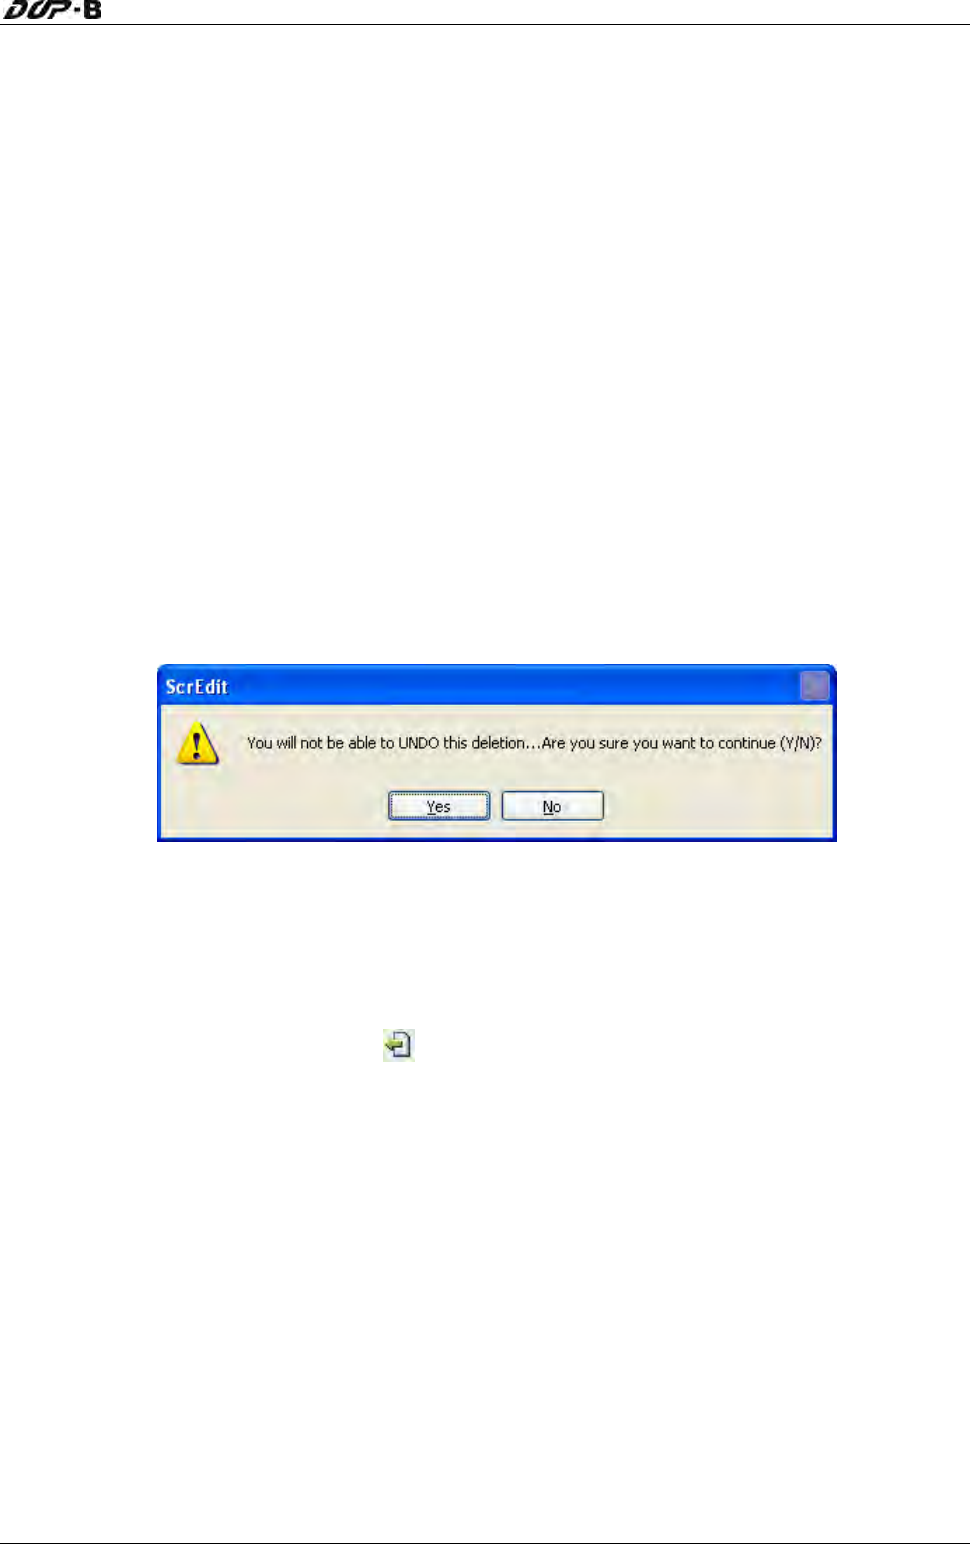
9.7 Delete Screen
creen or element. The user can delete a screen by clicking Screen
> Delete Screen or pressing Shift + D.
e
Delete comman ll see th alog box below. Make sure that the user selects
a correct screen before deleting it.
Co
py who
le screen. The u
use keyboard shortcuts by pressing .
The user can paste a scre
Delete the current editing s
Please note that It is not possible to undo the delete operation. After selecting th
d, the user wi e di
Fig. 3-9-8 Delete Screen Message
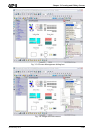
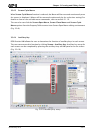
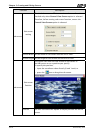
3.9.8 Export
o BMP format. The user can execute this function by clicking Screen > Export an project t
Export or clicking the Export icon
, or pressing Shift + E.
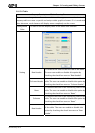
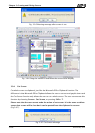
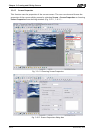
3.9.9 Import
orts a picture to be the ground of the editing screen. Please note that the
ground of the editing screen is different than the base screen. The nature of an imported
of
s
Th
is command imp
picture differs greatly from that of the base screen. The imported picture cannot exist in
ScrEdit as an element. However, the base screen can be regarded as an element and then
exist in the editing screen after a compile operation is completed (The definition and usage
the base screen will be introduced more in the section of “Screen Properties”). The file type
of available imported picture can be BMP, JPG and GIF, etc. The user can execute this function
by clicking Screen > Import or pressing Shift + I.