


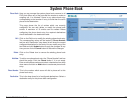
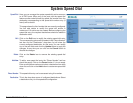
D-Link DIV-140 User Guide 24
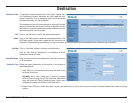
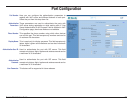
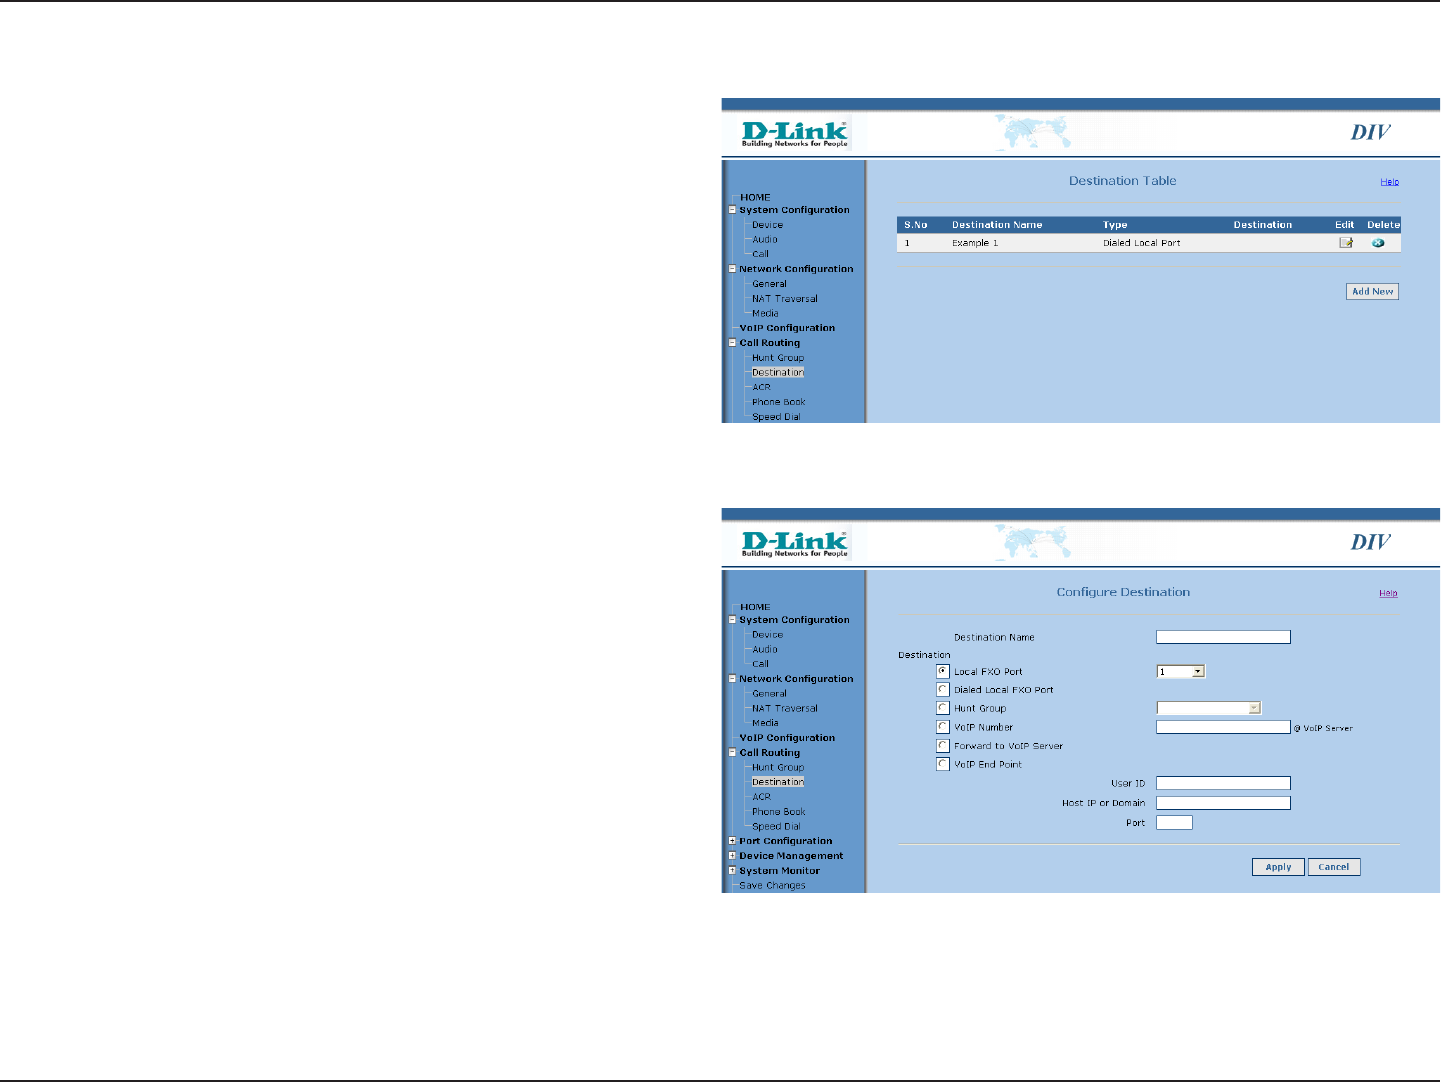
Destination
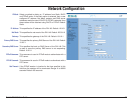
Destination Table:
Edit:
Delete:
Add New:
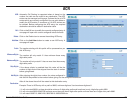
Destination Name:
Destination Type:
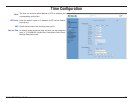
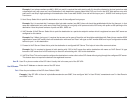
To configure various features like Phone Book, Speed Dial,
Call Forwarding, Hotline, Warmline, etc, first create the hunt
group (if required), then a destination entry should be added
and then the feature can be configured.
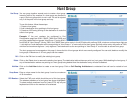
The destination entries can be managed on this page. It shows
the list of destinations which are currently configured. You can
add, delete or modify the destination entries. A Maximum of 25
destination entries can be created.
Click on the Edit icon to modify the existing destination.
Click on the Delete icon to delete the existing destination. The
ACR table entries, Phone book, speed dial, etc can point to a
destination. While deleting the destination if any of the above is using the destination being deleted then those also will be deleted.
Click on “Add New” button to create a new destination.
Click on “Call Routing Architecture” to understand how the
destination entries are used.
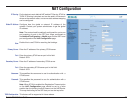
Enter a unique name for this destination. It can be a maximum
of 30 characters.
Select the type of destination in this section. It can be one of
the following fields.
1. Local FXO port: This can be used to route the calls to any
particular local ports.
Example: Say if John (using port 2) wants to forward
calls to Cherry (using port 3), then add new destination
entry with name as “Cherry” pointing to port 3 and in port
configuration enable call forward to this destination.
2. Dialed Local FXO port: Select this option to point the destination to one of the local ports which is decided dynamically based on dialed
number.