8-8 Issue 05, 02/00 Krautkramer USN 52R/USN 52L
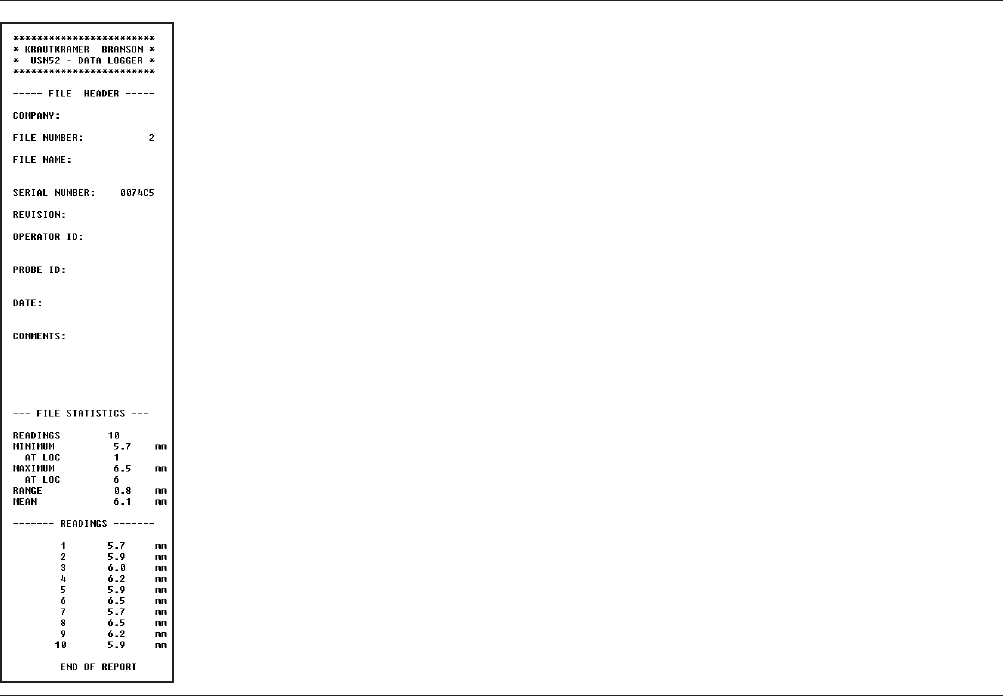
FILE HEADER: The file number, serial number and software version are automatically
entered here. There is space for the operator to enter: company name, file name, opera-
tor ID, type of probe used, date and comments.
FILE STATISTICS: The instrument analyzes the thickness data and transmits statistics
as shown. If a large number of readings have been recorded, a transmission delay may
occur while statistics are calculated. If a reading error has been damaged or corrupted in
memory, it is not used in the calculations and “ERROR“ is transmitted in the readings
section of the report in place of the original value.
READINGS: The number of valid stored thickness measurements.
MINIMUM and MAXIMUM: The smallest and greatest measurements stored in the file.
AT LOC: Related to the location number(s). If the same value occurs in more than one
location, all locations are reported.
RANGE: The difference between the MAXIMUM and MINIMUM measurements in the
file.
MEAN: The sample mean (average) of all measurements in the file.
READINGS: All measurements are transmitted sequentially, according to location num-
ber. Each measurement line has three parts:
1. File location number
2. Thickness value stored in the file location. Empty locations are not transmitted.
3. MM (millimeters) IN (inches). Values are transmitted in the unit of measure to which
the instrument is set at the time the report is transmitted.The instrument uses a parity
flag to test the validity of each measurement as it is recalled for transmission.
Interfaces, Peripherals
Printing Data Logger report


