


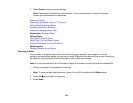


8. Select the Index Word field, use the displayed keyboard to enter a word to use when searching for
this entry (up to 30 characters), and press . (This field is optional.)
9. Do one of the following:
• For an email contact, select the Email address field, use the displayed keyboard to enter the
address, and press .
• For a network folder or FTP site, select the Communication Mode field and select Network
Folder (SMB) or FTP. Then select the Location field, use the displayed keyboard to enter the
location, and press . Enter other information as necessary.
10. Select Save.
Note: If you need to edit or delete scanning contacts, the procedures are the same as for fax contacts.
Parent topic: Starting a Scan Using the Product Control Panel
Related tasks
Entering Characters on the LCD Screen
Editing or Deleting a Contact
Related topics
Setting Up Contacts Using the Product Control Panel
Adding and Assigning Scan Jobs
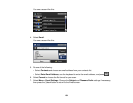
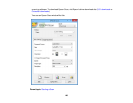
You can view, change, or add available default scan settings when you scan using the Document
Capture Pro option on the product control panel. You do this by accessing the scan jobs in the Document
Capture Pro (Windows) or Document Capture (OS X) program.
1. Start Document Capture Pro or Document Capture on a computer connected to the product.
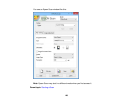
2. Click the Manage Job icon from the toolbar at the top of the window.
You see a window showing the current scan job list.
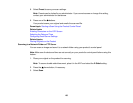
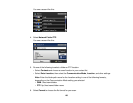
3. If you want to add a scan job, click Add or the + icon, enter a name for the new job, select settings
as necessary, and click OK.
You can now use the new scan job when you scan with Document Capture Pro or Document
Capture.
Note: See the Help information in Document Capture Pro or Document Capture for details.
161