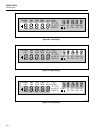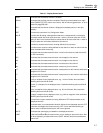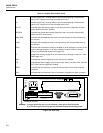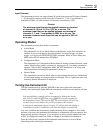
Overview
Operating Modes
2
2-9
Input Channels
The instrument provides one input (channel 0) on the front panel and 20 inputs (channels
1 .. 20) through a connector on the rear panel. Channels 0, 1, and 11 can measure a
maximum of 300V; all other channels can measure a maximum of 150V.
Caution
The maximum input that can be applied between any terminal
of channels 2..10 and 12..20 is 150V dc or ac rms. The
maximum input that can be applied between any terminal of
channels 0, 1, and 11 and ground is 300V dc or ac rms. The
maximum common mode input that can be applied is 300V dc
or ac rms.
Operating Modes
The instrument provides three modes of operation:
• Active Mode
The instrument is in Active Mode whenever the Monitor and/or Scan functions are
enabled. Scans are activated by the interval timer, an external trigger, an alarm
trigger, or a single scan (SINGLE K Q) command. When in Active Mode, the
MON and/or SCAN annunciators are lighted.
• Configuration Mode
The instrument is in Configuration Mode whenever settings (channel function, alarm
values, Mx+B scaling values, scan interval, trigger type, etc.) are being examined or
changed. When in the Configuration Mode, the SET annunciator is on, along with
other annunciators indicating the parameter(s) being set.
• Inactive Mode
The instrument is in Inactive Mode when no measurement functions are enabled and
no instrument settings are being examined or changed. This is a quiescent state; only
summary channel information is displayed.
Turning the Instrument On
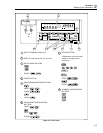
Turn the instrument on by pressing POWER on the lower right of the front panel.
Initially, the entire display lights while the instrument conducts several internal self tests.
Note
You can familiarize yourself with the instrument by holding the display
fully lit. Press and hold K, then press R ON and wait a moment for
the instrument to beep. Then release K. The entire display will now stay
on until you press any button; the power-up sequence then resumes.
A deviation in mainframe software Version 5.5 will not allow the display to
remain ON. Versions 5.4 and below will allow the display to remain ON.
Any error conditions are momentarily displayed during this test sequence. Even in the
presence of an error, the instrument still attempts to complete the self-test sequence and
begin normal operation. However, if you encounter an error, note the number and refer
to Self Test Diagnostics and Error Codes in Chapter 6 for additional information.
Once the self tests are completed, the instrument enters Inactive or Active Mode,
depending on the following circumstances:


