Operating the Instrument from the Front Panel
Instrument Configuration
3
3-15
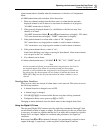
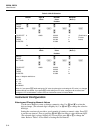
This number editing technique occurs during Configuration Mode operations whenever
you are setting a numeric value. Instances of number editing include the following:
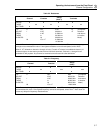
• R0 (RTD)Table 3-6
• Alarms Table 3-7
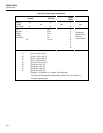
• Mx+B Scaling Table 3-9
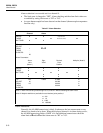
• Scan Interval TimeTable 3-10
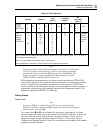
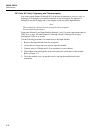
• Time/Date Table 3-13
Selecting Scan Interval
The scan interval is the period between starts of measurement scans. The resolution of
the scan interval is one second; the maximum scan interval is 9 hours: 99 minutes: 99
seconds. The format of the scan interval is x:xx:xx; 1:30:45 translates to 1 hour, 30
minutes and 45 seconds.
If scan interval of "0:00:00" is specified, continuous scanning will occur when the Scan
function is activated. If more than a few seconds are required to scan all defined
channels, a short scan interval (a few seconds) effectively becomes continuous scanning.
If the Monitor function is turned on when the instrument is continuously scanning, a
Monitor channel measurement is still taken between each scan.
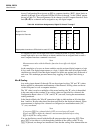
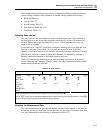
Table 3-10 illustrates the button sequence used for setting scan interval. If necessary,
refer to "Entering and Changing Numeric Values" for a more detailed description of the
number editing technique used here.
Table 3-10. Scan Interval
Hour Minute Second
PRESS
THESE
BUTTONS:
I
G
D
J
G
D
J
G
D
J
G
D
J
G
D
E
TO
CHANGE
THE
INDICATED
DIGIT:
0
:00:00 0:00:00 0:00:0
0
0:00:0
0
0:00:0
0
Note: Go backward (from SECOND to MINUTE to HOUR) by pressing
H
.
Press
E
at any time to accept the displayed scan interval and exit scan interval selection. Press
C
at any time to exit interval selection without storing any changes.
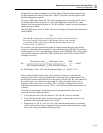
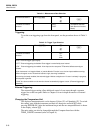
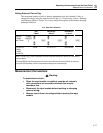
Selecting the Measurement Rate
The slow measurement rate provides the highest accuracy and resolution. A fast rate can
be selected, but keep in mind that fast rate provides one less digit of resolution than does
slow rate. Measurement rate selection is illustrated in Table 3-11.


