5-1
Chapter 5 Operation and Maintenance
5.1 Operator panel operation
5.1.1 Operator panel function
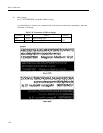
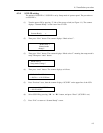
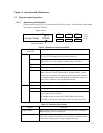
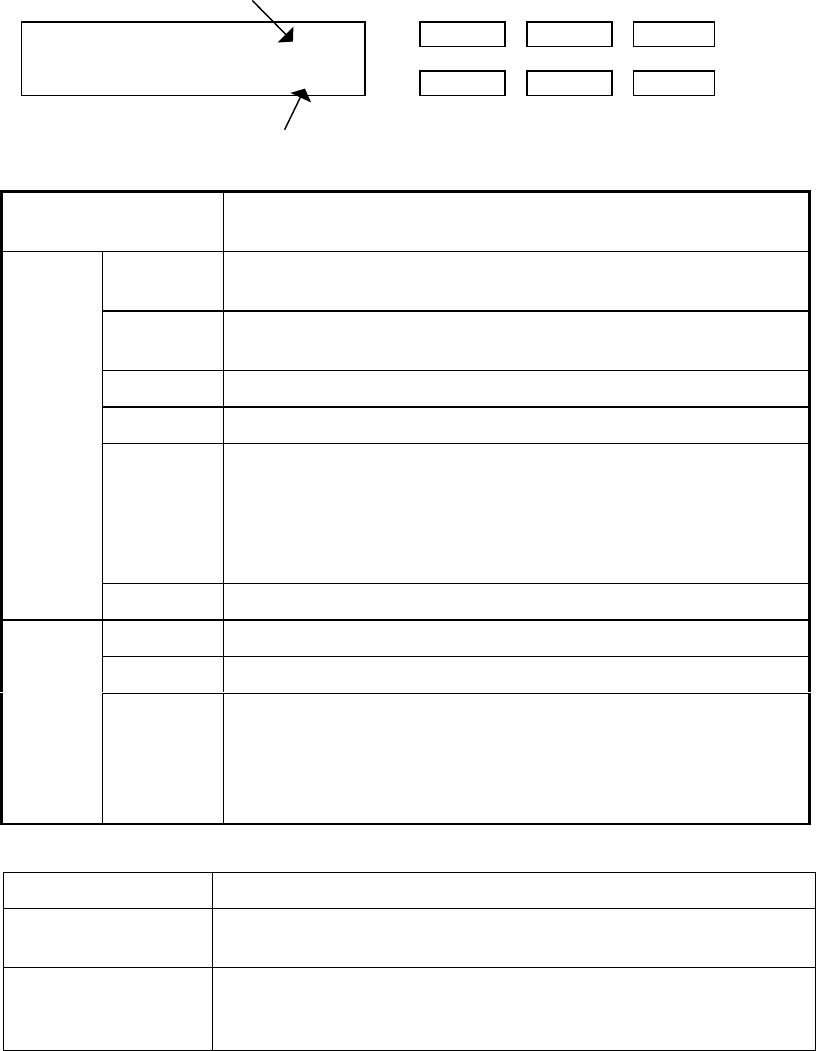
Operator pane has one LCD, six buttons and three LEDs as follows. The functions of each button
and LED are shown in Table 5.1.
Paper counter
(↑) (↓) (STOP)
Previous Next Exit 0 Power
(START)
0 READ
50
Scanner Ready 100000
ç è
Enter 0 Check
Abrasion counter
Table 5.1 Functions of buttons and LEDs
Name of the button
and LED
Function
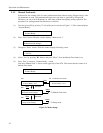
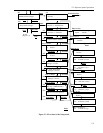
Next LCD displays the next screen on the screen flow chart of Figure
5.1 or 5.2. The settings you have made is effective.
Previous LCD displays the backward screen of the screen flow chart of
Figure 5.1 or 5.2. The settings you have made is effective.
ç
Moves the cursor (the blinking part) to the left
è
Moves the cursor (the blinking part) to the right
Exit When “Check” LED lights, pressing this button releases error
status (turn off “Check” and returns to “Scanner Ready” screen).
When you are setting on the operator, pressing this button returns
to “Scanner Ready” screen immediately. Note that the setting you
have select is effective after pressing this button.
Button
ENTER Registers the parameter selected by cursor.
Power Indicates that the scanner is ON.
READ Indicates that the scanner is reading documents.
LED
Check
If it blinks at one second cycle, it means that some temporary
error occurs. (See section 6.1)
If it blinks at four seconds cycle, ADF cleaning is necessary.
If it lights, it means that some alarm occurred. (See section 6.1)
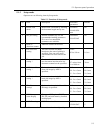
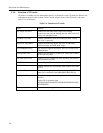
Table 5.2 Functions of the counter
Counter Function
Paper counter Paper counter counts the scanned sheet from the start of reading to
Hopper empty or an error detection.
Abrasion counter Abrasion counter counts the accumulated number of the scanned
sheet. This counter increments at every 10 sheets. Use this counter
to check the cleaning cycle or parts replacement cycle.


