


Service Reference Guide, dx7300 433611-001 7–29
Removal and Replacement Procedures— Slim Tower (ST) Chassis
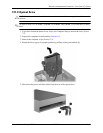
7.11.4 Pri ma ry Ha rd Dr ive
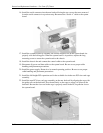
A Torx T-15 screwdriver is needed to remove and install the guide screws on a hard drive.
Ä
CAUTION: Make sure personal files on the hard drive are backed up to an external storage device
before removing the hard drive. Failure to do so will result in data loss. After replacing the primary hard
drive, you will need to run the Restore Plus! CD to load the HP factory-installed files.
Ä
CAUTION: To prevent loss of work and damage to the computer or drive:
■ If you are inserting or removing a hard drive, shut down the operating system properly, then turn off
the computer. Do not remove a hard drive while the computer is on or in standby mode.
■ Before handling a drive, ensure that you are discharged of static electricity. While handling a drive,
avoid touching the connector. Refer to Section 5.2, “Electrostatic Discharge Information”
for more
information about preventing electrostatic damage.
■ Handle a drive carefully; do not drop it.
■ Do not use excessive force when inserting a drive.
■ Avoid exposing a hard drive to liquids, temperature extremes, or products that have magnetic fields
such as monitors or speakers.
1. If you have locked the Smart Cover Lock, use Computer Setup to unlock the lock
(Section 7.2).
2. Prepare the computer for disassembly (Section 7.1).
3. Remove the computer cover (Section 7.5).
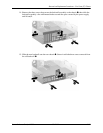
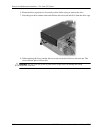
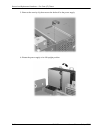
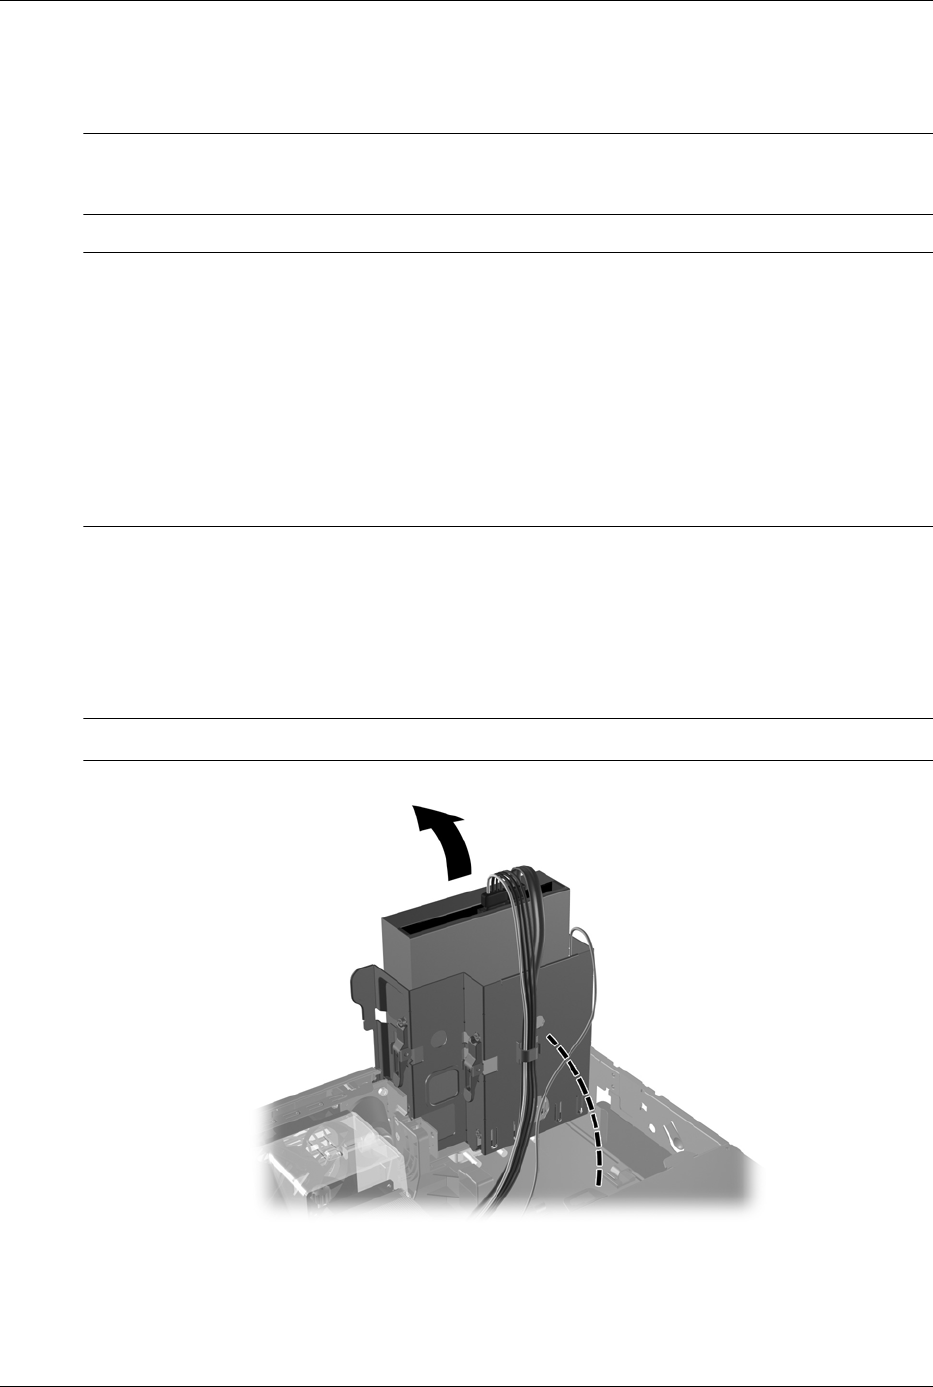
4. Rotate the drive cage to its upright position by pulling on the green-tabbed lip.
✎
It is not necessary to remove the drives from the drive cage.