


Hardware Installations and Upgrades
62
TP01630
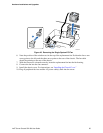
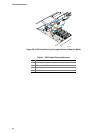
B
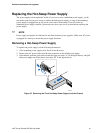
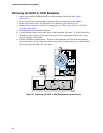
A
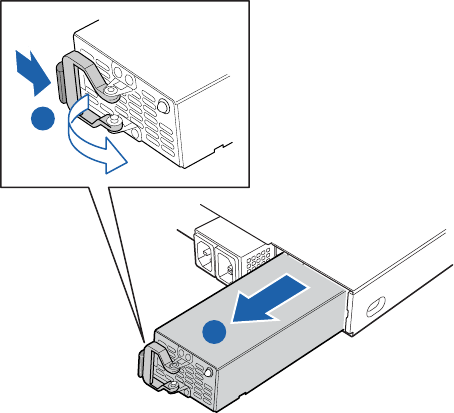
Figure 46. Removing the Rear Hot-Swap Power Supply from the Chassis
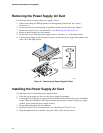
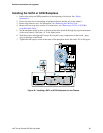
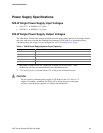
Installing a Hot-Swap Power Supply
To install a replacement power supply or to add a redundant power supply, use the following
instructions.
1. (Replacing power supply only) Remove the failed power supply. For instructions see
“Removing a Hot-Swap Power Supply”.
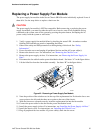
2. (Installing redundant power supply only): Remove the filler panel from the rear power supply
bay by pulling it out.
3. Slide the new power supply into the opening until it clicks into place. The latch on the rear of
the power supply must be at the right.
4. Make sure the front power supply is flush with the chassis edge, and the rear power supply is
slightly recessed from the edge of the lid.
5. Move the latch to the left to lock it in place.
6. Plug in the AC power cable into the inlet connector on the new power supply.