


DLA-G150CLU
DLA-G150CLE
1-16
No.51931
31
ENGLISHDEUTSHFRANÇAISITALIANOESPAÑOL
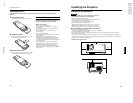
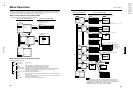
Basic Operations
■ Lamp control settings
After turning the power on, first perform the lamp control settings on the setting menu referring to “Setting and Adjusting Other
Functions (OPTIONS)” on page 54.
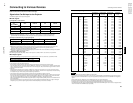
There are 3 modes in the lamp control settings.
1: NORMAL MODE (Normal)
Used as a normal lamp.
The projector is set to “Normal” mode at the time of purchase.
* “Lamp replacement” appears on the screen when the lamp use time exceeds 1000 hours.
2: LIGHT POWER CONTROL MODE (LPC)
Automatically controls the power used by the lamp and increases it in steps. When this mode is used, the brightness
starts at approximately 70%. The decrease in brightness is slower than in “Normal” mode and this mode is best suited
when using the projector continuously for long periods of time.
* “Lamp replacement” appears on the screen when the lamp use time exceeds 2000 hours.
3: LIGHT OUTPUT CONTROL MODE (LOC)
The brightness can be set in seven levels (-6 to 0). Since the brightness can be set in steps, this is the mode best suited
for adjusting multiple screens. This setting can also be changed while the projector is being used. To change the setting,
choose LOC with the 5/∞ cursors and choose the level with the 2/3 cursors.
* “Lamp replacement” appears on the screen when the lamp use time exceeds 2000 hours.
The lamp replacement time is different for the 3 modes.
1: NORMAL MODE (Normal) ... 1000 hours
2: LIGHT POWER CONTROL MODE (LPC) ... 2000 hours
3: LIGHT OUTPUT CONTROL MODE (LOC) ... 2000 hours
* These lamp replacement times are only a rough guide as to how long the lamp will last if these modes are used from the
beginning. These are not guaranteed service lives.
Notes
• Although the LIGHT OUTPUT CONTROL MODE (LOC) and LIGHT POWER CONTROL MODE (LPC) electrically control
the brightness of the lamp and extend the replacement time longer than that for the NORMAL MODE, the service life of the
lamp is approximately 1000 hours.
• The lamp will gradually become less bright in each mode.
Since the lamp may become less bright quickly in some usage environments, replace the lamp if you notice that it is no
longer bright even if the lamp has not yet reached the end of its life.
• Mode settings
* If the projector is not put in stand-by mode or turned off after the lamp has been used continuously in the normal mode for
more than 1000 hours (but less than 2010 hours), it can be used for “up to 2010 hours”.
However, if the projector is put in stand-by mode or turned off, it can not be turned back on again.
* If the projector is put in stand-by mode or turned off after the lamp has been used in the light output control mode or light
power control mode for more than 2000 hours (but less than 2010 hours), it can not be turned back on again.
However, if the projector is not put in stand-by mode or turned off, it can be used for “up to 2010 hours”.
* If the projector is used in the light output control mode or light power control mode for more than 1000 hours, and then
switched to the normal mode, put in stand-by mode or turned off, it can not be turned back on again.
After performing the above settings, perform the necessary settings.
30
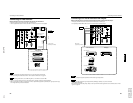
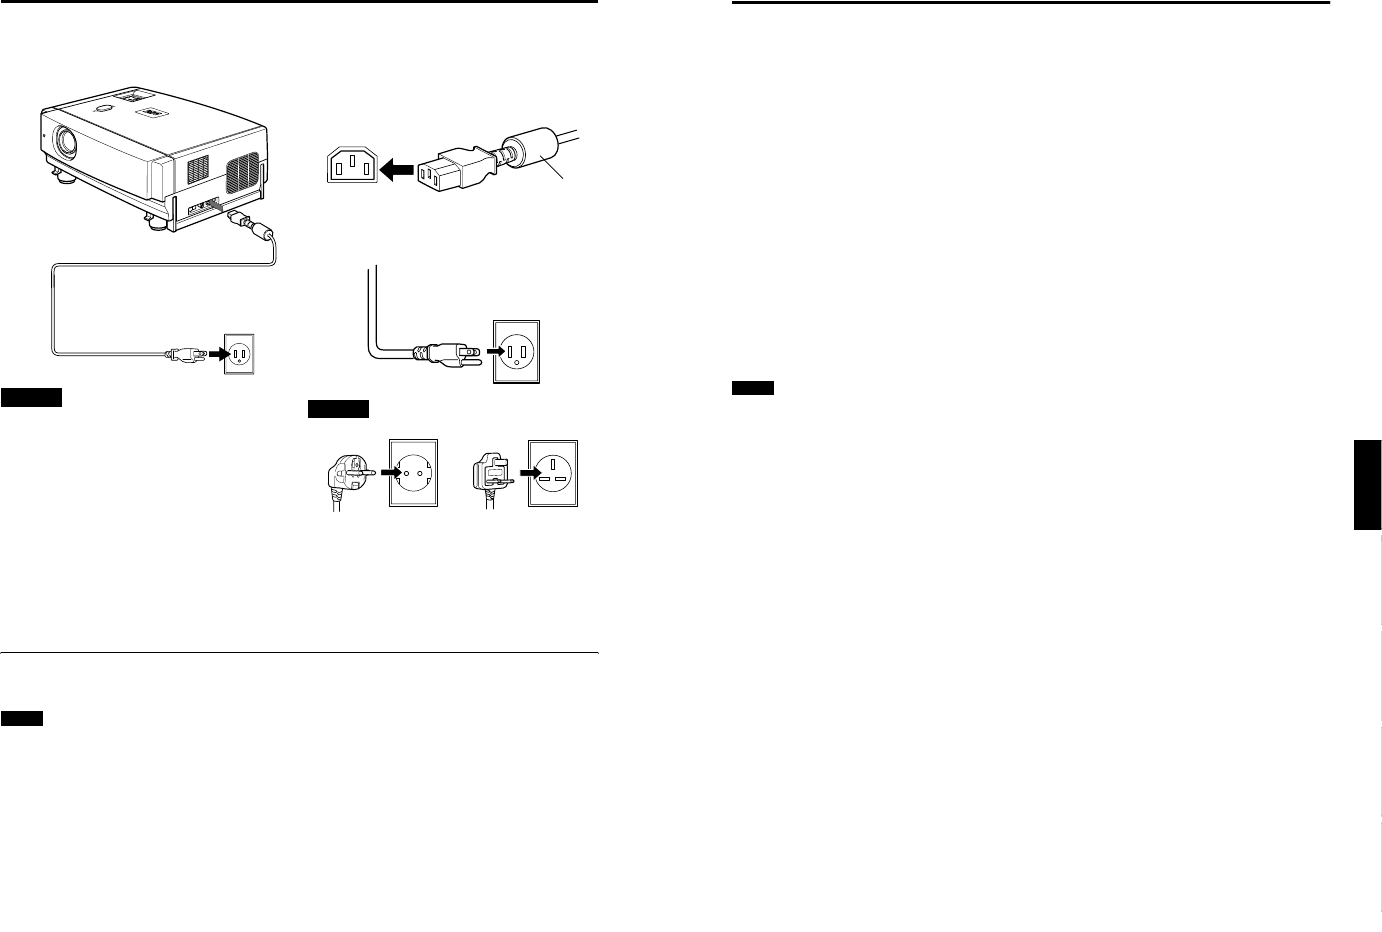
Connecting to Various Devices
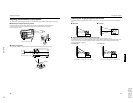
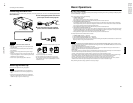
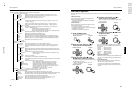
Connecting the Power Cord
After all devices have been finished being connected, connect the supplied power cord. At this time, do not yet turn on the
MAIN POWER switch.
CAUTIONS
To prevent fire and electric shock, observe the
following:
• When you do not use devices, pull out their power cords
from wall outlets.
• Do not connect the devices with power cords other than
those supplied.
• Do not use mains voltage other than the power voltage
indicated.
• Do not scar, damage, or work on the power cords. Also, do
not put a heavy object on, heat, or stretch the power cords,
otherwise they may be damaged.
• Do not insert or pull out the plugs with a wet hand.
1
Insert the supplied power cord into the
power input terminal of the projector.
2
Insert the main plug of the supplied
power cord into a suitable wall outlet.
CAUTIONS
• Since the power requirement of the projector is high, insert
the power plug directly into a wall outlet.
• Use the supplied power cord with the ferrite core only.
• Do not remove the ferrite core from the supplied power
cord; Otherwise, there may be a possibility that a harmful
interference occurs.
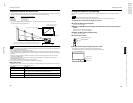
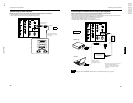
Removing the Lens Cap
Remove the lens cap before using the projector.
Notes
• The lens cap is supplied with the lens unit (optional). It
should be attached to the lens when the projector is not
used.
• Do not operate the projector with the lens cap attached.
Doing so can deform the lens cap because of the heat. A
metallic lens cap can get hot and cause injury.
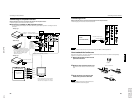
L
A
M
P
T
E
M
P
H
I
D
E
P
C
V
I
D
E
O
M
E
N
U
K
E
Y
S
T
O
N
E
P
R
E
S
E
T
E
X
I
T
E
N
T
E
R
O
P
E
R
A
T
E
D
O
W
N
U
P
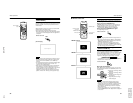
Power cord (supplied)
Ferrite core
for United Kingdom
for European
continent countries