DLA-G150CLU
DLA-G150CLE
1-66
No.51931
50
Menu Operations
.
5
Press the EXIT button to return to the previous menu or press the MENU button to
exit the menu mode.
Memo
In some adjustments, the level bar changes according to the set value. (The setting value is also displayed at the left of the
level bar.)
Adjusting Color temperature
1
Press the MENU button.
The main menu appears on the screen.
2
Select “Color temp.” with the cursor button 5
55
5 or ∞
∞∞
∞, and press 3
33
3 or the ENTER
button.
The “Color temp.” submenu appears on the screen.
3
Select “Color temp.” with the cursor button 5
55
5 or ∞
∞∞
∞.
4
Adjust the color temperature with the cursor button 2
22
2 or 3
33
3.
Low: Color temperature decreases (image becoming reddish).
Middle: Results in middle color temperature. (Factory set position).
High: Color temperature increases (image becoming blueish).
5
Select “RED” or “GREEN” or “BLUE” with the cursor button 5 or ∞
∞∞
∞.
6
Fine adjust the color temperature with the cursor button 2
22
2 or 3
33
3.
To adjust multiple items, repeat 5 and 6.
■ To perform All Reset
• In the Color temp. submenu, select “All reset” with the cursor button 5 or ∞, and press the ENTER button. Then, the “All
reset” submenu appears on the screen.
• Press the cursor button 2 to select “Yes”, and then press the ENTER button.
• All items in the Color temp. submenu are reset to the factory set values and the menu returns to the previous one.
To exit the “All reset” submenu without performing All reset, select “No” with the cursor button 3 and, press the ENTER
button
7
Press the EXIT button to return to the previous menu or press the MENU button to
exit the menu mode.
Adjustment item Button Adjustment content
RED 2 or 3 Adjusts the red level. (0 to 255)
GREEN 2 or 3 Adjusts the green level. (0 to 255)
BLUE 2 or 3 Adjusts the blue level. (0 to 255)
Ye s
Image adj.
All reset?
No
49
Menu Operations
ENGLISHDEUTSHFRANÇAISITALIANOESPAÑOL
Adjusting Picture Quality
In the “Image adj.” submenu, adjust brightness, contrast, sharpness, etc. to obtain the desired picture quality. Note that the
adjustment items differ in Video menu mode and PC menu mode.
1
Press the MENU button.
The main menu appears on the screen.
2
Select “Image adj.” with the cursor button 5
55
5 or ∞
∞∞
∞, and press 3
33
3 or the ENTER button.
The “Image adj.” submenu appears on the screen.
Video submenu PC submenu
3
Select the item to be adjusted with the cursor button 5
55
5 or ∞
∞∞
∞.
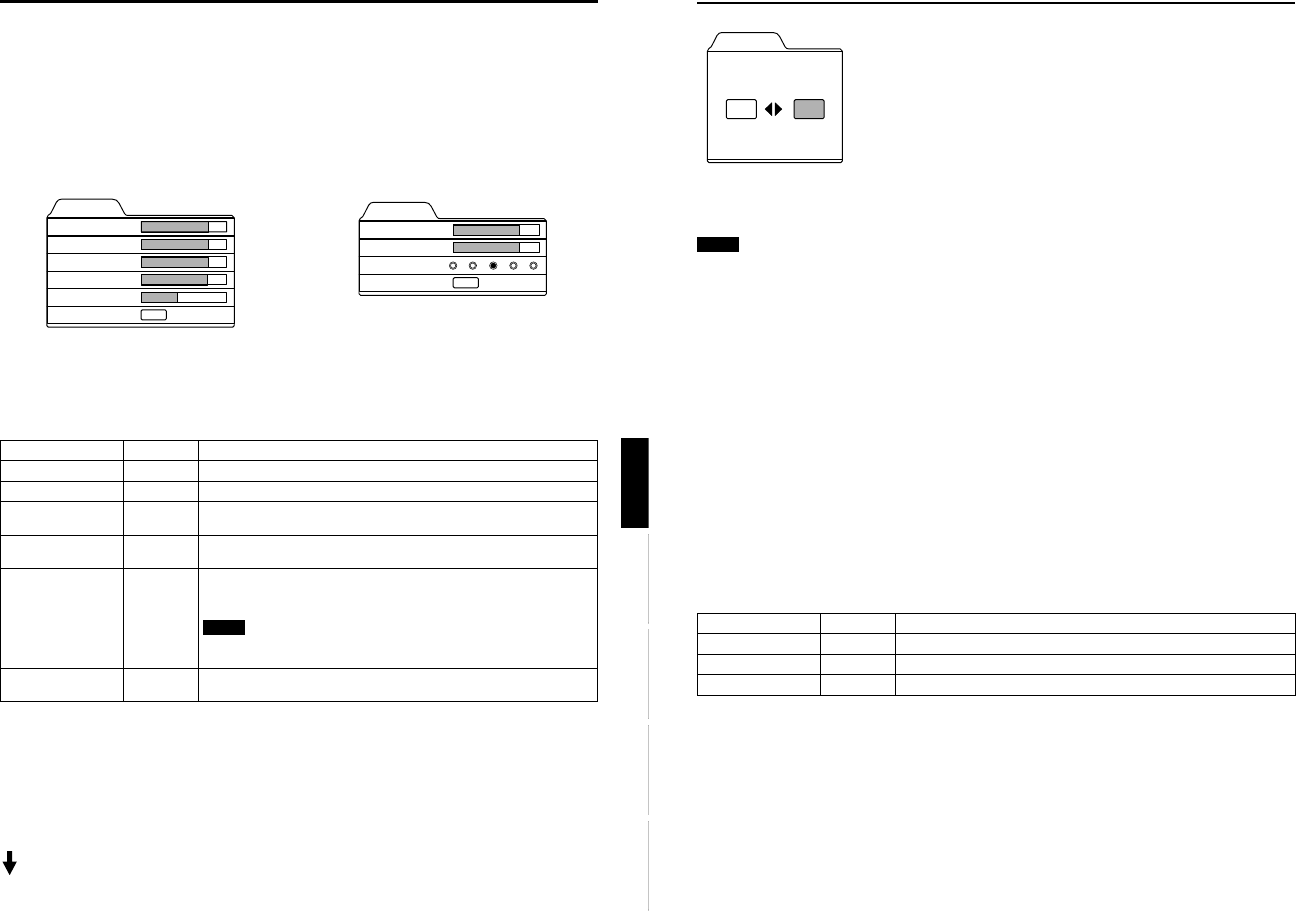
*“Color” and “Tint” are shown in Video submenu only.
4
Make adjustment with the cursor 2
22
2 or 3
33
3.
*To adjust multiple items, repeat 3 and 4.
* : Factory set value
■ To perform All Reset
• In the Image adj. submenu, select “All reset” with the cursor button 5 or ∞, and press the ENTER button. Then, the “All
reset” submenu appears on the screen.
• Press the cursor button 2 to select “Yes”, and then press the ENTER button.
• All items in the “Image adj.” submenu are reset to the factory set values and the menu returns to the previous one.
To exit the “All reset” submenu without performing All reset, select “No” with the cursor button 3 and, press the ENTER
button.
(To be continued on the next page)
Image adj.
Contrast
Brightness
Color
Tint
Sharpness
All reset
12
12
12
12
1
ENTER
Image adj.
Contrast
Brightness
Sharpness
All reset
12
12
ENTER
1 2 3 4 5
Adjustment item Button Adjustment content
Contrast 2 or 3 Gets lower/higher. (–30 ↔ 0* ↔ +30)
Brightness 2 or 3 Gets darker/brighter. (–30 ↔ 0* ↔ +30)
Color 2 or 3
Gets softer/deeper. (–30 ↔ 0* ↔ +30)
(Video menu mode only)
Tint 2 or 3
Gets reddish/greenish. (–30 ↔ 0* ↔ +30)
(Video menu mode only)
Sharpness 2 or 3
Gets softer/sharper.
• Video menu mode: (–5 ↔ 0* ↔ +5)
• PC menu mode: (1 ↔ 3* ↔ 5)
Note
• When in the PC menu mode, if the resize function in the PC submenu is set to
“1:1”, the image quality will not change even if the value is changed.
All reset ENTER
Resets above items to the factory set values. How to operate is mentioned below
(next page).


