


KODAK 1200i WIDE-FORMAT PRINTING SYSTEM
Technical Training Guide 12
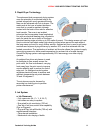
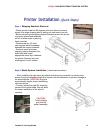
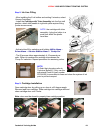
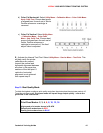
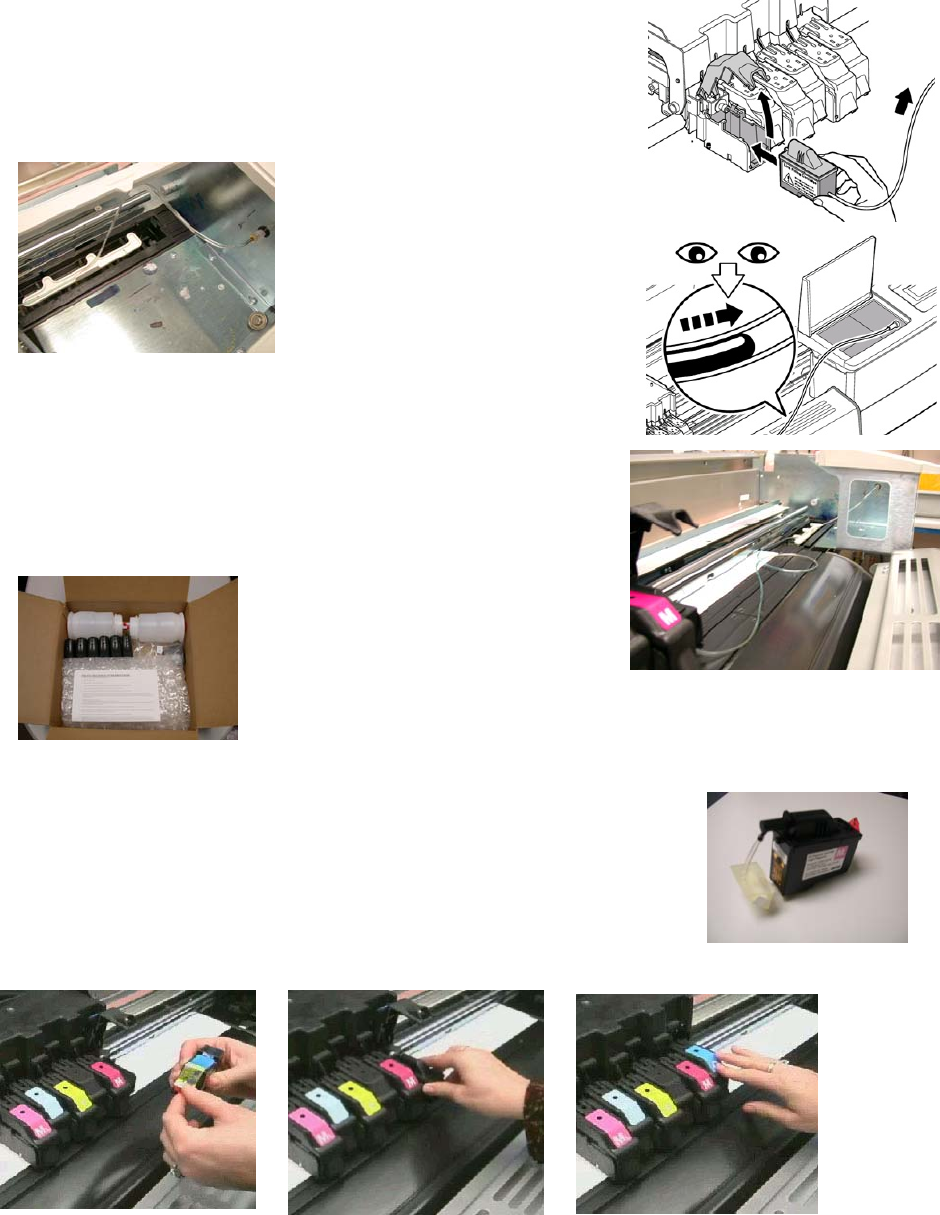
Step 8: Ink Line Filling
- After installing the 6 ink bottles and waiting 5 minutes, select
‘Access Cartridges’.
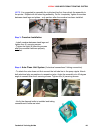
- Install the Cartridge with Tube Assembly into the first stall
position; attach tube needle to right side plate septum fitting
(under access cover).
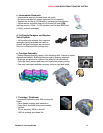
NOTE: the cartridge with tube
assembly (+plug bar) ships in a
small box within the printer
head box.
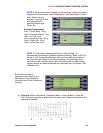
- Activate tube fill by selecting and holding
Utility Menu -
Prime Menu – Service Station Menu – ‘Pump On’
.
- The fill process takes approximately 4-16 seconds per
color. When ink reaches the cartridge tube release the
‘Pump On’ selection. Repeat procedure for remaining colors.
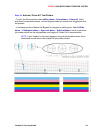
NOTE:
To flush the ink system refer to
Technical Bulletin 2. Only use the
authorized Flush Kit (part number
221984-00) to evacuate ink lines and clean the system of ink
prior to printer transport.
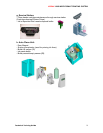
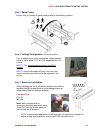
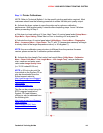
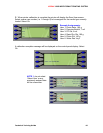
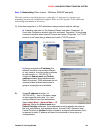
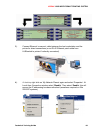
Step 9: Cartridge Installation
Open cartridge door by pulling up on door at a 45 degree angle.
Remove tape from cartridge. Slide cartridge into cartridge stall and
close cartridge door until it locks.
Note: door must be closed to properly bias cartridge position.