8
2 Preparation
2.1 Assembly and installation
1
Following the assembly manual provided separately, assemble the power supply unit and the optical
component. Assembly must be done by qualied personnel who have received assembly training pro-
vided by Kowa or a Kowa dealer.
2
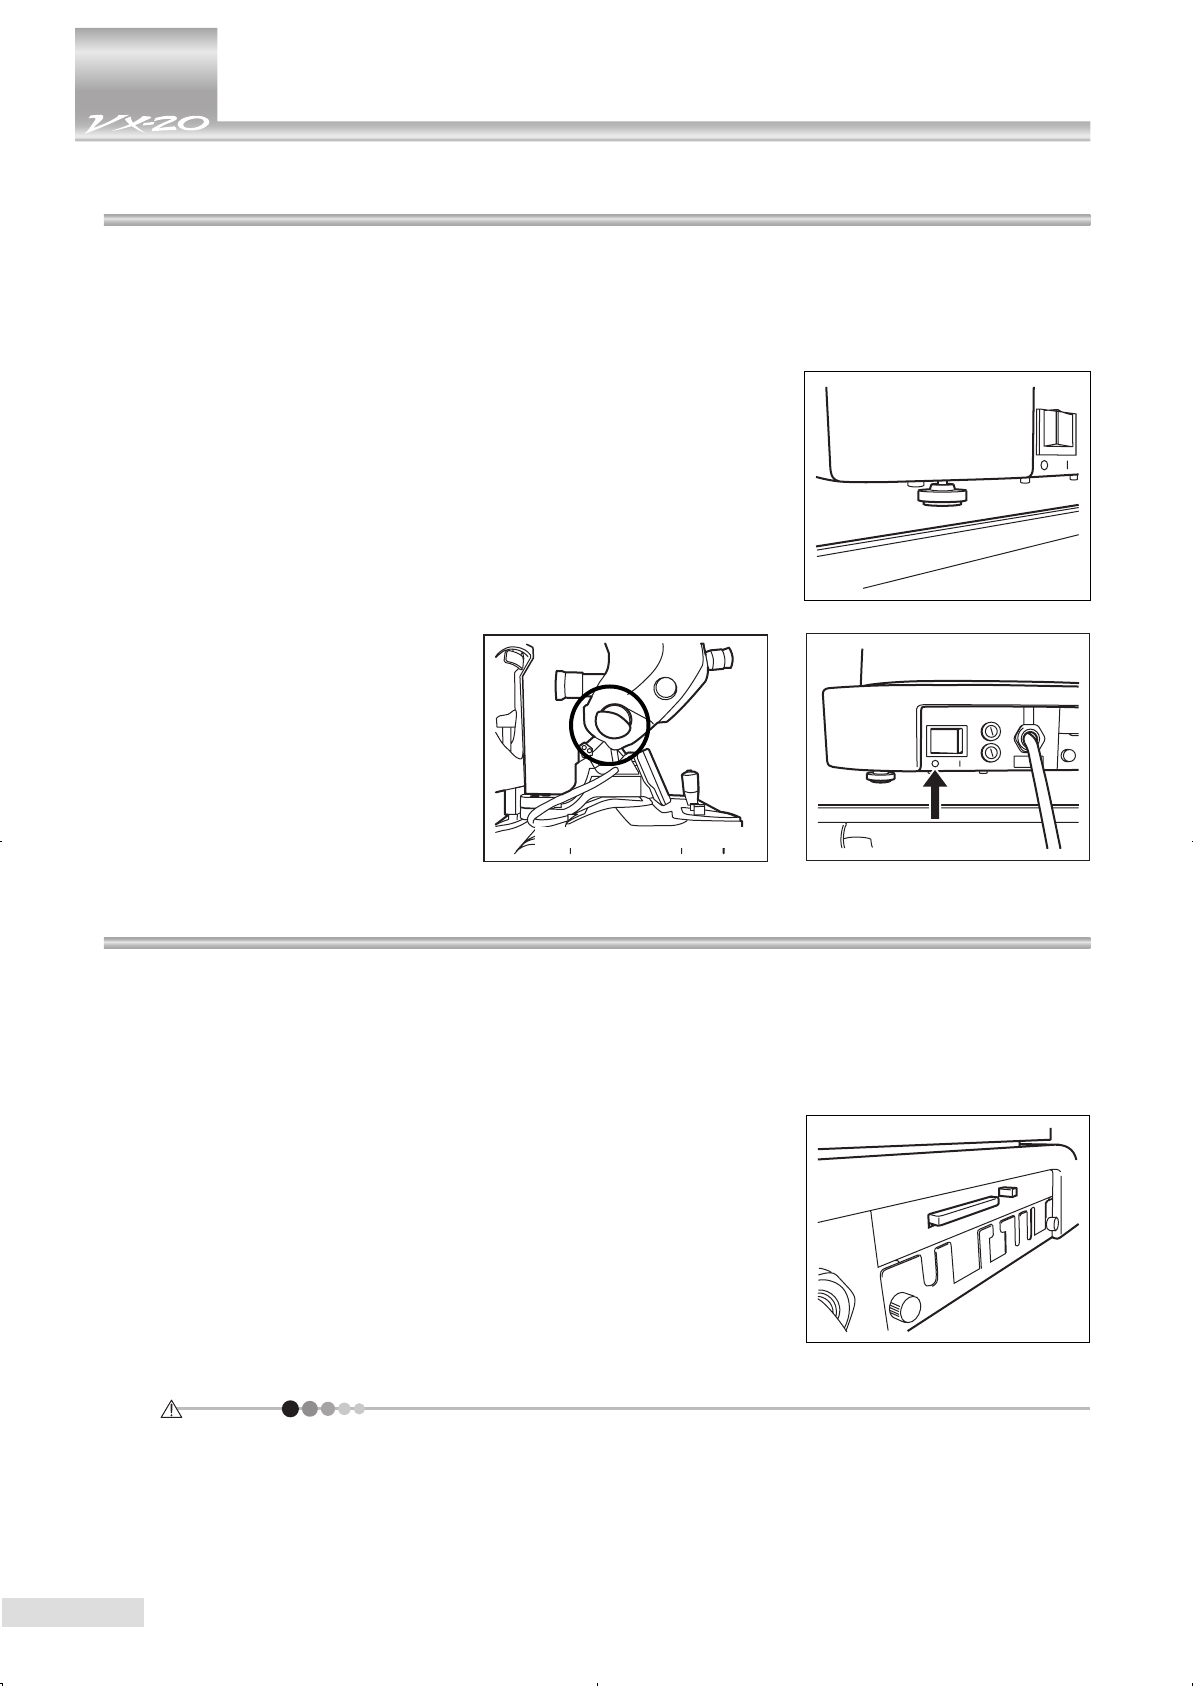
Place the retinal camera on a stable surface, such as a powered optical table (optional device).
3
As needed, adjust the adjuster so that the retinal camera will be level.
4
Make sure that the power switch is in the OFF position, and connect
the power supply cable plug to a 120VAC power outlet.
5
If you want to attach the objective lens cap holder, attach it directly on
or near the instrument.
2.2 Inserting/ removing compact ash memory card
When using the instrument in the Stand-alone setting (see “2.3.1 Stand-alone”) , make sure that the com-
pact ash memory card is inserted. To transfer data from compact ash memory card to a computer, follow
the procedures and notice below to remove the card.
2.2.1 Inserting a compact ash memory card
Slowly insert the supplied compact flash memory card, Kowa logo
facing up, in the compact ash memory card insert slot as far as it
goes.
Check that the ejector button comes out.
¿
Do not use a compact ash memory card other than the one supplied with the instrument.
¿
Do not use any compact ash memory card other than the one supplied with this instrument or
designated by Kowa.
Recommended location


