9
2 Preparation
2.2.2 Removing a compact ash memory card
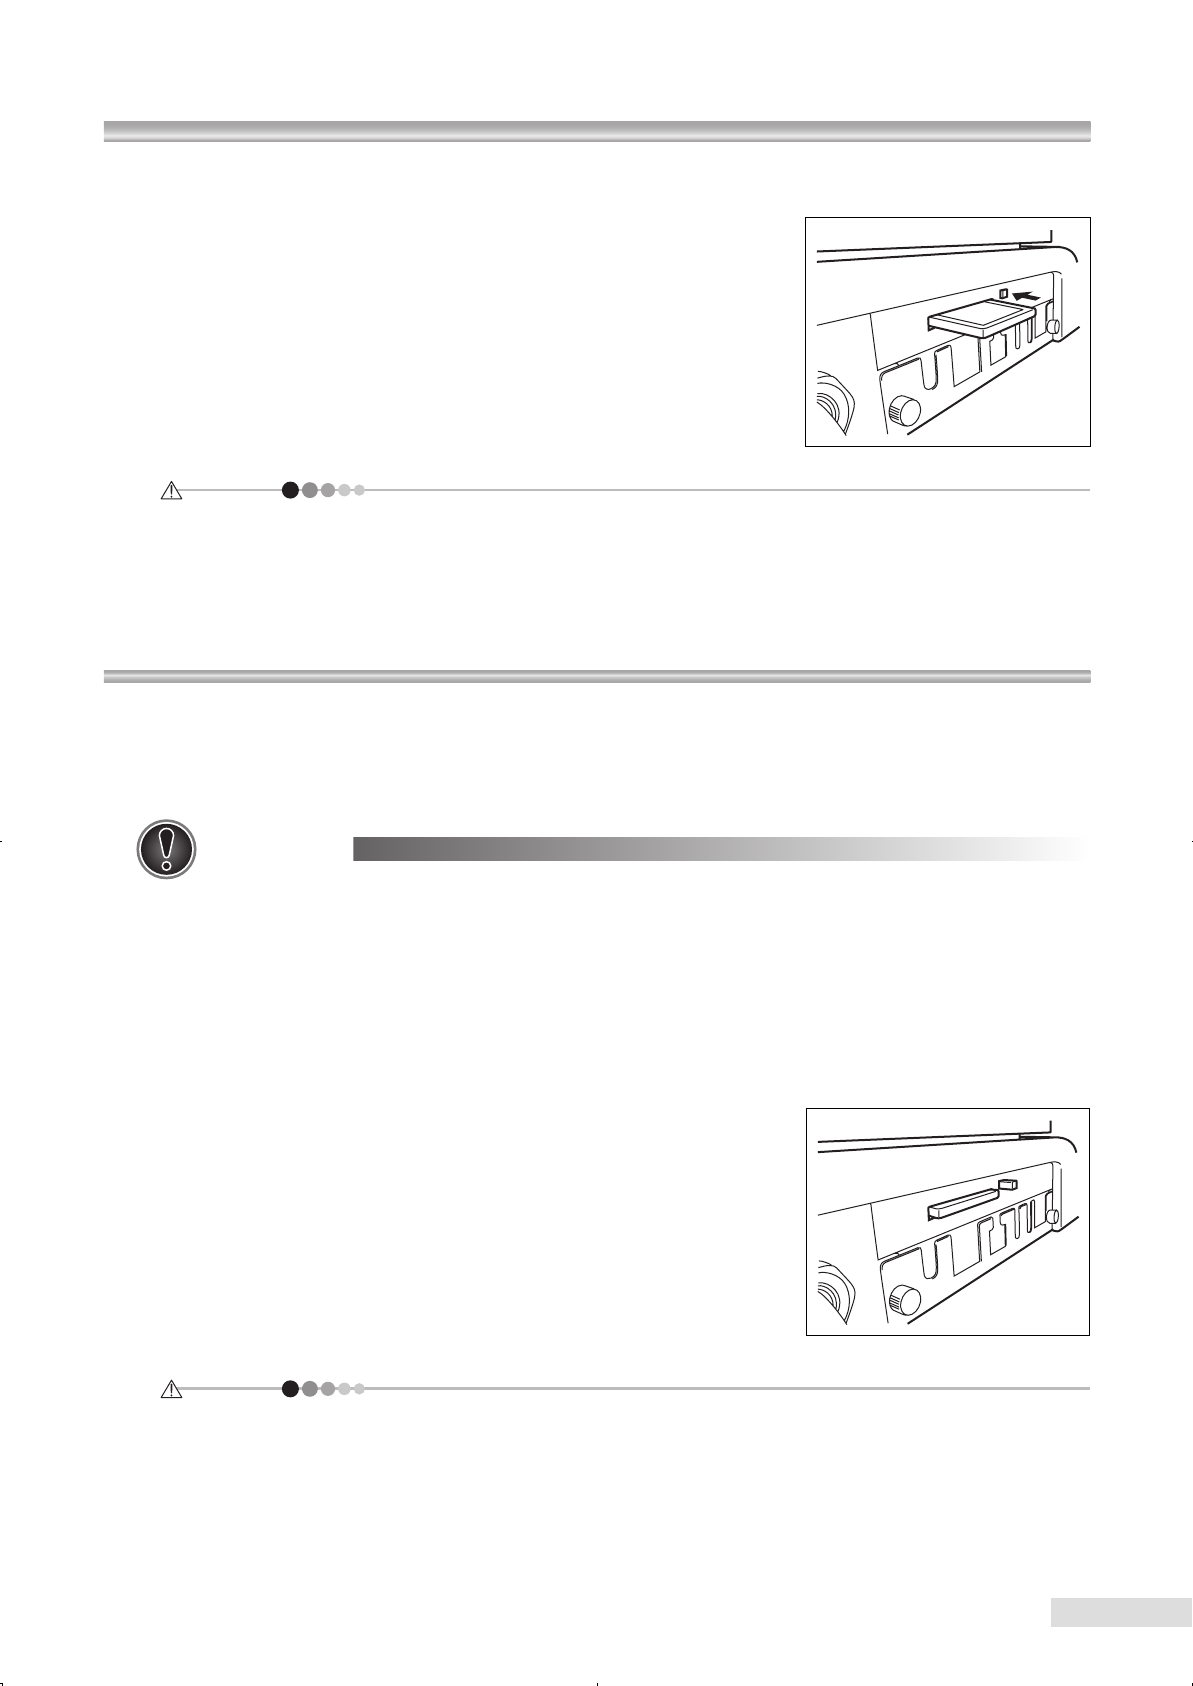
Slowly press the ejector button to eject the compact flash memory
card.
Then, hold and slowly pull out the card.
¿
Do not attempt to remove the compact ash memory card without using the ejector button.
¿
Do not remove the compact ash memory card immediately after an image is photographed.
2.3 System connection conguration
This instrument may be used in 3 connection congurations.
• Stand-alone: Images taken by the instrument are acquired by the instrument itself as a stand-alone system.
• VK connection: Images taken by the instrument are acquired directly by Kowa ling system.
• Network connection: Images taken by the instrument are acquired by a computer via a network.
Important
◇ When you use a peripheral device and/or other device connected to the peripheral device, it must
meet all applicable EN(IEC) standards.
◇ Data processing device must meet IEC60601-1 or IEC60950.
The system that combines such data processing device must meet IEC60601-1-1. The system admin-
istrator who builds such system bears all responsibility to have the system comply with requirement of
IEC60601-1-1. Should you have any question, contact Kowa or your Kowa dealership.
2.3.1 Stand-alone (factory default)
Following the procedure described in Section 2.2.1, insert the com-
pact ash memory card.
As needed, connect a USB-enabled printer to “USB connector” port.
¿
The maximum power that may be supplied through a USB port is
500 mA.
¿
In the Stand-alone setting, photographed images are saved in the compact ash memory card in-
serted to this instrument. Photography function is disabled when the compact ash memory card
becomes full. Damage to the compact ash memory card may result in an inability to access to the
data saved in the card. Transfer data in the card to a computer on a regular basis.


