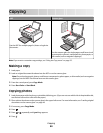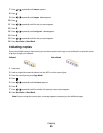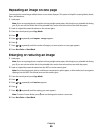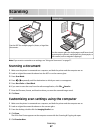
6 If you want to scan only a portion of the document, click and drag the dotted line box to select a specific area of
the preview image to scan.
7 From the “Send scanned image to” menu, select a program.
8 Select what is being scanned.
9 Select a scan quality.
10 If you want to make additional selections:
a Click Display Advanced Scan Settings.
b Customize the scan settings using the tabs listed in the following table.
c Click OK.
11 Click Scan Now.
Advanced Scan Settings tabs Options
Scan
• Select the color depth.
• Select the scan resolution.
• Select Optical Scan settings.
• Select an auto-crop setting.
• Select an exact area to be scanned.
• Choose to convert the scanned item to text for editing.
• Choose to scan multiple images before output.
• Update the list of applications to which you want to send scans.
• Update the default fax driver.
Image Enhancements
• Straighten images after scan (deskew).
• Select whether to sharpen blurry edges.
• Adjust brightness of the image.
• Adjust the color correction curve (gamma) of the image.
Image Patterns
• Remove image patterns from magazines or newspapers (descreen).
• Reduce more or less of the background noise (scratches) on the color
document.
Note: For more information, click Help at the bottom of the screen.
Scanning documents or images for e-mailing
1 Make sure the printer is connected to a computer, and both the printer and the computer are on.
2 Load an original document facedown into the ADF or on the scanner glass.
Note: Do not load postcards, photos, small items, transparencies, photo paper, or thin media (such as magazine
clippings) into the ADF. Place these items on the scanner glass.
3 From the control panel, press Scan Mode.
4 Press or repeatedly until E-mail appears.
Scanning
68


