7-33
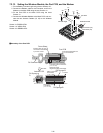
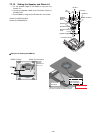
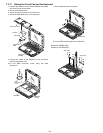
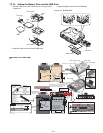
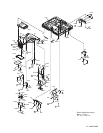
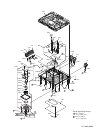
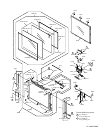
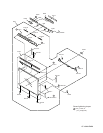
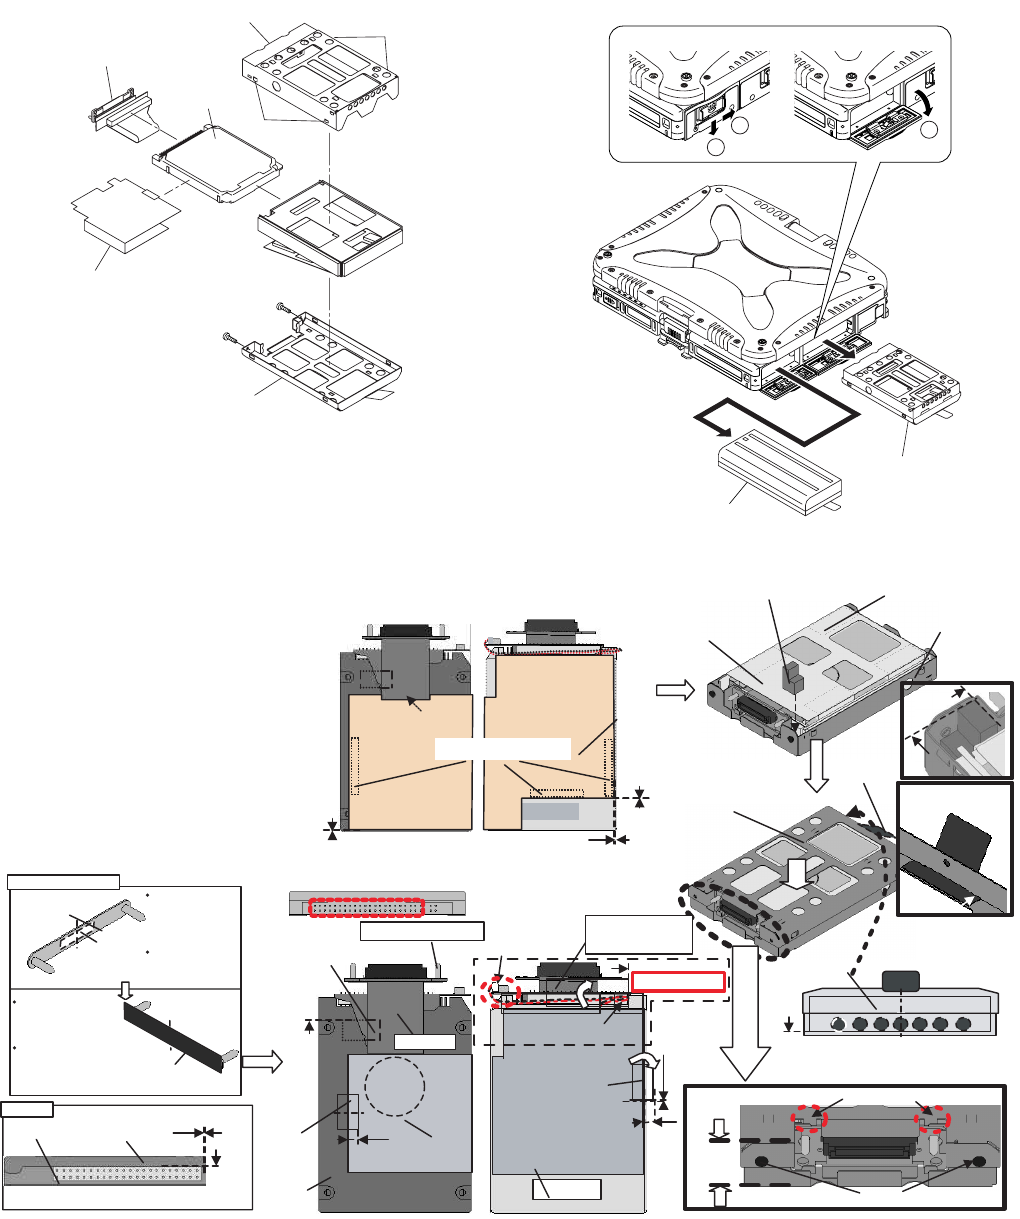
7.2.18. Setting the Battery Pack and the HDD Pack
1. Set the HDD in the HDD Case and fix it using the two
Screws<A>.
2. Open the HDD Cover and set the HDD Pack.
3. Open the Battery Cover and set the Battery.
Screws<A>: DFHE5025XA
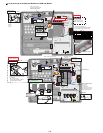
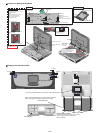
! Assembly of the HDD ASSY
HDD Case B
HDD Case A
HDD FPC
HDD
Heater
<A>
<A>
Hooks
Hooks
1
2
3
Battery Pack
HDD Pack
HDD Cushion Spacer
Screw
HDD
inserted into pins
Set the FFC to the pin of the HDD,
and connect the Connector of the Heater
to the FFC, and then attach them.
Use the jig.
Fold it back once
and adjust the length.
HDD GUIDE PIN
HDD GUIDE PIN Assy
FPC Assy
0~0.5mm
FPC ASSY
Crosswise:
-3 to +3 mm of
the center of the
HDD Guide
Pin Plate
Lengthwise:
Avoid coming over
the HDD Guide
Pin Plate.
Crosswise:
-1 to +1 mm of
the center of
the HDD Guide Pin Plate
Lengthwise:
-0.5 to +0.5 mm
ofthe center
of the HDD Guide
Pin Plate
0~0.5mm
5–1mm
0~0.5mm
Match to the
center of the
HDD Damper.
0~5mm
5–1mm
Cover the sensor
of the FPC.
0~0.5mm
Set the FPC under the Damper.
Attach on the surface.
0~0.5mm
Details
Press and
hold it
vertically,
and screw it.
Set the Hooks of the HDD Case A inside.
Attach on the inner
side of the HDD
Case A.
0~0.5mm
Attach the HDD Case A,
and then connect it.
(Four joints)
Safety Working
Ensure you can see it
from the slit space of
the HDD after assembly.
0~1mm
0~1mm
Attach under the FPC
(between the FPC
and the HDD).
0~1mm
Remove the Release Papers
(three) and attach them.
Avoid coming over the
conductive part (metallic part)
of the Heater.
Completely cover the hole of the Case.
Press and hold the leveled part, and attach it.
HDD Guide
Pin Plate
Adheisive
Tape
FPC(HDD)
HDD Spacer C
Insulation Parts
Insulation Parts
Insulation
Parts
Heater
Revision Label
Shield Sheet
(For GPS)
HDD Case A
Heater Insulation
Sheet
HDD Damper
HDD Case B(Assy)
HDD Case
Tab
Sub material:
PET TAPE 2
(10 mm width x 3 cm)
HDD Guide
Plate Spacer


