


11-6 User’s Reference Guide
exported, you can have Web servers on two different IP hosts.
■ If you will be using multiple Connection Profiles, define the remote IP address of the most accessible
profile, such as that for your ISP, to the default IP gateway in the TCP/IP settings on users’ workstations.
That way, IP traffic not intended specifically for any of the remote networks will be routed through this
“preferred” profile.
■ Associate your primary Domain Name Server (DNS) with whichever profile is more accessible. If you
choose for neither profile to be “dial-on-demand”, you may associate a secondary DNS with the other
profile. See “IP setup,” below, for more information on these settings.
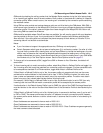
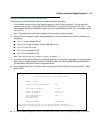
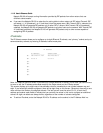
IP setup
The IP Setup options screen is where you configure the Ethernet side of the Netopia R3100. The information
you enter here controls how the Router routes IP traffic.
Consult your network administrator or Internet Service Provider to obtain the IP setup information (such as the
Ethernet IP Address, Ethernet Subnet Mask, Default IP Gateway and DNS Server IP Address) you will need
before changing any of the settings in this screen. Changes made in this screen will take effect only after the
Netopia R3100 is reset.
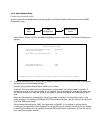
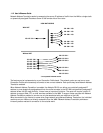
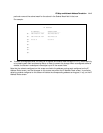
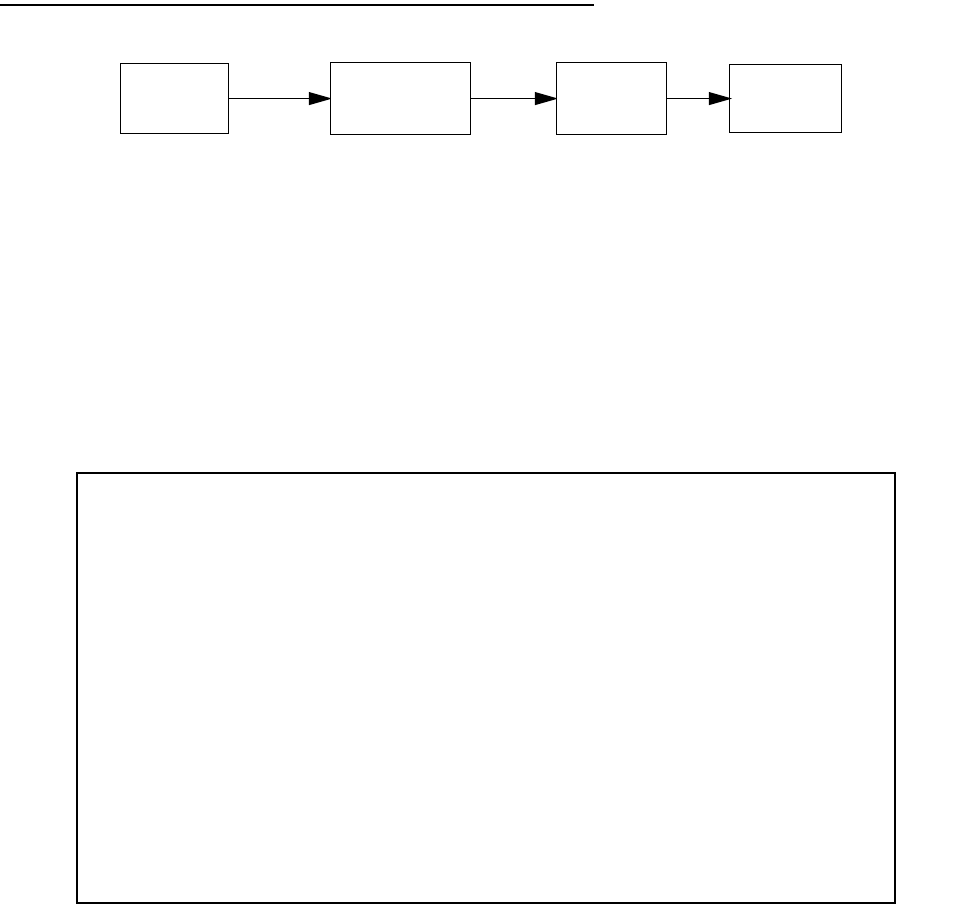
To go to the IP Setup options screen, from the Main Menu select System Configuration and then select Network
Protocols Setup and then select IP Setup.
Note: If you have completed SmartStart or Easy Setup, the information you have already entered will appear in
the IP Setup options screen.
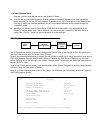
Main
Menu
Network
IP Setup
System
Configuration
Protocols
Setup
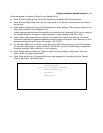
IP Setup
Ethernet IP Address: 192.168.1.1
Ethernet Subnet Mask: 255.255.255.0
Default IP Gateway: 0.0.0.0
Primary Domain Name Server: 2.0.34.194
Secondary Domain Name Server: 0.0.0.0
Domain Name: titanic.com
Exported Services...
Receive RIP: Off
Transmit RIP: Off
Static Routes...
Set up the basic IP attributes of your Netopia in this screen.