Easy Setup 7-11
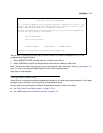
The final step in configuring the Easy Setup console screens is to restart the Netopia R3100, so the
configuration settings take effect.
1. Select RESTART DEVICE. A prompt asks you to confirm your choice.
2. Select CONTINUE to restart the Netopia Router and have your selections take effect.
Note: You can also restart the system at any time by using the restart utility (see “Restarting the system” on
page 16-12) or by turning the Netopia Router off and on with the power switch.
Easy Setup is now complete.
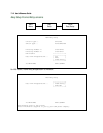
Configuring Frame Relay
Frame Relay is an alternative datalink encapsulation method for use over unswitched connections. If this does
not apply to your connection, you can skip the corresponding sections.
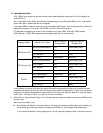
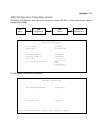
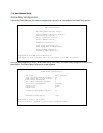
You can specify Frame relay as your Datalink Encapsulation method in either of two ways:
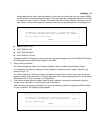
■ the “Easy Setup Frame Relay screens” on page 7-12 or
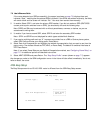
■ the “WAN Configuration Frame Relay screens” on page 7-13
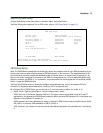
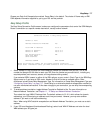
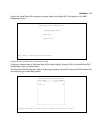
Easy Setup Security Configuration
It is strongly suggested that you password-protect configuration access to your
Netopia. By entering a Name and Password pair here, access via serial, PC Card,
Telnet, SNMP and Web Server will be password-protected.
Be sure to remember what you have typed here, because you will be prompted for
it each time you configure this Netopia.
Write Access Name:
Write Access Password:
PREVIOUS SCREEN TO MAIN MENU RESTART DEVICE
Configure a Configuration Access Name and Password here.


