


11-10 User’s Reference Guide
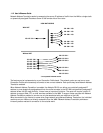
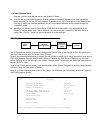
Netopia R3100 will accept routing information provided by RIP packets from other routers that use
different subnet masks.
■ If you want the Netopia R3100 to advertise its routing table to other routers via RIP, select Transmit RIP
and select v1, v2 (broadcast), or v2 (multicast) from the popup menu. With Transmit RIP v1 selected, the
Netopia R3100 will generate RIP packets only to other RIP v1 routers. With Transmit RIP v2 (broadcast)
selected, the Netopia R3100 will generate RIP packets to all other hosts on the network. With Transmit RIP
v2 (multicast) selected, the Netopia R3100 will generate RIP packets only to other routers capable of
recognizing RIP v2 packets.
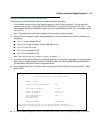
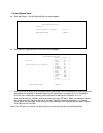
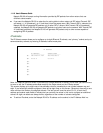
IP subnets
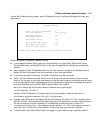
The IP Subnets screen allows you to configure up to eight Ethernet IP subnets, one “primary” subnet and up to
seven secondary subnets, by entering IP address/subnet mask pairs:
Note: You need not use this screen if you have only a single Ethernet IP subnet. In that case, you can continue
to enter or edit the IP address and subnet mask for the single subnet on the IP Setup screen.
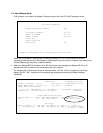
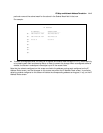
This screen displays up to eight rows of two editable columns, preceded by a row number between one and
eight. If you have eight subnets configured, there will be eight rows on this screen. Otherwise, there will be one
more row than the number of configured subnets. The last row will have the value 0.0.0.0 in both the IP
address and subnet mask fields to indicate that you can edit the values in this row to configure an additional
subnet. All eight row labels are always visible, regardless of the number of subnets configured.
■ To add an IP subnet, enter the Netopia R3100’s IP address on the subnet in the IP Address field in a
IP Subnets
IP Address Subnet Mask
---------------- ---------------
#1: 192.128.117.162 255.255.255.0
#2: 0.0.0.0 0.0.0.0
#3:
#4:
#5:
#6:
#7:
#8: