4-8
Configuring Your System
6. The Select a Configuration (CFG) file to add screen
is displayed. At this screen select Not Listed by
pressing F5.
7. The Add a board without a .cfg file screen is
displayed. Read through the information and press
ENTER. The Add a board without a .cfg file screen
reappears. When the screen reappears select Create
.cfg file and press ENTER.
8. The Create A Board CFG File screen is displayed. At
this screen enter the board description and
manufacturer and press ENTER.
9. The New Board Setup screen is displayed. Using the
scrollable list select the resources used by the new
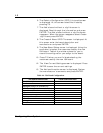
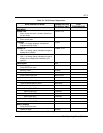
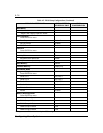
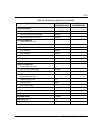
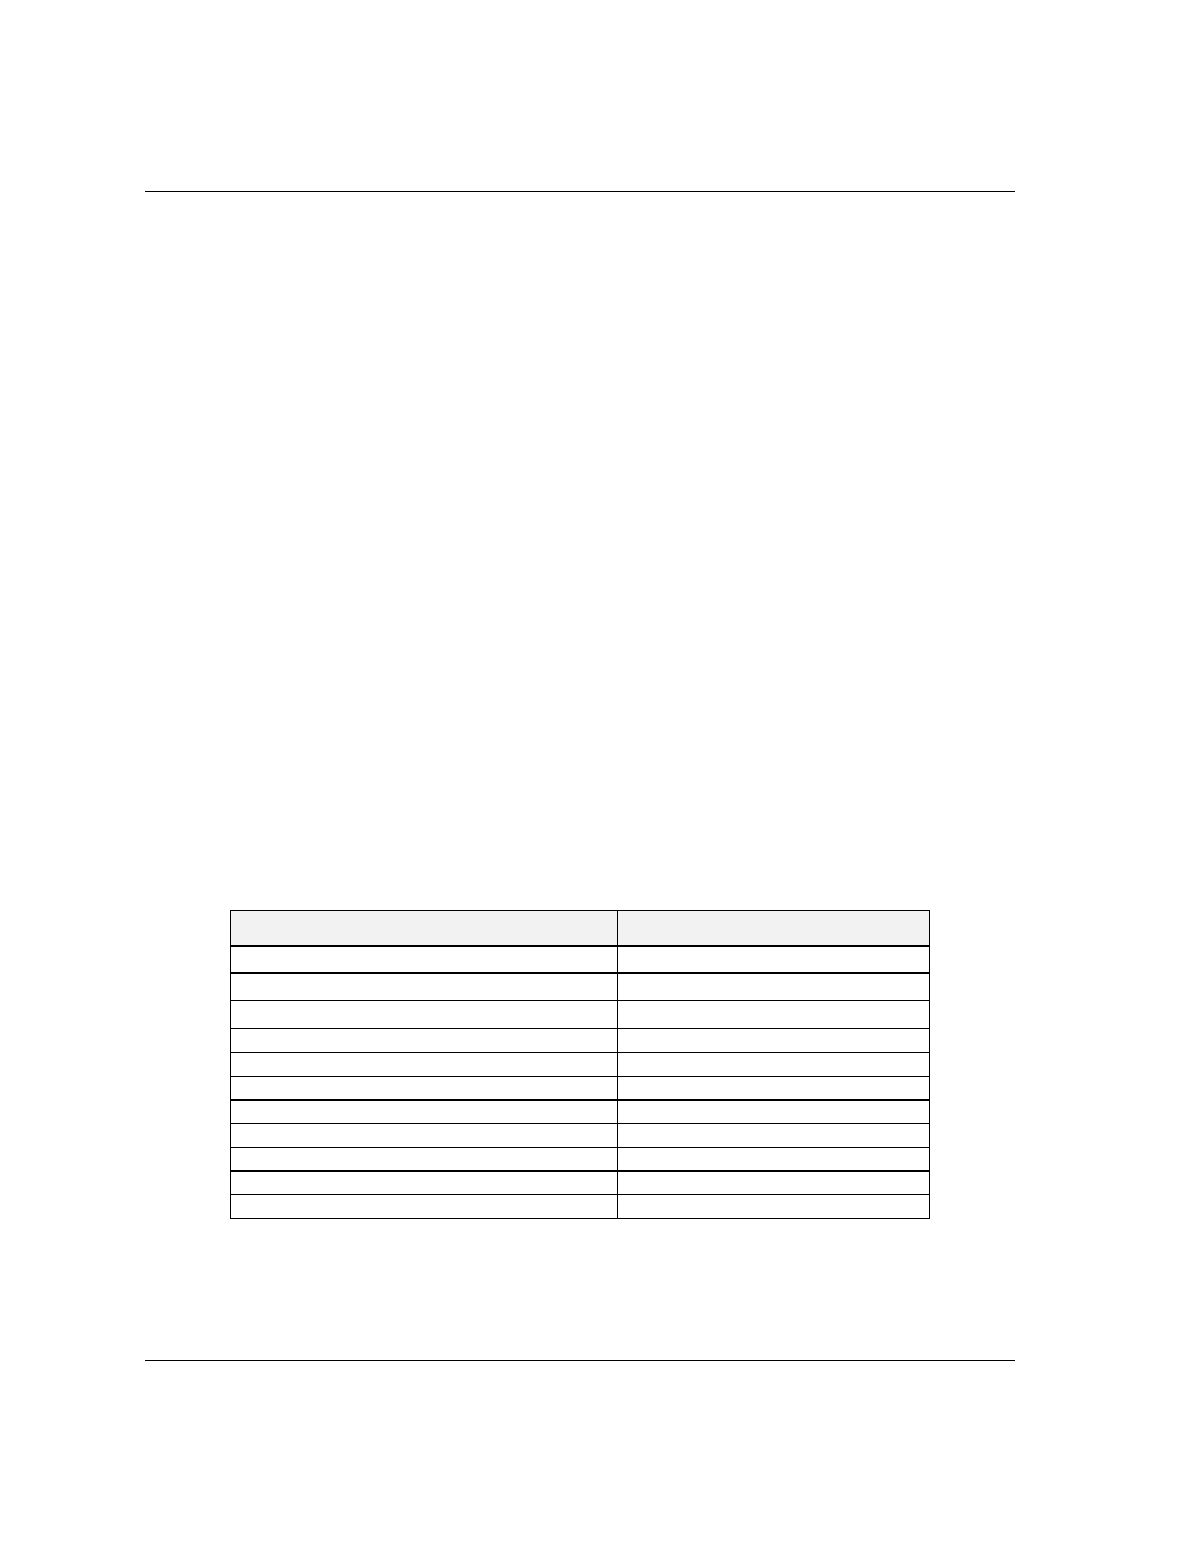
ISA board. Table 4-4 provides a place for you to
record the configuration you assign to the board.
10. Press F10 when you are finished selecting the
resources used by the new ISA board.
12. The View Current Settings screen is displayed. Press
ENTER to save the current settings.
13. The Add confirmation screen is displayed. Review
the manufacturer’s comments and press ENTER.
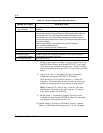
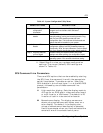
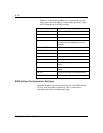
Table 4-4. ISA Board Configurations
ISA BOARD DEFINITIONS YOUR CONFIGURATION
Board Description:
Manufacturer:
Interrupts
(Select from scrollable list)
DMA Channels
(Select from scrollable list)
Port address
(Select from scrollable list)
Start
End
Memory address
(Select from scrollable list)
Start
Length
Slot
(Select from scrollable list)


