


3. Operation
3-24
February 2001 3160-A2-GB21-90
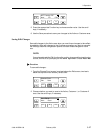
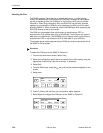
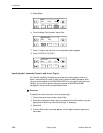
5. Select Mgmt.
6. From the Mgmt Config screen, select Gen.
7. Press F1 (Next) until the Com Link configuration option appears.
8. Press F2 (PPP) or F3 (SLIP).
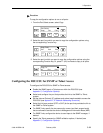
Specifying the Community Name(s) and Access Type(s)
You have the capability of specifying up to two community names (community
name 1 and community name 2) to be used by external SNMP managers when
trying to access objects in the DSU/CSU’s MIB. Once you specify the community
name(s), you must then specify the type of access to the MIB that SNMP
managers in the community are permitted to have.
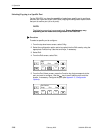
Procedure
To specify the community name 1 and its access type:
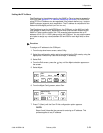
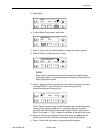
1. From the top-level menu screen, select Cnfig.
2. Select the configuration option set to be copied into the Edit area by using the
appropriate Function key. Use the scroll keys, if necessary.
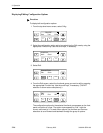
3. Select Edit.
4. From the Edit screen, press the key until the Mgmt selection appears on
the screen.
F1
F2 F3
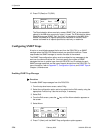
Edit:
User Alarm Mgmt
F1
F2
F3
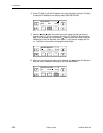
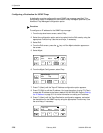
Mgmt Config:
Gen Trap
F1
F2 F3
Com Link:
Next PPP SLIP