Section 8: Maintenance 69
Digital Label Press 3 User’s Manual
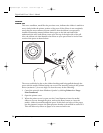
H. CLEARING A MAJOR PRINT MEDIA JAM
Although rare, print media can sometimes begin to separate from its backing while
printing. When this happens, it can occasionally become stuck to the interior
rollers causing the media to jam and halt the print process. If this happens, do not
attempt to rip the media from the printer. This will cause the media to tear,
leaving media fragments within the printer. Instead, use the following procedure
to clear the print media from the printer.
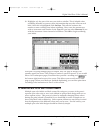
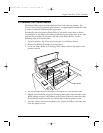
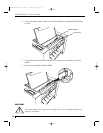
1. Open the printer's Top Cover by pressing the Cover Release Button.
2. Remove the Ribbon Cartridge from the printer.
3. Remove the Print Pressure Bracket in the same manner as when loading a
media roll in the press.
4. Once the bracket is removed, clear all traces of the jammed media from the
printer. You may need to cut the media to clear it from the press. If necessary,
turn the printer power back ON, and press the Cancel button to rotate and
view all areas of the rollers.
5. When all print media is cleared, reload the media roll as described earlier in
this manual.
6. Replace the Print Cartridge and close the Top Cover. Reset the processors of
your press by pushing both Cancel/- and Retry/Enter buttons simultaneously.
You are now ready to resend your print job.
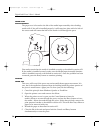
I. REPLACING THE CUTTER BLADE
Your press's cutter uses a tiny razor-sharp blade to kiss-cut its output. Over time,
this blade will eventually begin to grow dull. When this happens, you may notice
one or all of the following symptoms:
The cut line is rough or jagged as if the media were being ripped instead of
sliced.
If the cut line has sharp, pointed corners, some of these corners start to lift up
as they are cut.
Excess cutting pressure is required for print media which originally required
far less pressure.
Print media which normally cuts fine, starts to stall the cutter as cut pressure is
increased.
If any of these symptoms begin to consistently occur, replace the Cutter Blade
according to the following steps.
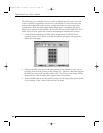
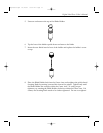
1. Open the Cutter Hood by pulling up on the front of the door's handle.
Impressa3.qxd 10/22/01 9:30 PM Page 69


