


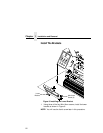

Chapter 1 Adjust The Scanning Beam
30
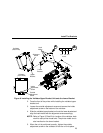
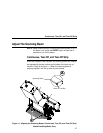
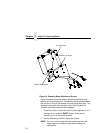
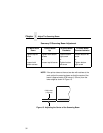
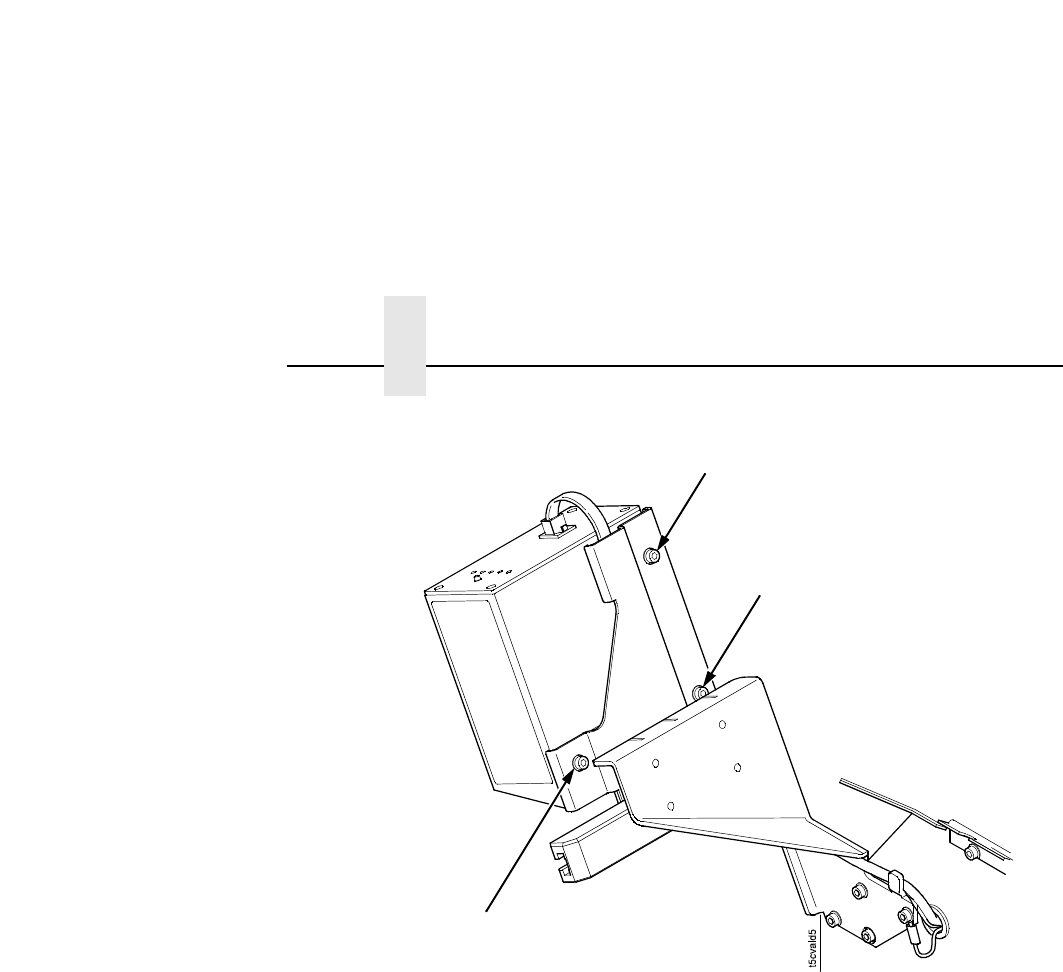
Figure 14. Scanning Beam Adjustment Screws
Figure 14 shows the screws used to adjust the parallelism and
position of the scanning beam. The positions of the screws assume
that you are in front of the validator unit and facing the printer. The
following instructions and illustrations show how to adjust the
validator according to how the beam appears.
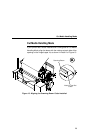
1. Power the printer on and make sure the scanning beam is on. If
the beam is off, press the RESET button for less than 2
seconds to turn on the scanning beam.
2. Use the Allen key provided to adjust the screws.
NOTE: You may have to loosen all three screws and allow the
rubber spacers to expand (relax) before making any
adjustments.
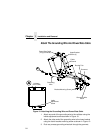
Top Left Screw
Bottom Left Screw
Bottom Right Screw