Configuring the SDS using a Web interface Quatech SDS User’s Manual
Step Procedure Description
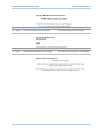
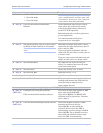
Step 4 (non-MEI) / Step 5 (MEI) applies to all units
Step 4
(non-MEI)
or
Step 5
(MEI only)
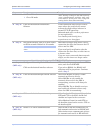
Repeat the steps above for each port you
need to configure and then press Save to
implement all of your changes.
Close and re-open the port to activate
your changes.
That’s it! You’re done. Normal is the
most common operating mode and the
easiest to set up.
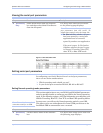
Setting Tunneling operating mode parameters
Serial Tunneling allows two SDS units to create a virtual cable
connection between each other’s serial ports with one end configured
as a master and the other end as a slave. You set up the master with
the slave’s IP address and serial port number that you want use for
the virtual connection. The master finds the slave and makes the
connection. The master configures the slave’s parameters (baud rate,
parity, and so forth) as necessary. A master can connect either to an
SDS in Normal mode or to a slave in Tunneling mode.
Note: In Tunneling, a master
configures a slave so that the
slave can communicate with it.
Note: A Tunnel master needs to
know the slave’s IP address
and serial port number.
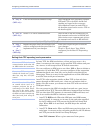
On the slave end, all you have to do is click Slave and leave the rest of
the Operating Mode settings blank. The slave waits for a master to
connect to it and to provide the configuration parameters.
A master connects to one of a slave’s serial ports. A second master can
connect to another port on the slave at the same time. However, you
can only have one Tunnel master/slave combination working at the
same time between any single set of ports.
Step Procedure Description
Preliminary
Step
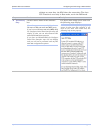
Select Serial Ports from the selection
bar.
Note: Setup screens vary slightly between
RS-232 and RS-232/422/485 (MEI) units.
If you have an RS-232/422/485 (MEI) SDS,
the Configure Serial Port Interface step will
display so that you can select between RS-
232 and RS-422/485 operation.
If you have an RS-232 SDS, the Configure
Serial Port Interface step will not display
and you will not be presented with any RS-
422/485 configuration options.
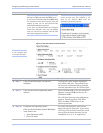
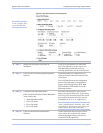
The Serial Port Setup screen shown on
the following page displays.
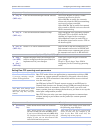
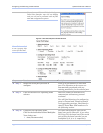
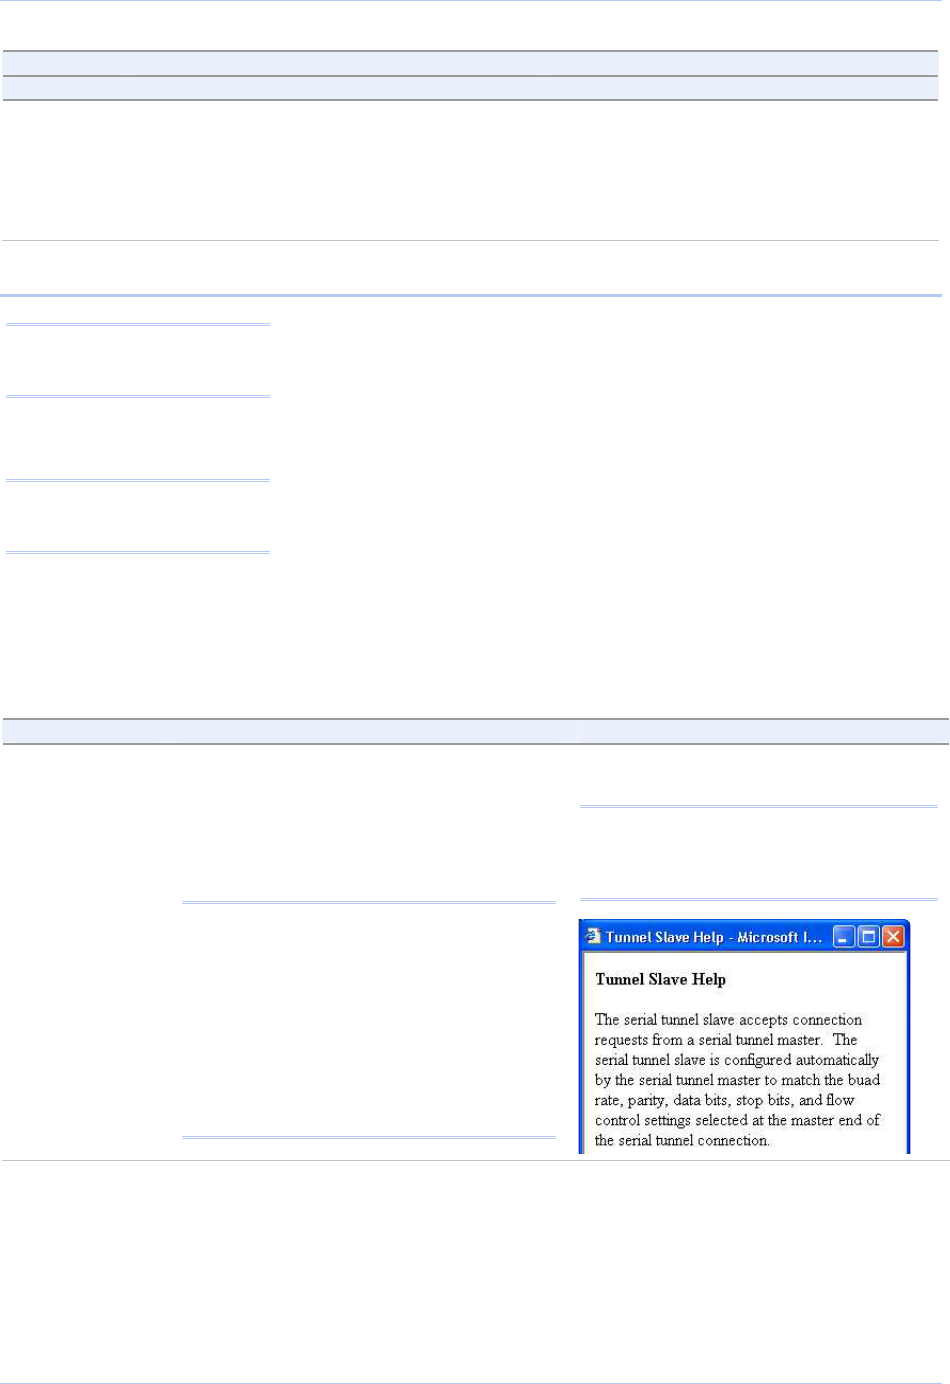
Note: Click on a link to see a pop-up help
screen for that item. For example, if you
click on the Tunnel Slave link, the
following help screen pops up.
Page 58 940-0183-153 July 2005


