


Getting to Know Your ColorgrafX X2 11
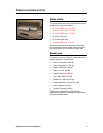
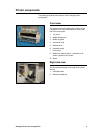
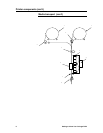
Printer components (con’t)
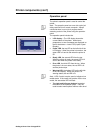
Operations panel (con’t)
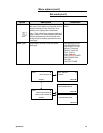
•
Button 1, the top button on the right side of the
LCD provides the Menu button. Pressing the
Menu button shifts the printer to menu mode,
from which you can select printing options.
•
Button 2, the second button is used to
completely rewind the media. Current selected
media will be rewound automatically to the start
feed position.
•
Button 3, the third button rewinds the media as
long as the button is pressed. Current selected
media will be rewound.
•
Button 4, the fourth button moves the media
forward. Current selected media will be fed.
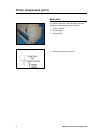
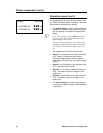
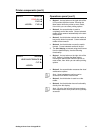
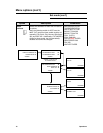
3. The third display, accessed using the left arro
w
from the default display, has the following
functionality:
•
Button 1, the top button on the right side of the
LCD. Button 1 provides the Menu button.
Pressing the Menu button shifts the printer to
menu mode, from which you can select printing
options.
•
Button 2, the second button accesses the
head
maintenance
options.
Note: Head maintenance options can be
accessed from MENU mode as well.
•
Button 3, the third button is used to
cut
the
media.
•
Button 4, the fourth button has no functionality
directly from this display.
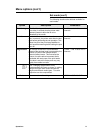
Note: By using the left and right arrow buttons,
the multiple menus at any level can be cyclically
accessed.
READY MENUÎ
HEAD MAINTENANCE Î
CUT Î
<MORE>
READY MENU Î
RWD ALL Î
RWD Î
<MORE> FWD Î