50 Customizing the Slate 99-00666-20 B0
8. Click OK to save your underlay changes. Your changes take effect immediately.
9. Click the Print button to print the customized underlay.
10. Click the Close button to exit the Customize and Print Underlays dialog box.
NOTE: The SMART Board software control panel saves your most recent underlay. The next
time you open the Customize and Print Underlays dialog box, your latest configuration choices
appear.
1. Open the Configure Command Strip dialog box by following steps 1 to 4 in the previous
procedure.
2. Select the tool strip button that you want to customize in the Current Toolbar area.
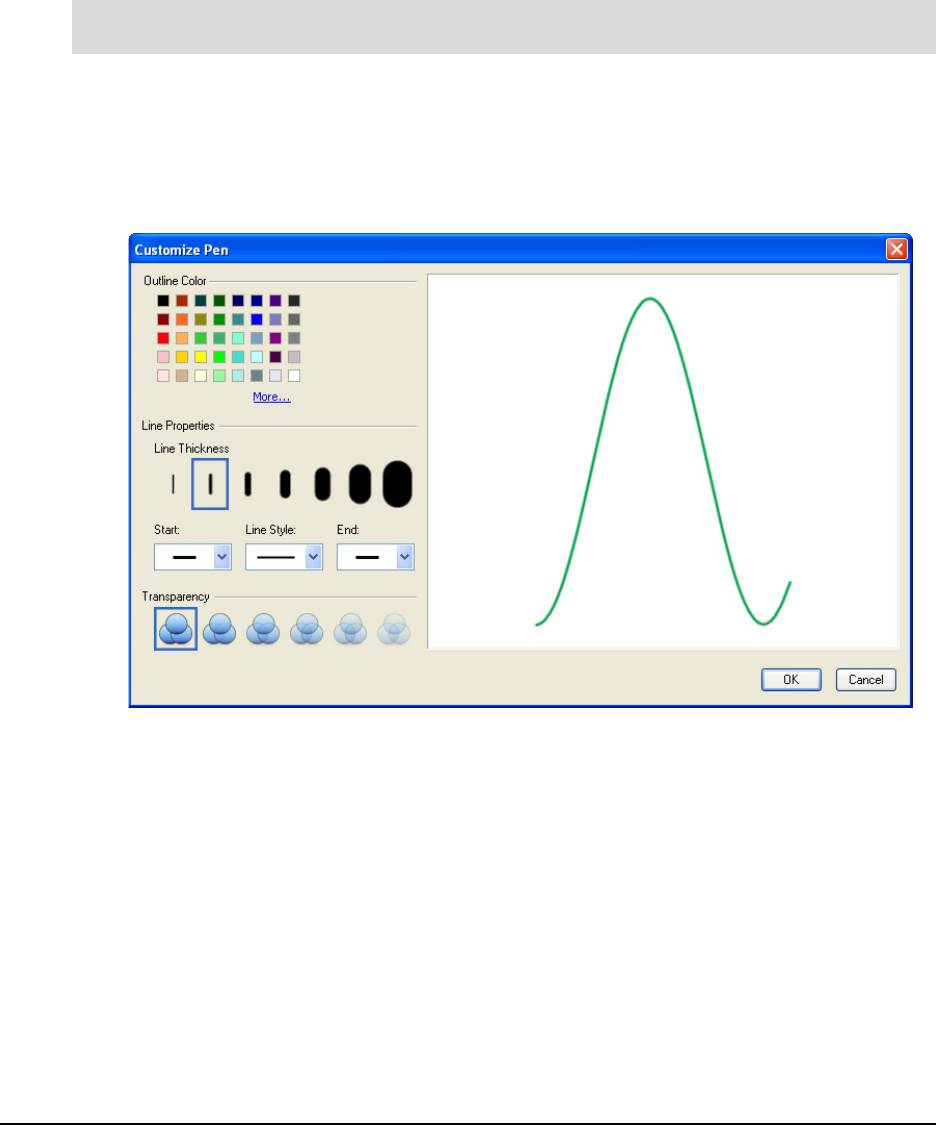
3. Click the Customize button at the bottom of the Configure Command Strip dialog box.
The Customize Pen dialog box appears.
4. Select attributes for your button in the Outline Color, Line Properties and Transparency
areas.
5. Click OK to save the changes to your button.
6. Follow steps 8 to 10 in the previous procedure to save and print your customized underlay.
To customize creative tool buttons (pens, erasers, highlighters, lines, shapes and
stamps)


