


Jun 06
TallyGenicom Intelliprint 8026DN Color Laser Printer User Guide 1-7
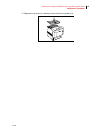
Installation Procedure
Installation Procedure
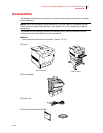
This section describes how to install the printer.
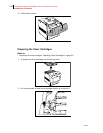
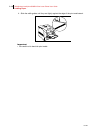
Removing the Tape
When the printer is first taken out of the packaging box, the covers of the printer are taped.
Remove the tapes.
Installing the Optional Accessories
If you have purchased any optional accessories, install them before the drum cartridge, and
before loading paper. If there are no optional accessories to install, proceed to the next section,
“Installing the Drum Cartridge” (P. 1-7).
550 Sheet Tray Module / 1100 Sheet Tray Module
Refer to “550 Sheet Tray Module” (P. 6-2) and “1100 Sheet Tray Module” (P. 6-2) for details.
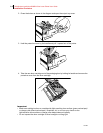
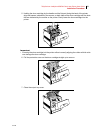
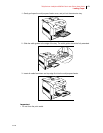
Installing the Drum Cartridge
When installing the drum cartridge, take note of the following points:
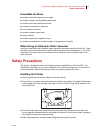
WARNING
• Never throw a drum cartridge into an open flame. Toner remaining in the cartridge can cause
an explosion and you can get burnt.
• Do not subject it to direct sunlight or strong light.
• When installing the drum cartridge, select a location not subject to strong light and try to finish
the installation within 1 minutes.
• Do not touch the surface of the photosensitive drum. Do not stand or place the drum cartridge
upside down. The drum might get damaged.
Refer to
• Replacing the drum cartridge: “Replacing the Drum Cartridge” on page 5-9
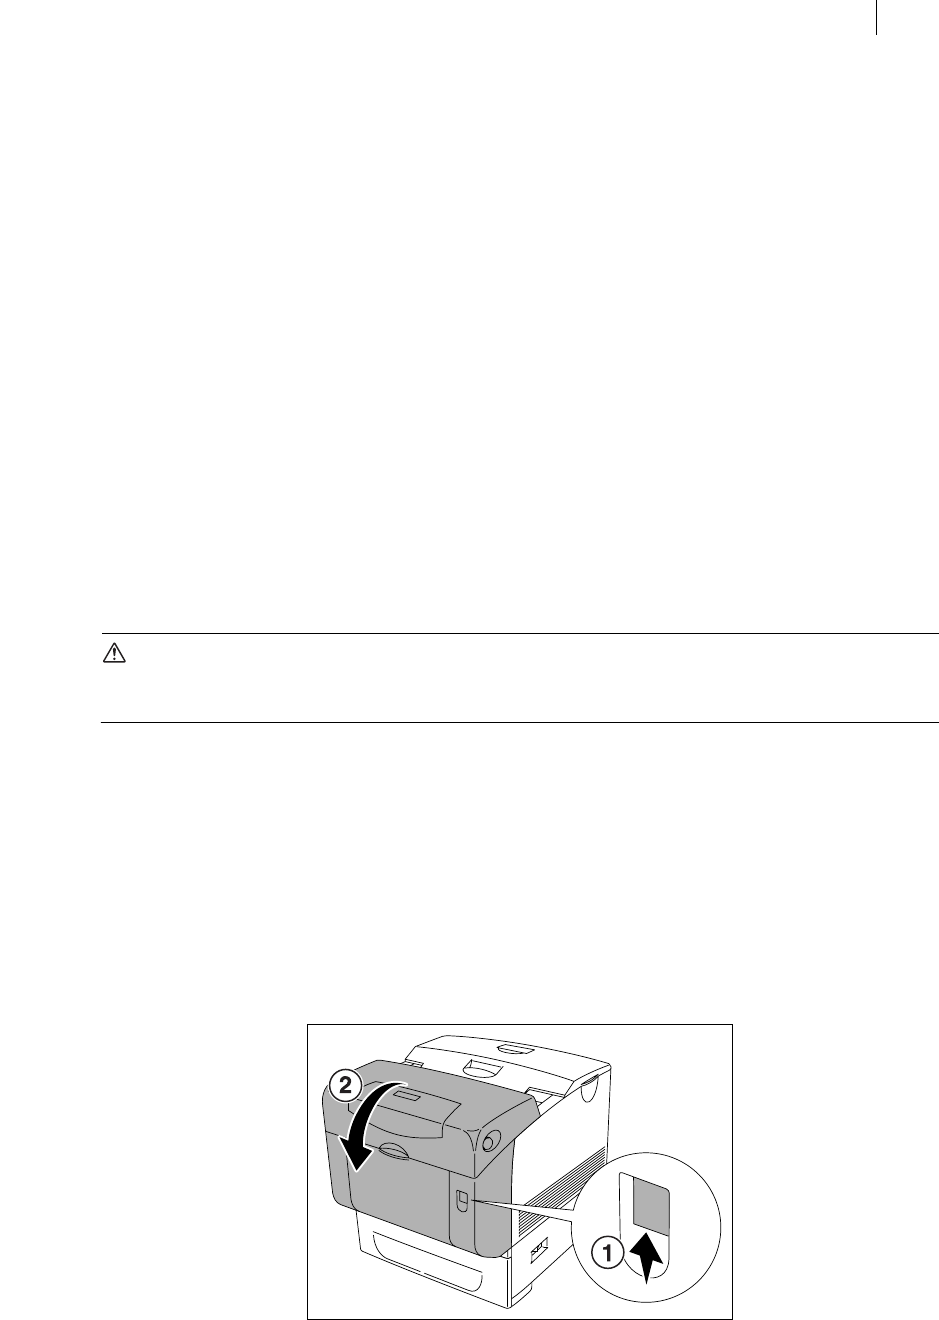
1. Push up button 1 and fully open the front cover 2.