Installing Printer Software
3
User Manual
3-15
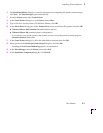
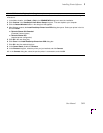
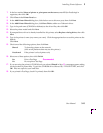
7.
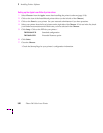
In the box marked
Name of printer or print queue on that server
, enter
PS
(for PostScript) in
uppercase, then click
OK
.
8.
Click
Close
in the
Printer Ports
box.
9.
In the
Add Printer Wizard
dialog box, click the box next to this new port; then click
Next
.
10.
In the
Add Printer Wizard
dialog box, click
Have Disk
to add a new Tektronix driver.
11.
Type in the path name (CD-ROM or diskette) to the driver files, then click
OK
.
12.
Select the printer model and click
Next
.
13.
If prompted that a driver is already installed for this printer, select
Replace existing driver
, then click
Next
.
14.
Type in the printer’s name (any name you want). Click the appropriate box to use this printer as the
default.
Click
Next
.
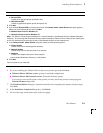
15.
Check one of the following options, then click
Next
:
Shared
To share the printer on the network
(click on all platforms that may use this printer.)
Not shared
If the printer is a local printer only
16.
Select one of these options, then click
Finish
:
Yes
Print a Test Page
Recommended
No
Do not print a Test Page
17.
If you are using the printer’s CD-ROM,
and
you selected
Shared
in Step
15
, a message appears asking
for the location of printer files. Type in the CD-ROM drive followed by
\PPDS95NT.DRV
, and click
OK
. Files are copied to your hard disk.
18.
If you printed a Test Page, check if it printed; then click
OK
.


