June 2005 © TOSHIBA TEC e-STUDIO281c/351c/451c ADJUSTMENT
3 - 93
3
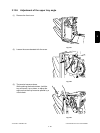
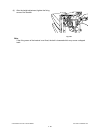
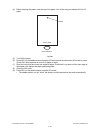
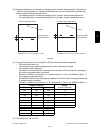
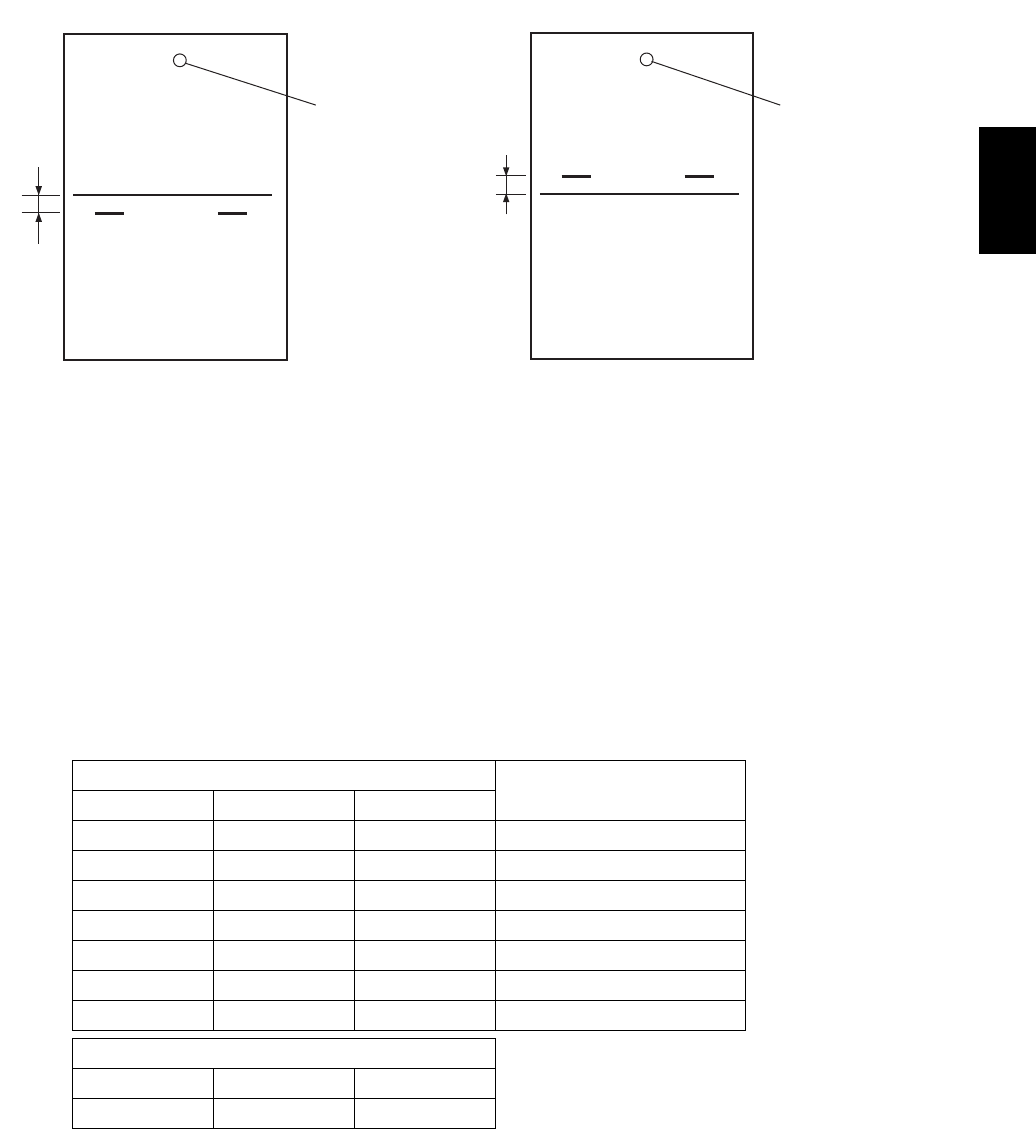
(10) Measure the distance (L) between the stitching position and the folding position. Then perform
“positive width adjustment” or “negative width adjustment” to suit the relationship between the
stitching position and the folding position.
• If the stitching position is below the folding position, perform “positive width adjustment.”
• If the stitching position is above the folding position, perform “negative width adjustment.”
Fig.3-89
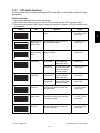
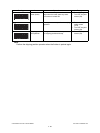
(11) Change the settings of bits 6 through 8 on SW504 referring to the following table.
• If the width adjustment is 0
The stitching position and the folding position match, requiring no change.
• If for “positive width adjustment”
Set SW504 so that the difference resulting from subtraction of the interval from the appropri-
ate setting in the table below is provided.
Example: If SW504 is currently set to +2 and the interval is +1 mm, set SW504 to reflect - 2.
• If for “negative width adjustment”
Set SW504 so that the sum resulting from addition of the interval from the appropriate setting
in the table below is provided.
Example: If SW504 is currently set to -1 and the interval is -0.5mm, set SW504 to reflect +1.
(12) Set SW504 bits 1 to 4 to OFF.
DIPSW1 bit settings
Setting
(in units of 0.5 mm)
Bit 6 Bit 7 Bit 8
OFF ON ON +3
OFF ON OFF +2
OFF OFF ON +1
OFF OFF OFF 0
ON OFF ON -1
ON ON OFF -2
ON ON ON -3
Do not use the following setting
Bit 6 Bit 7 Bit 8
ON OFF OFF
Mark
Stitching position
Folding position
Unit: mm
Example: If L is 0.5 mm, provide "-0.5 mm".
Mark
Folding position
Stitching position
Unit: mm
Example: If L is 1 mm, provide "+1 mm".
Positive Width Adjustment Negative Width Adjustment
L
L


