


2
2-18 Color Calibration
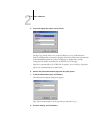
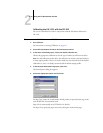
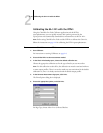
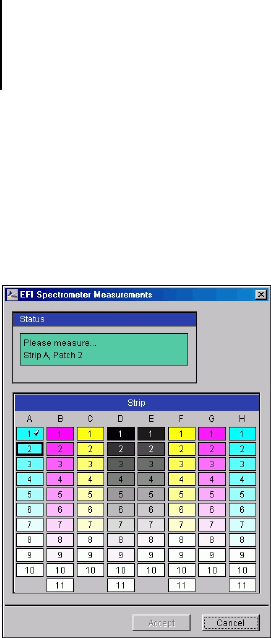
When the patch has been measured successfully, a check mark appears in the patch
preview in the Measurements window. The window identifies and highlights the next
patch to be measured.
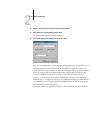
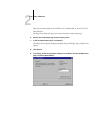
10. Repeat step 9 to measure each successive patch on the Measurement Page.
Start with A1 and continue down Column A. When you have finished measuring all
the patches in Column A, proceed to Column B in the same manner until all columns
have been measured.
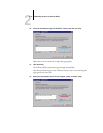
To retake a measurement, select the desired patch preview in the Measurements
window and measure the patch on the page using the ED-100.
NOTE: You must take the measurements in the order outlined in the Measurements
window and on the measurement page.
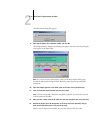
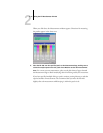
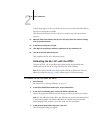
11. When all the patches have been read successfully, click Accept.
12. Click Apply in the Calibrator window to implement the new calibration set.
13. Click OK in the Information dialog box.
N
OTE: This completes the GA-1121 calibration process.