


2
2-22 Color Calibration
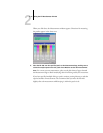
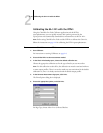
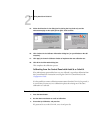
A check mark appears on the circle of the color just read, and the Status field indicates
the color was measured successfully.
Click Previous and Next to reverse or advance to another step in the measurement
sequence.
13. When the Status field indicates that all four color strips have been read successfully,
click Accept Measurements.
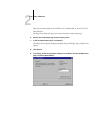
14. In the Measure dialog box, click OK.
15. Click Apply in the Calibrator window to implement the new calibration set.
16. Click OK in the Information dialog box.
This completes the GA-1121 calibration process.
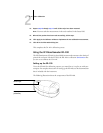
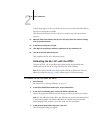
Calibrating the GA-1121 with the DTP32
Using the DTP32, you can quickly measure color patches and download these
measurements to the GA-1121 using ColorWise Pro Tools Calibrator.
NOTE: Before using ColorWise Pro Tools and the DTP32 to calibrate the GA-1121,
follow the instructions on page A-10 for calibrating the DTP32 densitometer.
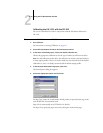
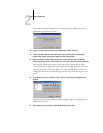
TO CALIBRATE THE GA-1121 USING THE DTP32
1. Start Calibrator.
For instructions on starting Calibrator, see page 2-6.
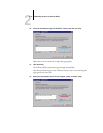
2. In the Select Measurement Method pane, choose X-Rite DTP32.
3. In the Check Print Settings pane, choose the desired calibration set.
Choose the appropriate calibration set for the type of media you will use most often.
NOTE: For this calibration to take effect, the calibration set must be associated with one
or more output profiles. The default calibration set is already associated with the
default output profile, so there is no need to make any new associations.
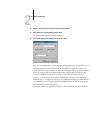
4. In the Generate Measurement Page pane, click Print.
The Print Options dialog box appears.