4 Replacement Procedures 4.8 CPU
4.8 CPU
Removing the CPU
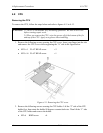
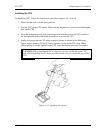
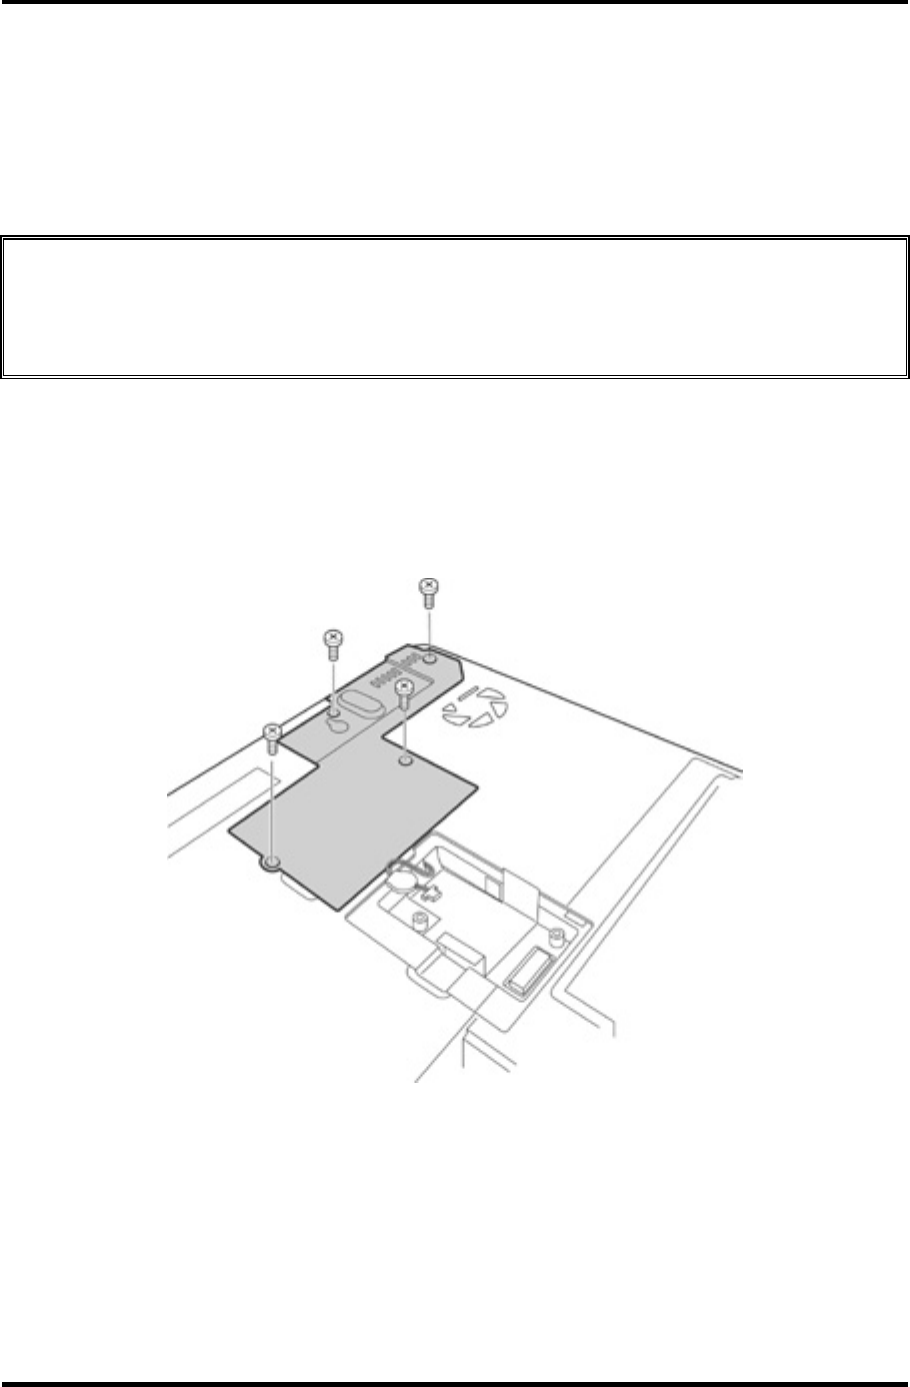
To remove the CPU, follow the steps below and refer to figures 4-11 to 4-13.
CAUTION: 1) The CPU can become very hot during operation. Be sure to let it cool
before starting repair work.
2) When you remove the CPU, wipe the grease off of the bottom of the fin
and top of the CPU. Apply new grease when installing.
1. Remove the following screws securing the CPU cover. Insert your finger into the slot
and remove the CPU cover while supporting the “A” side in the figure below.
• M2.5×4 FLAT HEAD screw ×3
• M2.5×16 FLAT HEAD screw ×1
Figure 4-11 Removing the CPU cover
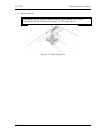
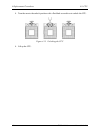
2. Remove the following screws securing the CPU holder. Lift the “2” side of the CPU
holder first, then rotate the holder 90 degrees counterclockwise. Then lift the “1” side
of the CPU holder and remove the holder.
• M2×6 BIND screw ×4
4-24 TECRA M1 Maintenance Manual (960-436)


