4.24 Wireless LAN Antenna/Bluetooth Antenna/Display Cover/Speaker 4 Replacement Procedures
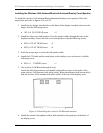
Installing the Wireless LAN Antenna/Bluetooth Antenna/Display Cover/Speaker
To install the wireless LAN antenna/Bluetooth antenna/display cover/speaker, follow the
steps below and refer to figures 4-41 to 4-50.
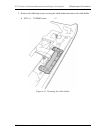
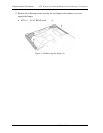
1. Install the two hinges into the hole on the back of the display assembly and secure the
hinges with the following screws.
• M2.5×6 FLAT HEAD screw ×2
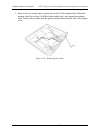
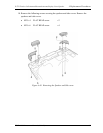
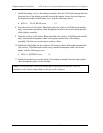
2. Install the side covers and speakers. Pass the speaker cables through the hole on the
display assembly. Secure the side covers and speakers with the following screws.
• M2.5×4 FLAT HEAD screw ×2
• M2.5×6 FLAT HEAD screw ×4
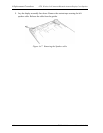
3. Stick the acetate tape to secure the left speaker cable.
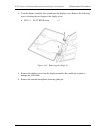
4. Install the LCD cable and the metal plate on the display cover and secure it with the
following screw.
• M2.5×4 TAPPING screw ×1
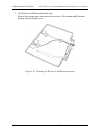
5. (For wireless LAN/Bluetooth models only)
Attach the following antennas with double-sided adhesive tapes in the order of the
main wireless LAN antenna (with white cable), Bluetooth antenna (with brown cable)
and sub wireless LAN antenna (with black cable) at the rear of the display cover.
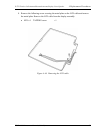
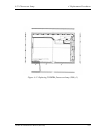
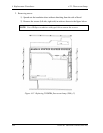
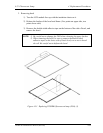
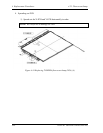
Figure 4-50 Installing the wireless LAN/Bluetooth antenna
6. Install the internal microphone with its hole attached to the guide pin of the back of
the display cover.
TECRA M1 Maintenance Manual (960-436) 4-83


