41
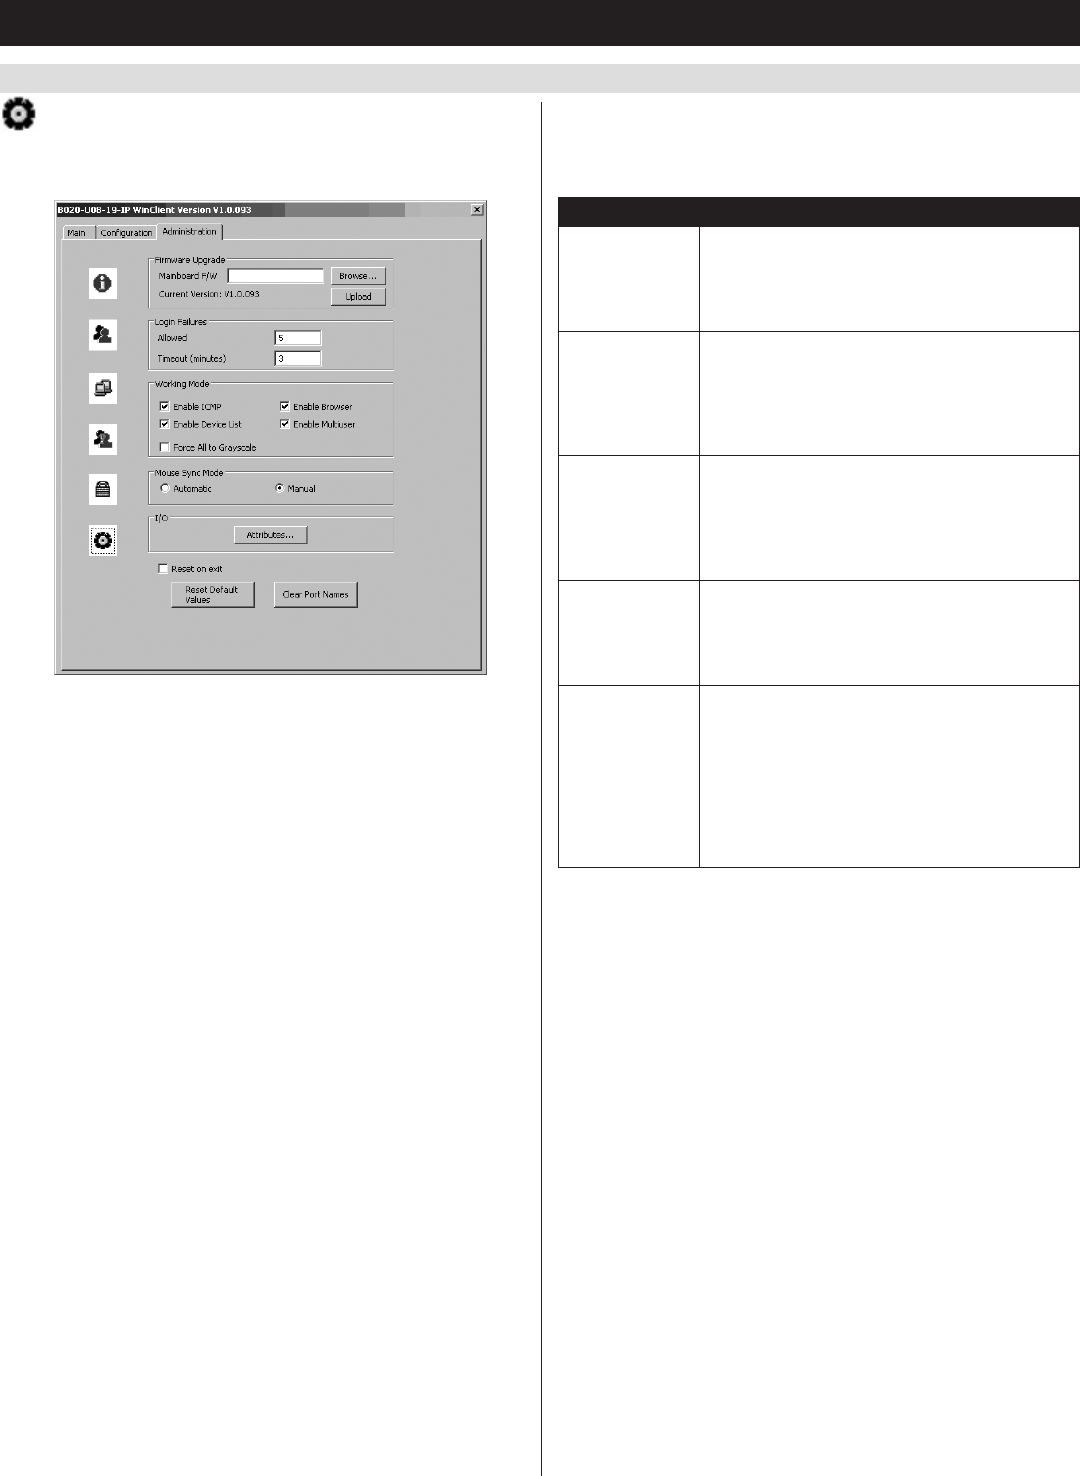
7.2.3 Remote OSD Administration Tab
(
continued
)
7. Administration
(
continued
)
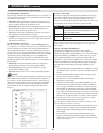
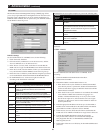
Customization
The Customization screen allows administrators to upgrade the IP
firmwareoftheKVMandconfiguresettingsrelatedtoKVMoperation.
The sections that follow discuss the settings you will find on this page.
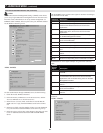
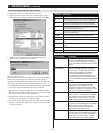
Customization – Firmware Upgrade
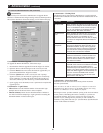
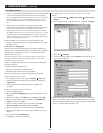
ToupgradetheKVM’sIPfirmware,followthesesteps:
1. DownloadthefirmwareupgradefilefromtheTrippLitewebsite.
2. Open the Remote OSD and navigate to the Customization tab.
3. Click the Browse button and select the firmware upgrade file you
just downloaded from the Tripp Lite website.
4. ClicktheUpload button in the Customization tab. A prompt
appears to inform you the firmware upgrade process is underway.
Upon completion, a prompt will appear stating the upgrade was
successful,andthatyouwillneedtologoutandresettheKVM.
5. UponloggingoutoftheKVM,aresetisperformedtocompletethe
upgrade process.
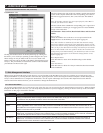
Customization – Login Failures
• Allowed:Enter into this field the number of unsuccessful login
attempts that will be allowed from a remote computer.
• Timeout(minutes):Enter into this field the number of minutes a
user must wait before attempting to login again after exceeding the
maximum number of unsuccessful logins.
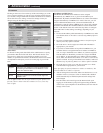
Customization – Working Mode
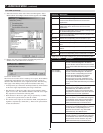
The Working Mode section allows administrators to toggle particular
KVMfunctionsON/OFF.Thetabledescribesthefunctionsthatcanbe
controlled:
Function Description
Enable ICMP When enabled, the KVM can be pinged and an IP
address can be assigned with the ARP command.
If it is not enabled, the device cannot be pinged,
nor can it be assigned an IP address with the
ARP command. The default is Enabled.
Enable Device
List
When enabled, the KVM will show up in the list of
recognized devices in the non-browser Windows
client main screen. If not enabled, the non-
browser Windows client will not be able to display
it in the list of recognized devices. The default is
Enabled.
Force All to
Grayscale
When enabled, the remote display for all users
and ports is displayed in black and white. In low
bandwidth situations, forcing video to grayscale
can reduce the amount of data being transferred
over the network and improve keyboard/mouse
response time. The default is Disabled.
Enable Browser When enabled, users are able to access the KVM
switch via web browser. If browser access is not
enabled, users must use either the Windows or
Java non-browser clients to access the switch.
The default is Enabled.
Enable Multiuser When enabled, more than one user can log into
the KVM at the same time. The default is Enabled.
Note: This does not allow multiple users to
simultaneously access different ports on the KVM
switch, it only allows multiple users to login at the
same time. When logged in at the same time, the
first user to access the KVM switch will have
control of the selected port, and all other users
will be able to view that port.
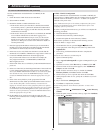
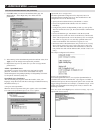
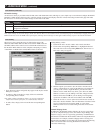
Customization – Mouse Sync Mode
Determineshowthelocalandremotemousepointermovement
becomes synchronized.
Note: In order to be able to remotely access computers connected to
the KVM via the PS/2 connectors on the KVM cable kit, this setting
must be set to Manual. It is set to Manual by default.
Selecting Automatic provides automatic syncing of the local and remote
mousepointers,eliminatingtheneedtoconstantlyre-syncthetwo
movements manually. If Automatic syncing isn’t able to keep the
pointers in sync, selecting Manual provides you with a number of
methodstobringthembackintosync.(SeetheMouseSynchronization
section in this manual for details.)


