9
5. Installation
(
continued
)
5.6.1 Local Console
(
continued
)
5.6.2 IP Installer
5.6.3 Browser
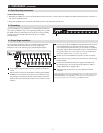
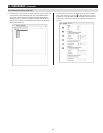
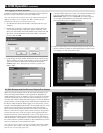
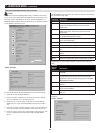
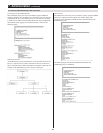
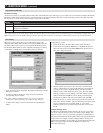
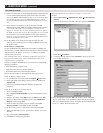
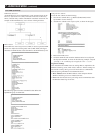
2. Press the [F4] keytobringuptheOSDAdminpage.
3. IntheOSDAdminpage,highlightSET IP ADDRESS and press the [Enter] key.
4. DHCP–ThersteldallowsyoutoenableordisableDHCP.Whenenabled,theKVMisassignedanIPaddressbytheDHCPserver.This
setting is enabled by default. To disable the DHCP setting and set up a fixed IP address, press the [Spacebar] key.OncetheDHCPisdisabled,
youwillbeallowedtoedittheremainingeldsintheSETIPADDRESSscreen.
5. Intheremainingelds,enterintheIPaddress,subnetmaskanddefaultgatewayyouwanttoassigntotheKVMswitch.
6. Pressthe[Esc] key to exit the SET IP ADDRESS screen, and to pull up a prompt asking if you wish to save the settings you just entered. If you do
not wish to save the settings, press the [N] key. If you do wish to save the settings, press the [Y] key. Upon pressing the [Y] key, the settings will
besavedandtheKVMwillbereset.
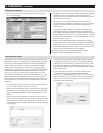
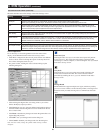
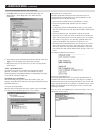
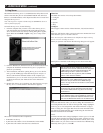
TheCDthatcomeswiththeproductincludesaWindows-basedIP
Installer utility that can be used to obtain and edit the IP address
assignedtotheKVM.TousetheIP Installer utility, the computer you
are using must be running a Windows operating system, and must be on
thesamenetworkastheKVM.Also,theIP Installer setting in the
Network pageoftheWebManagementInterfacemustbesetto
Enabled, which it is by default (see the Network settings section in this
manual for details).
Note: The IP Installer settings can only be accessed via the browser-
based Web Management Interface. They are not accessible in the
RemoteOSD.
1. Save the IP Installer.exelefromtheCDtoadesiredlocationona
computerthatisonthesamenetworkastheKVM.
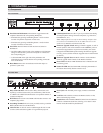
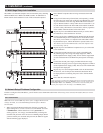
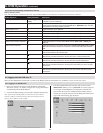
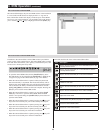
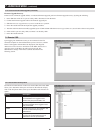
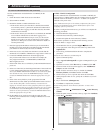
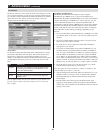
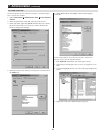
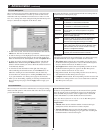
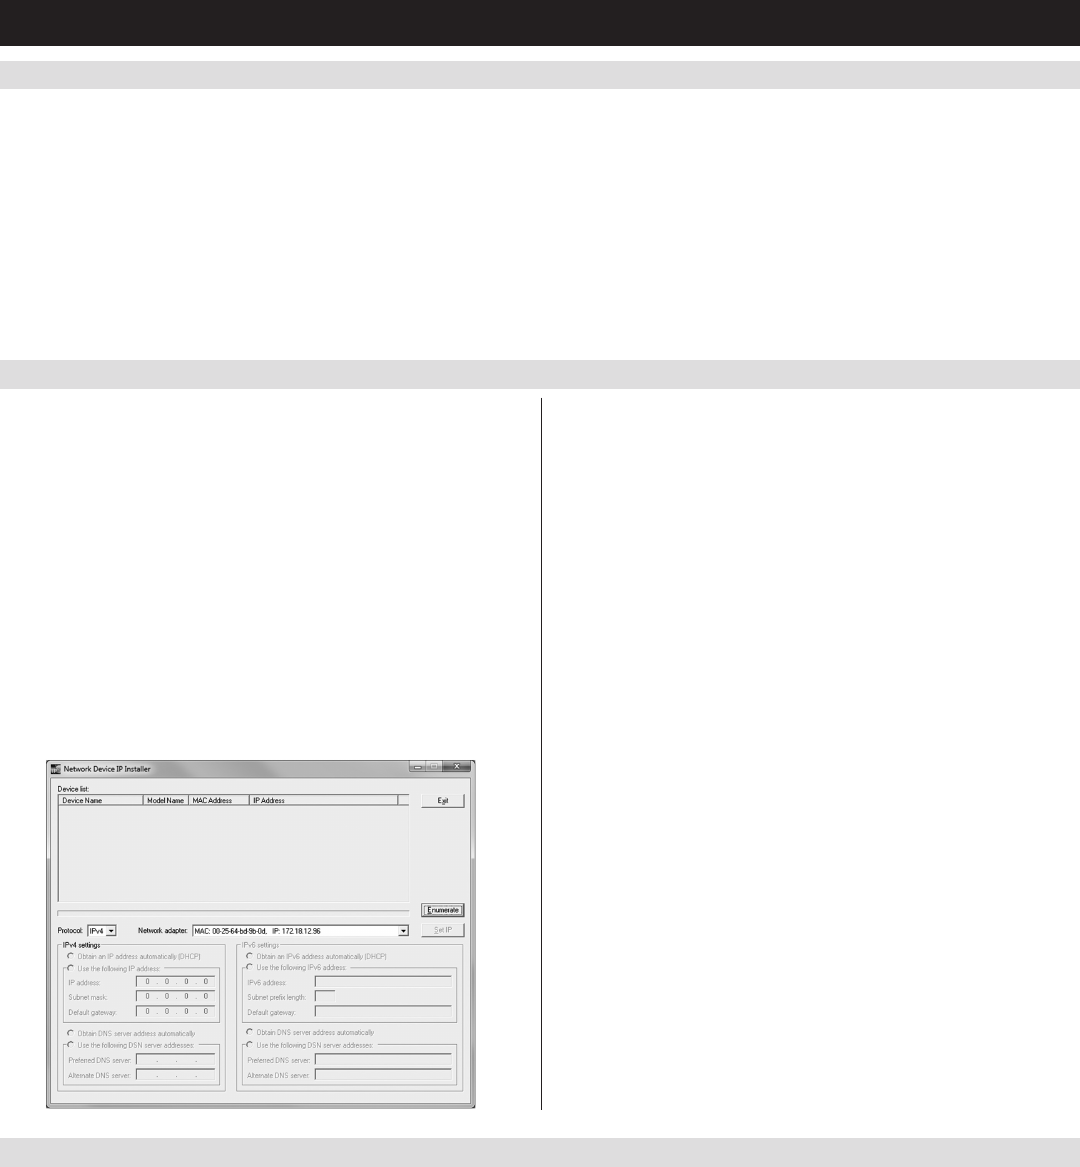
2. Locate the IP Installer.exelethatyoujustsavedanddouble-click
on it. A screen similar to the one below will appear:
3. SelectyourKVMfromtheDevice List. Note: If the list is empty, or
your device doesn’t appear, click the Enumerate button to refresh the
DeviceList. If there is more than one device in the list, use the MAC
address on the bottom of your unit to determine the desired device.
4. ToassignaxedIPaddress,checktheUse the following IP address
checkbox and fill in the IP Address, Subnet Mask, and Default
Gateway fields with information appropriate for your network
(IPv4orIPv6).
5. Click the Set IP button to apply the changes to the unit. The new
IP address will appear in the Device List.
6. ClicktheExit button to exit the IP Installer utility.
Bydefault,theB022-U08-IPissettohaveanIPaddressassignedautomaticallyviaDHCPserver.Ifthisisthecase,youwillneedtoobtaintheIP
addressfromyournetworkadministrator.IfconnectedtoanetworkwithoutaDHCPserver,itbootswithadefaultIPaddress.ThedefaultIPv4and
IPv6addressescanbefoundonthestickeronthebottomoftheunit.
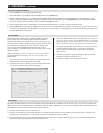
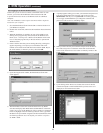
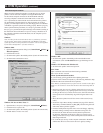
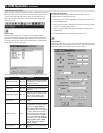
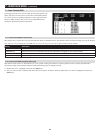
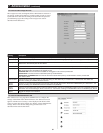
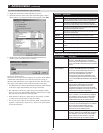
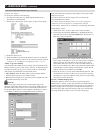
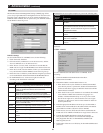
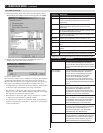
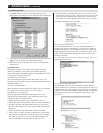
1. Enter the unit’s IP address into your web browser.
2. You may be prompted by a screen stating that there is a problem with this website’s security certificate. Click on the option to continue to the
website anyway. (See Web Browser Login section for details on installing the security certificate)
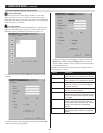
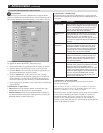
3. You will be brought to a login page. Enter the default Username (administrator), and the default Password (password).TheWebManagement
Interface will open upon entering the Username and Password.