Xerox DocuMate 3460
User’s Guide
138
Accessing the TWAIN Interface
Every TWAIN scanning application will access the scanner using a different method. Below is a brief list
of common applications and how to initiate a scan from within that application, including some of the
applications which may have been provided with your scanner.
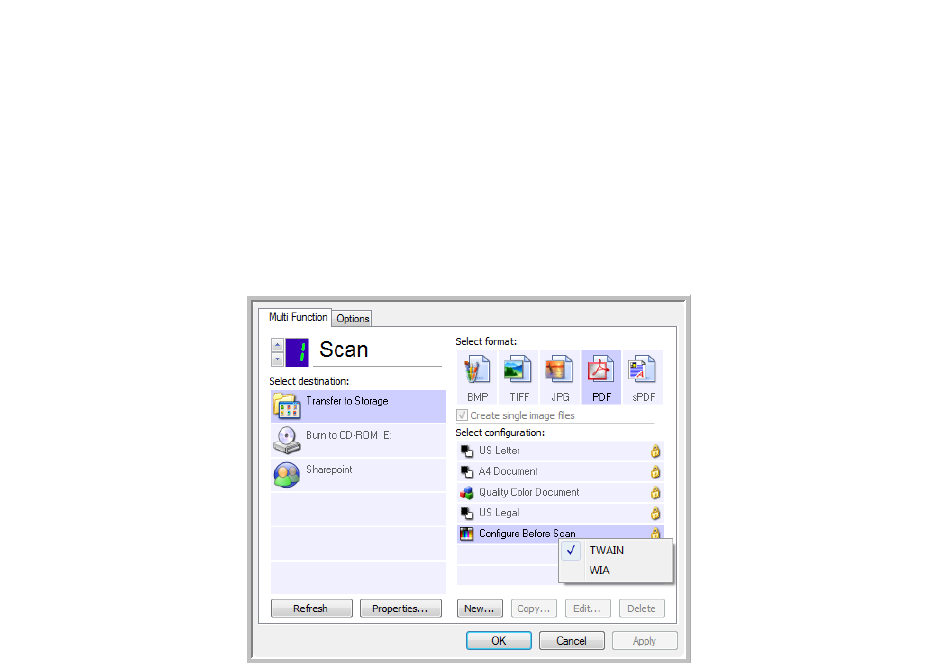
• One Touch: Open the One Touch Properties window and under the Configuration List select
“Configure Before Scan”. Click on OK to save the changes, the next time you scan using that
button the TWAIN interface will open immediately.
• PaperPort: On the Toolbar click on the Scanner icon to open the Scan Pane on the left side of the
PaperPort desktop. Select your scanner in the Scan Pane then click on the “Scan” button in the
Scan Pane. If you get a message that the scanner is not in the PaperPort database, follow the
instruction so screen to run the Scanner Setup Wizard.
• OmniPage: Go to File, then Get Page, then click on Scan. If you get a message that the scanner is
not in the OmniPage database, follow the instruction so screen to run the Scanner Setup Wizard.
• ArcSoft: Click on the Scanner icon from the main menu.
• Corel Paint Shop Pro: From the File menu select the Import option to select your scanner model,
then from the file menu select the Import function and choose TWAIN Acquire.
• Adobe Software: Depending on the application you can “Create a file” then select the scanner as
your creation source, or “Import a Picture” and select the scanner as your import from source.
• Microsoft Software: Depending on the application you can go to “Insert Picture... from Scanner or
Camera”, “File... Scanner or Camera”, or “Insert Picture to Clip Organizer from Scanner or Camera”.


