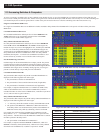
33
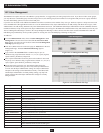
10. Administrator Utility
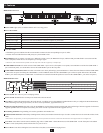
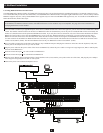
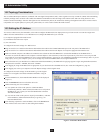
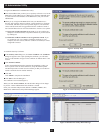
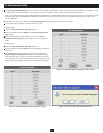
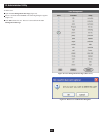
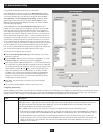
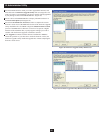
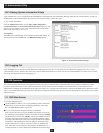
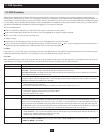
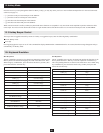
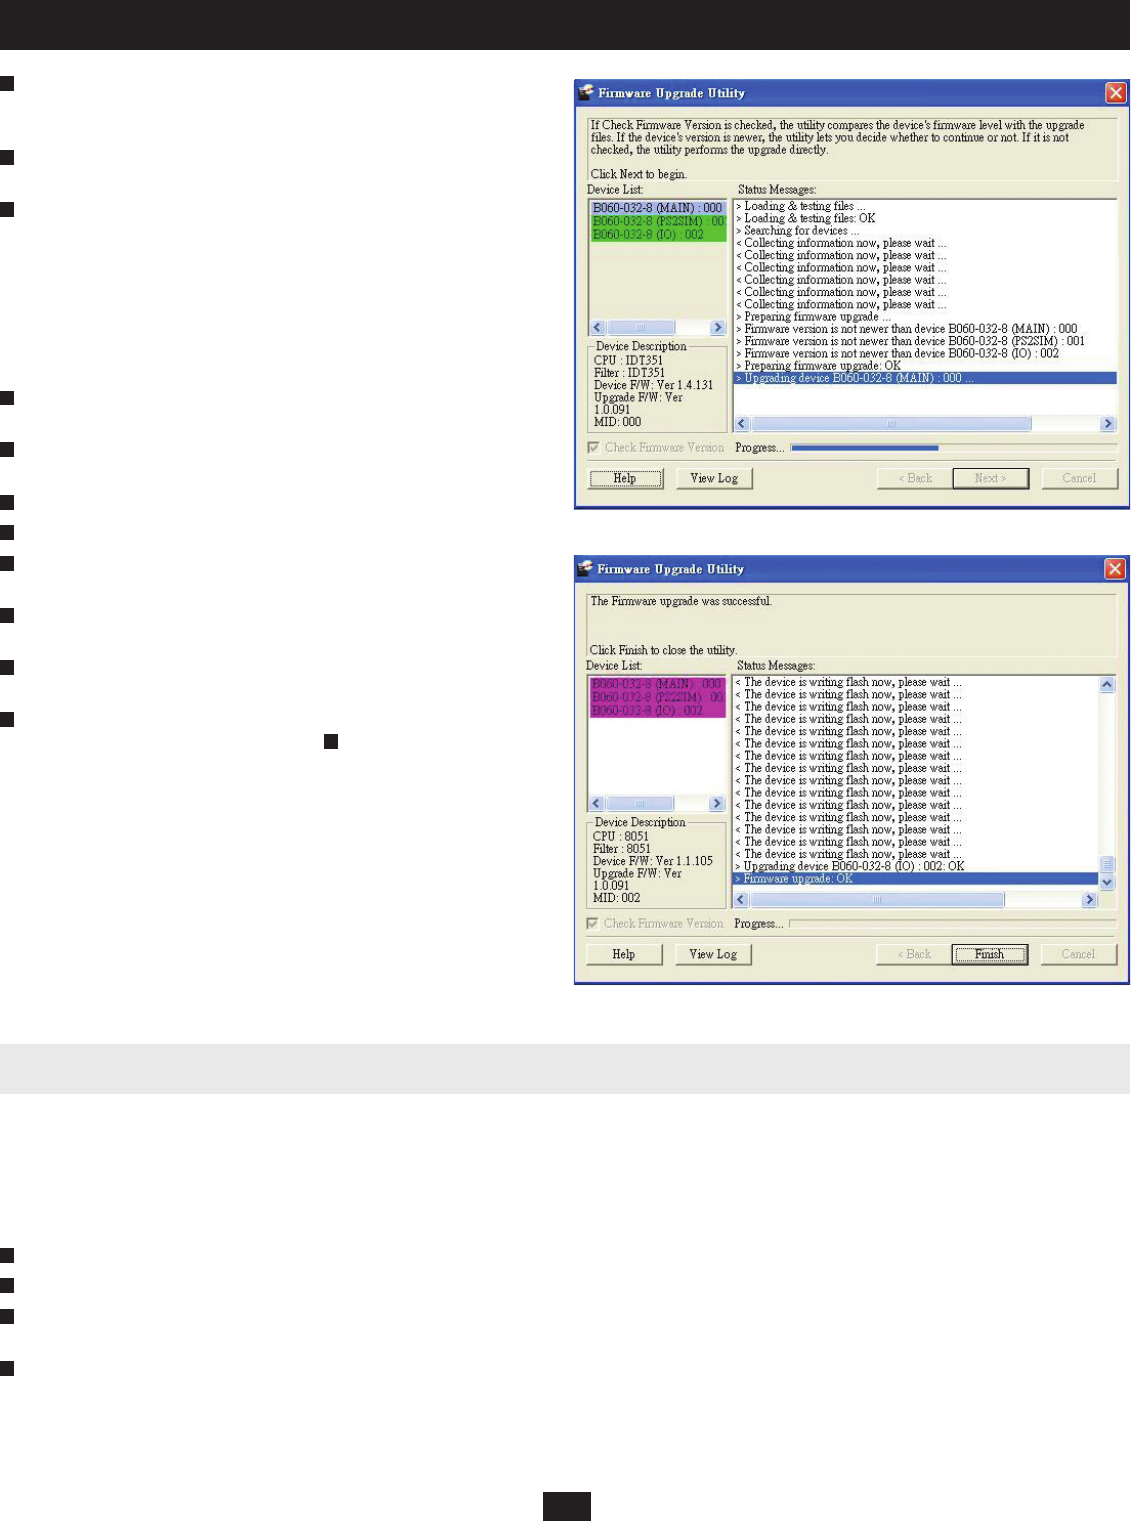
As the upgrade proceeds, status messages appear in the Status Messages
box, and the progress toward completion is shown on the Progress bar
(Figure 30).
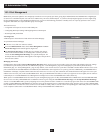
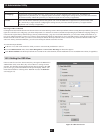
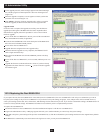
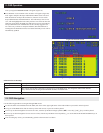
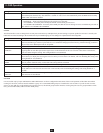
When the upgrade is complete, a screen appears to inform you that the
procedure was successful (Figure 31).
Click Finish to close the Firmware Upgrade Utility. After a successful
fi rmware upgrade, the KVM switch exits Firmware Upgrade mode.
Upgrade Failed
If a device fails to complete the upgrade successfully, start the fi rmware
upgrade procedure again. If the B060-032-8 becomes inoperable after a
failed fi rmware upgrade, follow this procedure to recover from a failed
fi rmware upgrade:
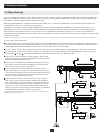
Power off the fi rst-level B060-032-8. Do not power off the cascaded and
daisy-chained KVM switches (if applicable).
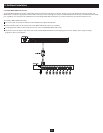
Locate the F/W UPGRADE switch on the back panel of the B060-032-8.
Place the switch in the RECOVER position.
Power on the fi rst-level B060-032-8.
Upgrade fi rmware using the Firmware Upgrade Utility.
When the fi rmware upgrade recovery completes, the B060-032-8 will
emit a single continuous beep.
Place the F/W UPGRADE switch in the NORMAL position. The beep
will stop.
Power off the fi rst-level B060-032-8, wait 5 seconds, and then power it on
again.
Upgrade the fi rmware to the latest fi rmware version. If you have already
upgraded to the latest fi rmware version in , you do not need to upgrade
the fi rmware again.
6
6
5
4
4
3
2
1
7
7
8
8
Figure 30: Firmware Upgrade Utility Main Screen (Update in Progress)
Figure 31: Firmware Upgrade Utility Main Screen (Update Complete)
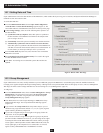
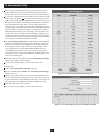
10.18 Replacing the Root B060-032-8
If you replace the root (fi rst-level) B060-032-8 with a child (lower-level) B060-032-8, the new root B060-032-8 will ask you to confi rm that you want to
keep the system settings of the previous root B060-032-8. If you choose to keep the settings, all groups, users, and port notes will be retained. However,
some system settings such as date, time, station name, and Web Page Session Timeout may be lost. If you choose to discard the settings, the B060-032-8 will
return to its factory default settings. The B060-032-8 cannot be accessed until you have completed this procedure.
To replace the root B060-032-8:
Disconnect and remove the root B060-032-8 from the installation and replace it with the new root B060-032-8.
Login to the Administrator Utility. A Web page appears that asks you to confi rm whether you want to keep the system settings.
Click Ye s to keep the system settings of the previous root B060-032-8; or, click No to discard the system settings and return to the original factory default
settings.
The B060-032-8 automatically resets and returns to the login screen. Now you may access the B060-032-8.
4
3
2
1