


Upgrading an Enterprise 3000 to CMS R3V9
40 CentreVu CMS R3V9 Sun Enterprise 3000 Computer CVUE Instructions
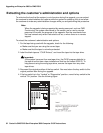
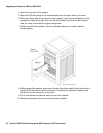
4. Open the front door of the system.
5. Attach an ESD wrist strap to the metal chassis of the computer and to your wrist.
6. While the original disk drives are still in the computer, use the colored labels from the
upgrade kit to label each disk drive with the slot number. Save the old disk drives in
case you have to reinstall the original configuration.
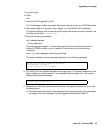
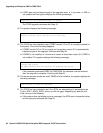
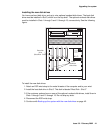
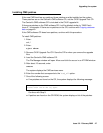
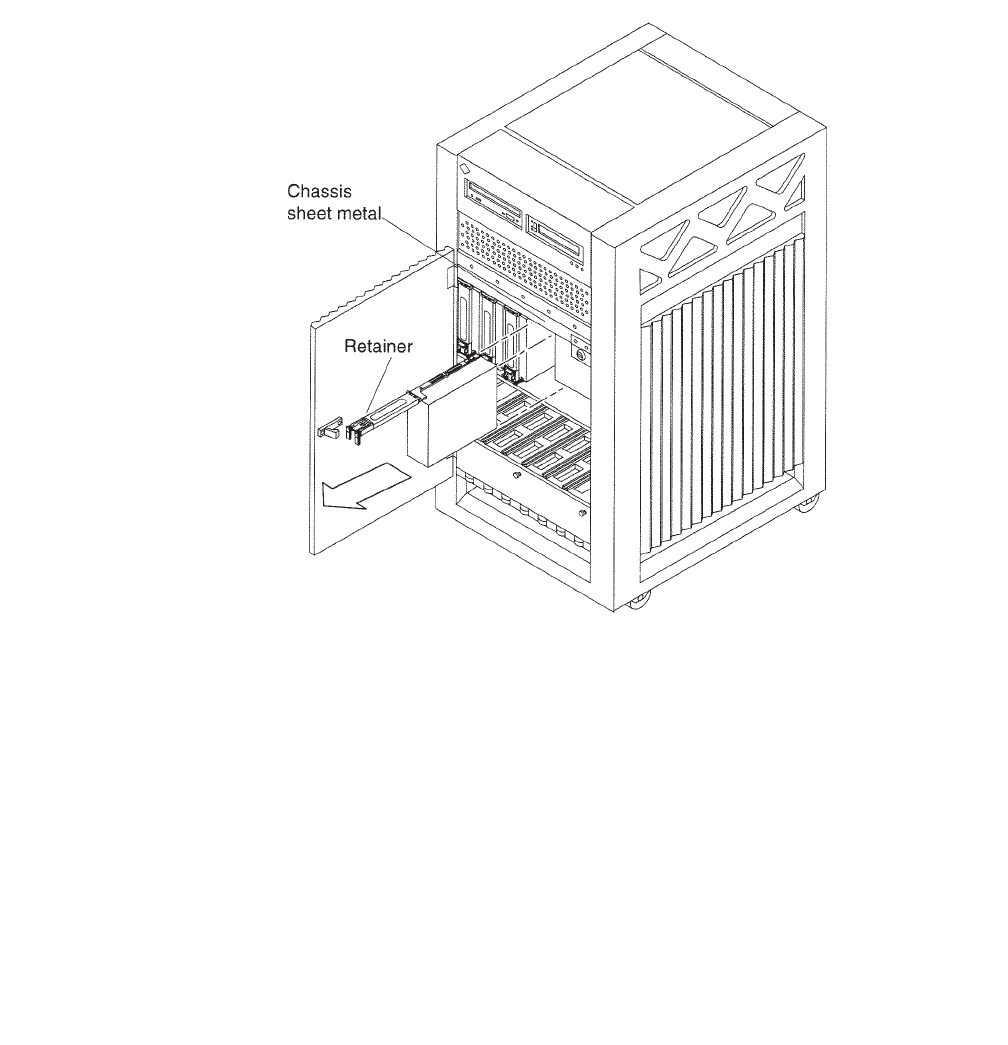
7. Unlatch the disk drive retainer. Use the extended retainer as a handle. See the
following figure.
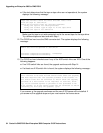
8. While grasping the retainer, press your thumb on the sheet metal of the chassis that is
directly above the disk drive to be removed. This allows for smoother release of the
disk drive from the connector on the drive.
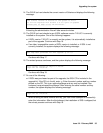
9. Pull on the retainer to slide the disk drive out of the chassis.
10. Repeat this procedure for each disk drive that is installed.
e3000_remove_disk.cdr