2
CONFIGURING THE 802.11B/G AND IP
SETTINGS
Configuring the Print Server
To configure the print server for an 802.11b/g wireless network, you must set the wireless mode
(Ad-Hoc or infrastructure), SSID, channel (Ad-Hoc mode only), data rate and security. All nodes
of a wireless network need to have the same settings to communicate with each other.
There are several ways to configure your print server. You can
send console commands using a utility such as Monarch® NetManager. See “Installing the
Software” for NetManager information.
♦
♦
♦
♦
♦
use a Web browser. See Chapter 4, “Using a Web Browser” for more information.
use the Sierra Sport Configurator with Avalanche. See Chapter 5, “Using the Sierra Sport
Configurator” for more information.
use Telnet. See Chapter 6, “Telnet Console Commands” for a list of supported commands.
select the RF Network (9460) and Network (9493) printer menus. See “Setting Up Using the
Printer’s Menu.” The printer’s menus allow you to do basic setup.
Before You Begin
Configure your computer to communicate on a wireless network before you continue.
To connect a device using an access point, set your computer to infrastructure mode. ♦
♦
♦
♦
♦
♦
To connect directly to a device without an access point, set your computer to Ad-Hoc
Computer-to-Computer mode, or whatever mode your adapter uses to communicate without
an access point.
To use Ad-Hoc mode, temporarily disable security on your access point. After the print
server is configured, re-enable security on the access point.
To use WEP (Wired Equivalent Privacy) encryption or other advanced security, such as WPA
(Wi-Fi Protected Access), on your wireless network, temporarily disable the security on your
computer in order to configure the print server. To allow non-secure clients to communicate
with each other, temporarily change the wireless mode of your host to Ad-Hoc mode.
To use TCP/IP, note your computer’s IP address. The print server needs to be on the same
IP segment as the other nodes on your network in order to communicate.
You need a good signal between your computer and the access point to communicate.
Setting Up the 9460™ Using Direct Serial Connections
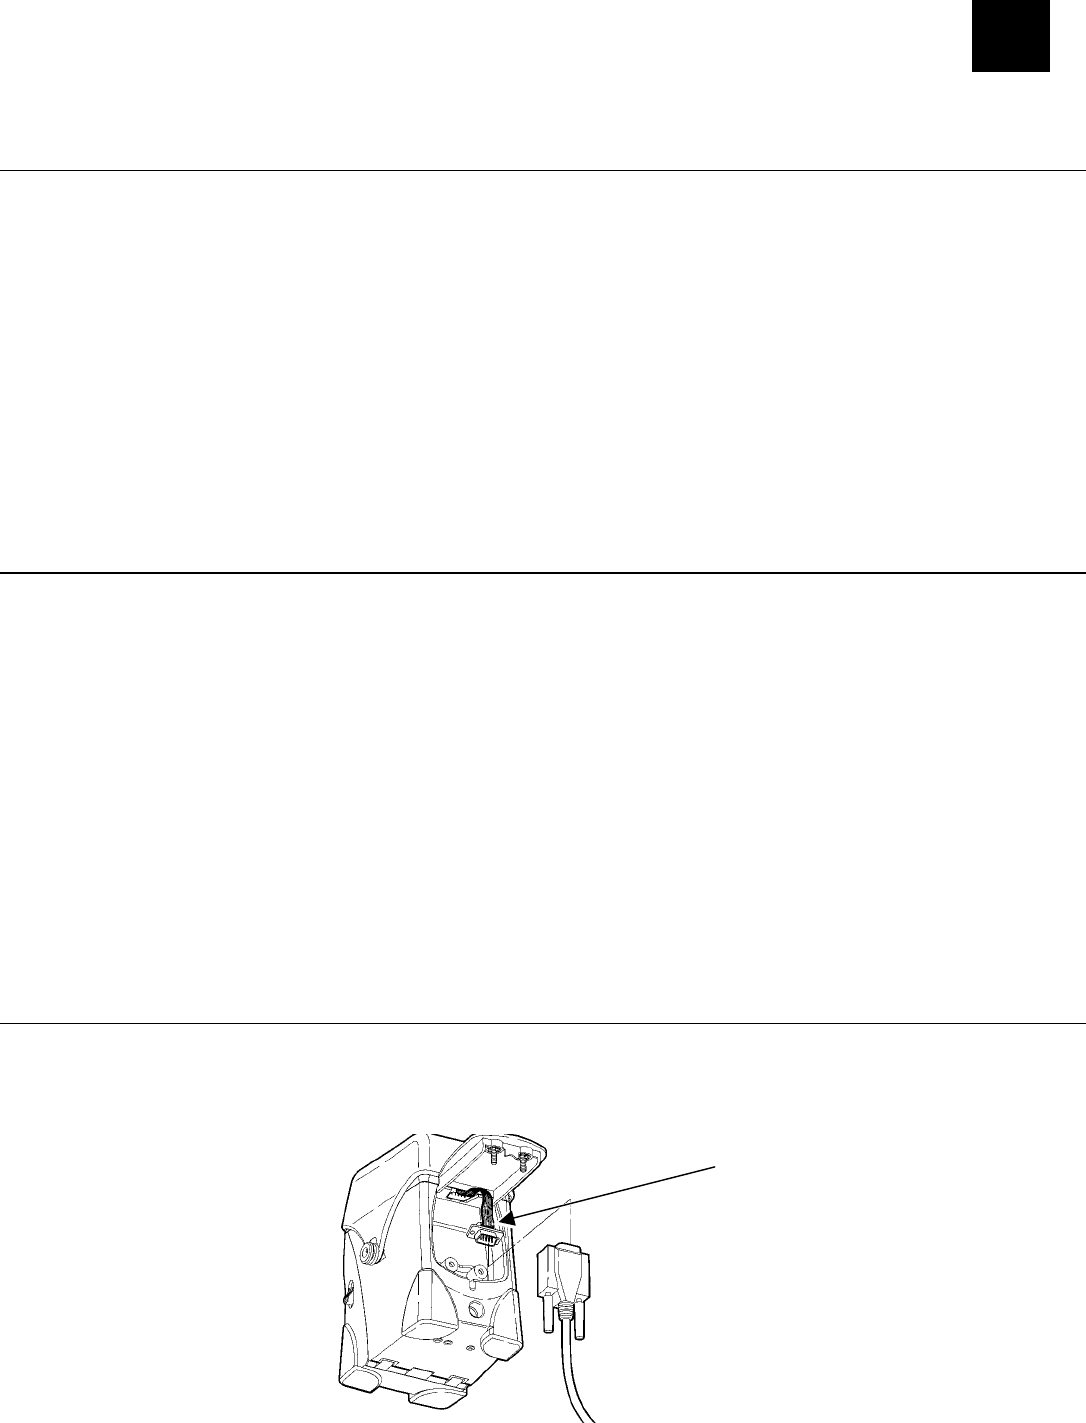
1. Disconnect the printer’s radio cable from the printer’s serial port.
2. Connect a serial cable (DB9 female to DB9 female all lines wired straight through) from the
host or computer to the print server’s radio cable.
Radio Cable
Configuring the 802.11b/g and IP Settings 2-1


