Printing Photographs Directly from a Digital Camera
40
note
• When printing photos with the digital camera connected to the printer, it is
advisable to use the AC adapter supplied with the camera. If you use the camera
battery, be sure to charge it fully.
• Depending on the model or brand of your camera, you may have to select a mode of
printing photos in compliance with PictBridge before connecting the camera.
• You may also have to turn on the camera or select Play mode manually after
connecting the camera to the printer. Perform necessary operations according to
the Instruction Manual supplied with your camera.
• When printing from your PC, be sure to unplug the cable connecting the digital
camera.
• The printer performs printing with its print speed decreased to improve its print
quality as much as possible when the print head has not been aligned. The print
speed may be increased if you perform the print head alignment.
see “Aligning the Print Head” on page 59.
1
Turn on the printer.
2
Load the 101.6×152.4mm/4"×6" paper into the paper support in the
portrait position (feed from the short side) and the print side facing up.
3
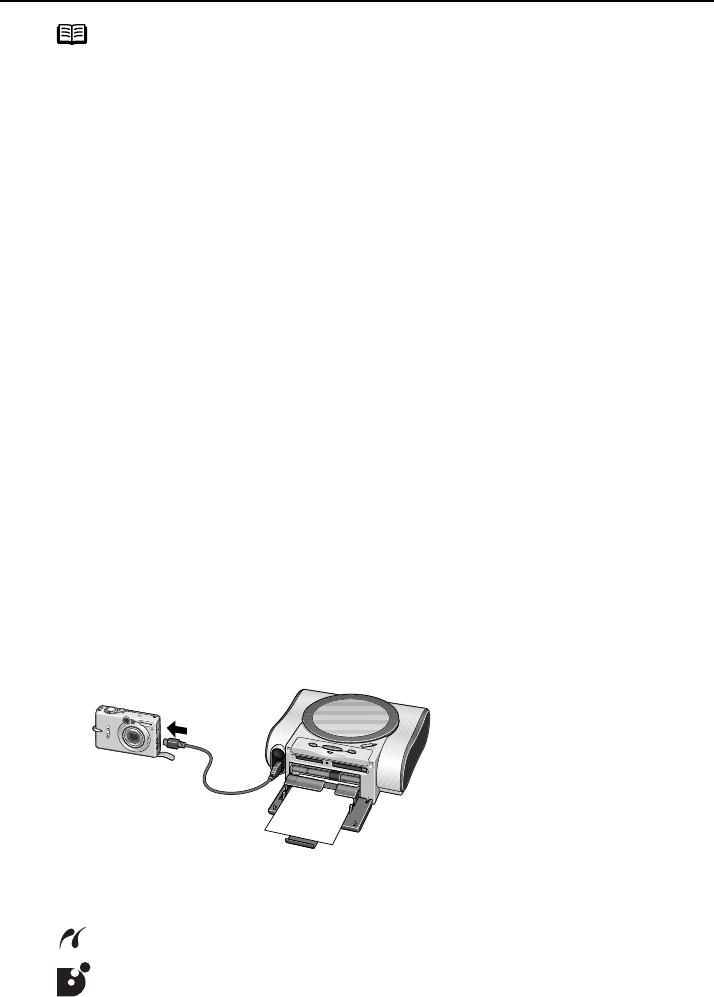
Connect the digital camera to the printer.
(1) Make sure the camera is turned off.
(2) Connect the camera to the printer using the USB cable (for connection to
computer) supplied with the camera.
(3) Turn on and Set up the camera for direct printing.
When the connection between the camera and printer has been established, the
Power lamp on the printer flashes once.
* The power-on sequence may differ depending on the model or brand of the
camera.
The icon will display on the LCD display of the digital camera when the printer
is correctly connected.
: A PictBridge-compliant digital camera.
: A Canon Bubble Jet Direct compatible digital camera.


