3
3-16 Managing Print Jobs
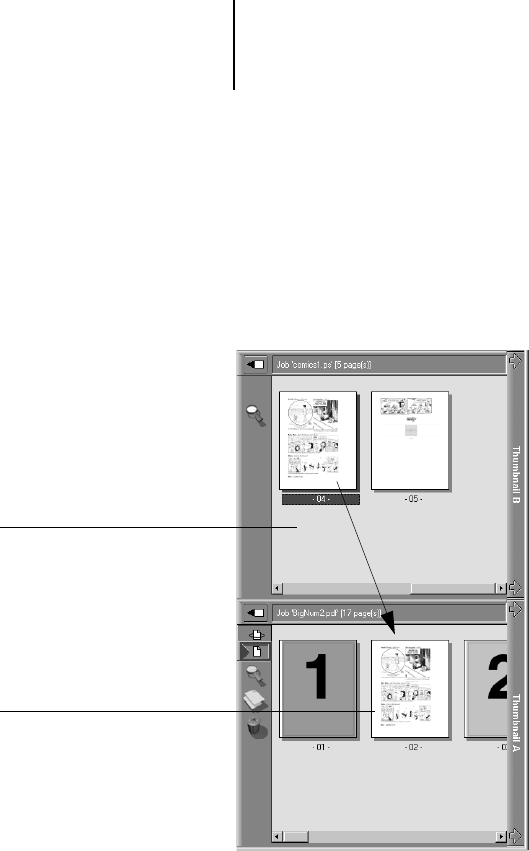
NOTE: To insert a Thumbnail B page directly after the last Thumbnail A page,
drag the Thumbnail B page so that it is just to the right of the last Thumbnail
A page and shows an arrow pointing to the right. If the Thumbnail B page is
placed too far to the right of the last Thumbnail A page, the Thumbnail B
page will replace the last Thumbnail A page.
Multiple undos are available; use Ctrl-Z or the Undo command to undo all
the way back to your first edit. There is no Redo function.
NOTE: Make sure to save the merged job before deleting any of the jobs you
used to create the merged job.
Thumbnail B pages moved into Thumbnail A adopt some specific attributes
of the Thumbnail A job, such as the document and user name. However,
many color-related print options that are set in the Thumbnail B page, such
as CMYK Simulation and Rendering Style, remain with the specific page.
This could result in a merged job being made up of pages with different
attributes.
Thumbnail B
Page 4 copied from
document in Thumbnail B
