A
dvanced Guide
>
Faxing
>
Sending/Receiving Faxes Using the Operation Panel of the Machine
> Rejecting Fax
Reception
Rejecting Fax Reception
You can set the machine to reject faxes with no sender information or those from specific senders.
Select one of the following conditions to reject faxes.
Faxes with no caller identification.
Faxes from senders not registered to the coded speed dial codes.
Faxes from senders registered in the machine as rejected numbers.
1.
Press the
FAX button, then press the
Menu
button.
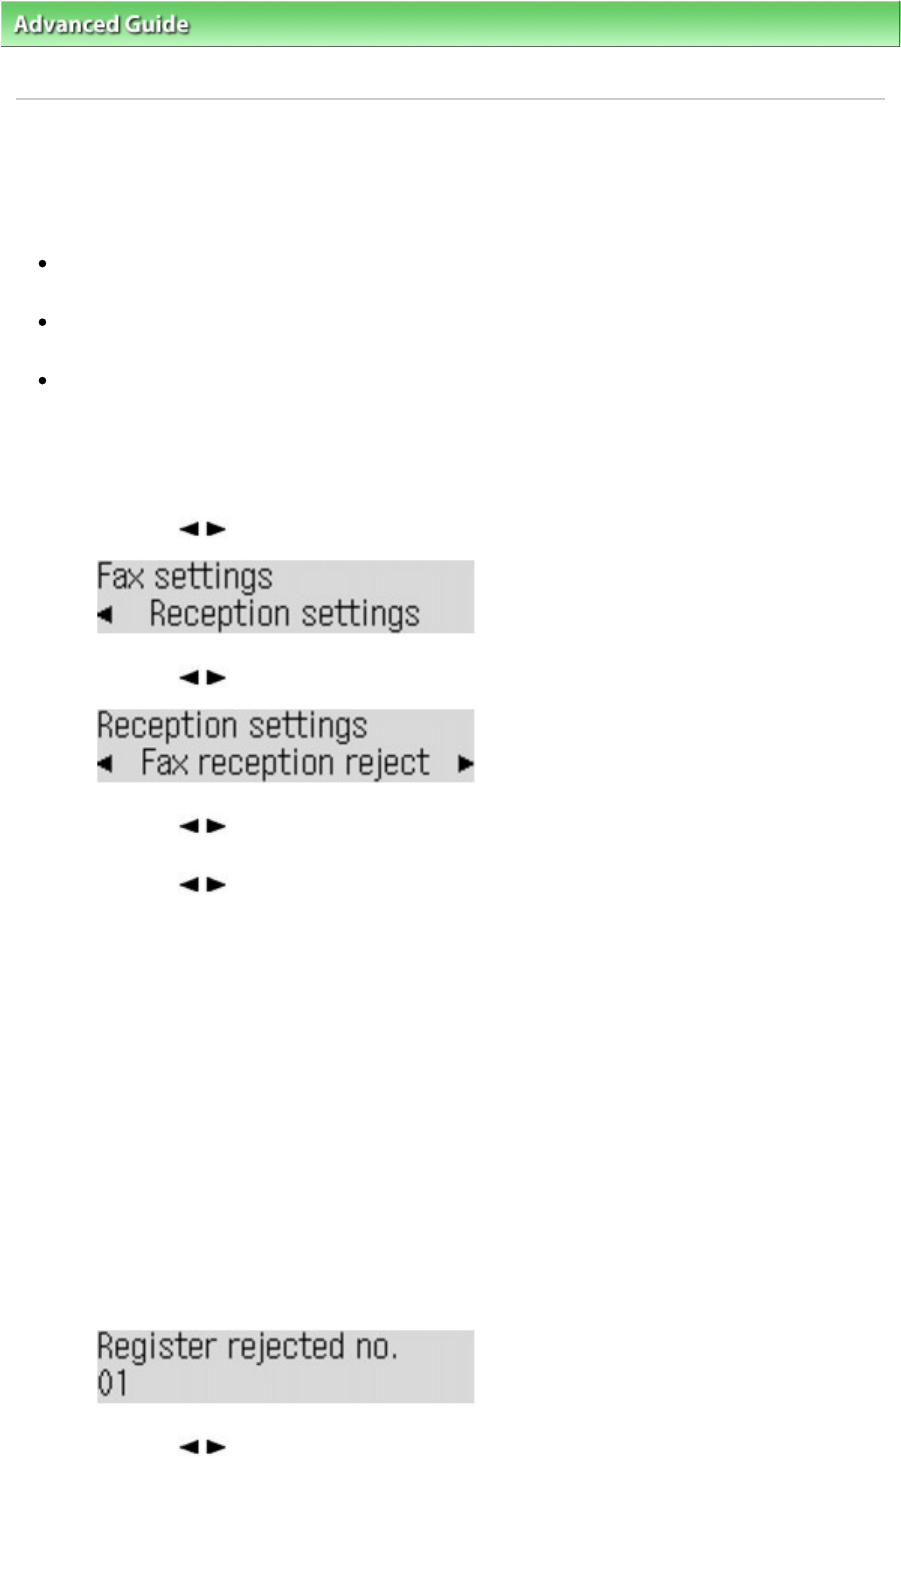
The Fax settings screen is displayed.
2.
Use the button to select Reception settings, then press the
OK
button.
3.
Use the button to select Fax reception reject, then press the
OK
button.
4.
Use the button to select ON, then press the
OK
button.
5.
Use the button to select the fax rejection condition, then press the
OK
button.
You can select one of the three conditions below.
No sender info.*
Rejects faxes with no caller identification.
Coded dial unset*
Rejects faxes from the senders not registered to coded speed dial codes.
* This setting may not be available depending on the country or region of purchase.
Rejected numbers
Rejects faxes from the senders registered in the machine as rejected numbers.
If you select Rejected numbers, follow the procedure below to register a fax/telephone number to
reject.
1.
Select Yes for Register rejected no.?.
The screen for registering a rejected number is displayed.
2.
Use the button to select the dial code to register, then press the
OK
button.
3.
Use the Numeric buttons to enter the fax/telephone number to reject, then press
the
OK
button.
Page 595 of 817 pagesRejecting Fax Reception


