


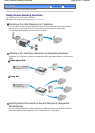
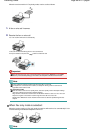

3.
Send the fax.
Press the
Color
button for color sending, or the
Black
button for black & white sending.
Important
Color sending requires that the recipient's fax machine supports color faxing.
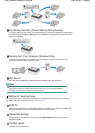
Adjusting the Sending Quality
You can adjust the density (scan contrast) or image quality (fax resolution) of the document you send.
Contrast is the degree of difference between light and dark. Increasing the scan contrast thickens the
whole fax image, or light penciled texts and such can be thickened. The higher you set the image quality
setting, the better the output quality will be at the other end, but the longer it will take for the transmission.
A
djust the density and image quality according to the type of document you are sending.
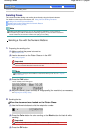
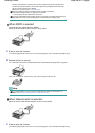
1.
Press the
FAX button, and press the FAX
Quality
button.
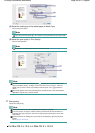
The Scan contrast screen will appear.
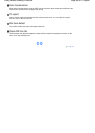
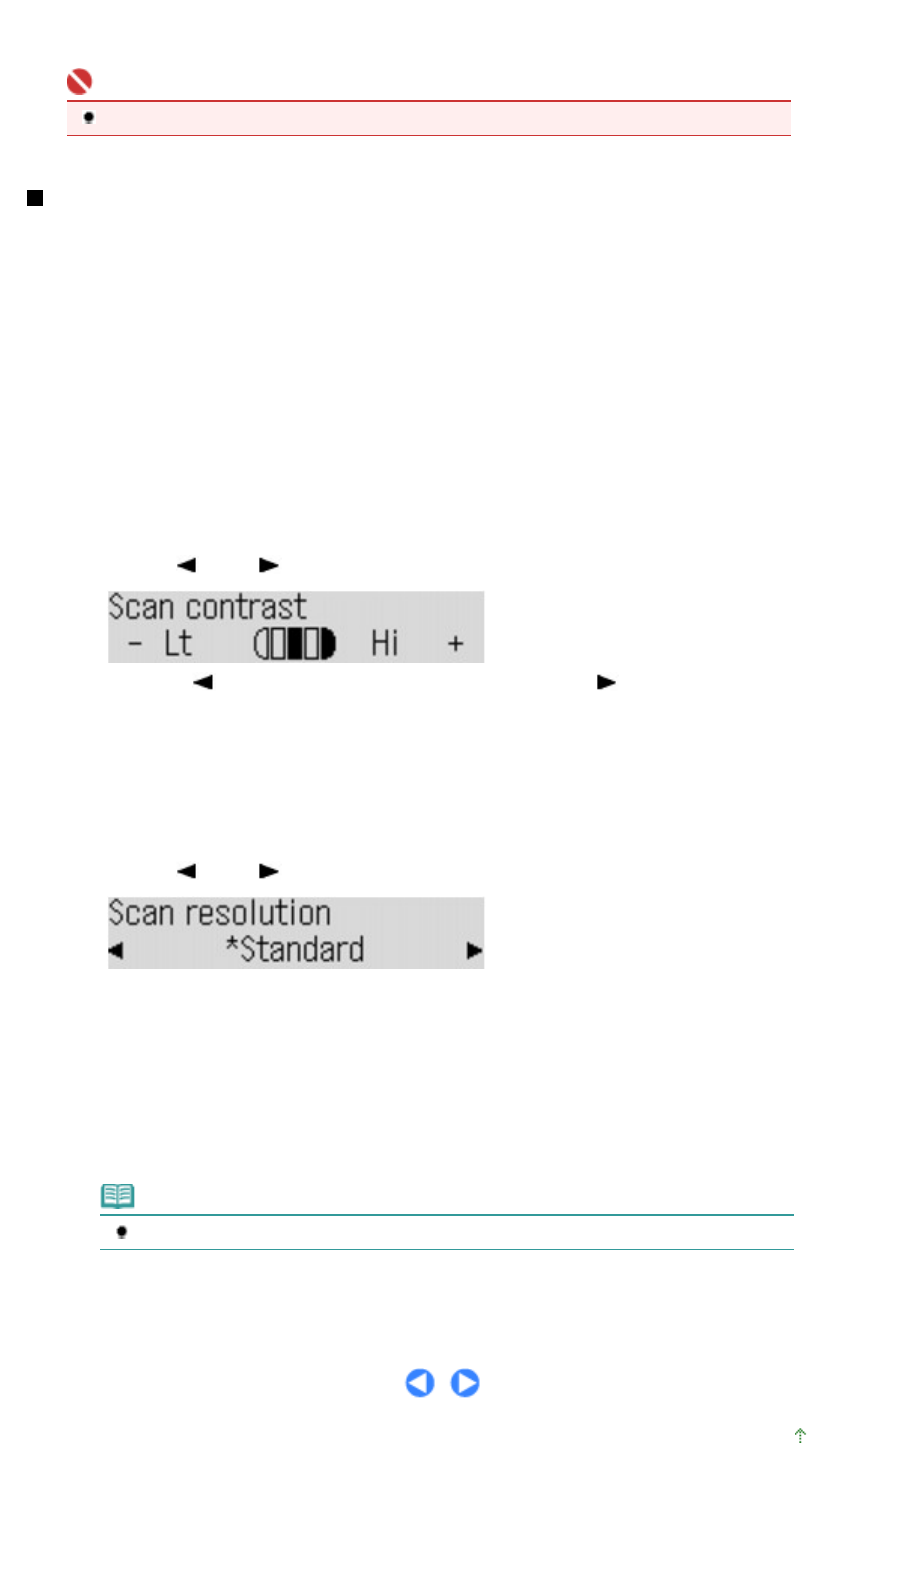
2.
Select the density (scan contrast).
(1)
Use the
(-) or
(+) button to select the density.
Pressing the
(-) button decreases the contrast, and pressing the (+) button increases the contrast.
(2)
Press the
OK
button.
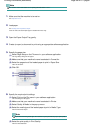
The Scan resolution screen will appear.
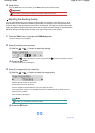
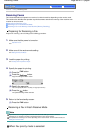
3.
Select the image quality (fax resolution).
(1)
Use the
(-) or
(+) button to select the image quality.
Standard: Suitable for text-only documents.
Fine: Suitable for fine-print documents.
Extra fine: Suitable for detailed illustration or fine-print quality documents.
If the recipient's fax machine is not compatible with Extra fine (300x300dpi), the fax will be sent in the
Standard or Fine resolution.
Photo: Suitable for photographs.
Note
The color fax is sent with the resolution for Photo.
(2)
Press the
OK
button.
Page top
Page 61 of 817 pagesSending Faxes