30 Emphasis Control System Quick Guide
Overview of the Emphasis Visualization User Interface
Emphasis Visualization provides a graphic user-interface designed to facilitate smooth
transitions from mode to mode, and to keep the data organized and easy to find.
Mode and Layout Tabs
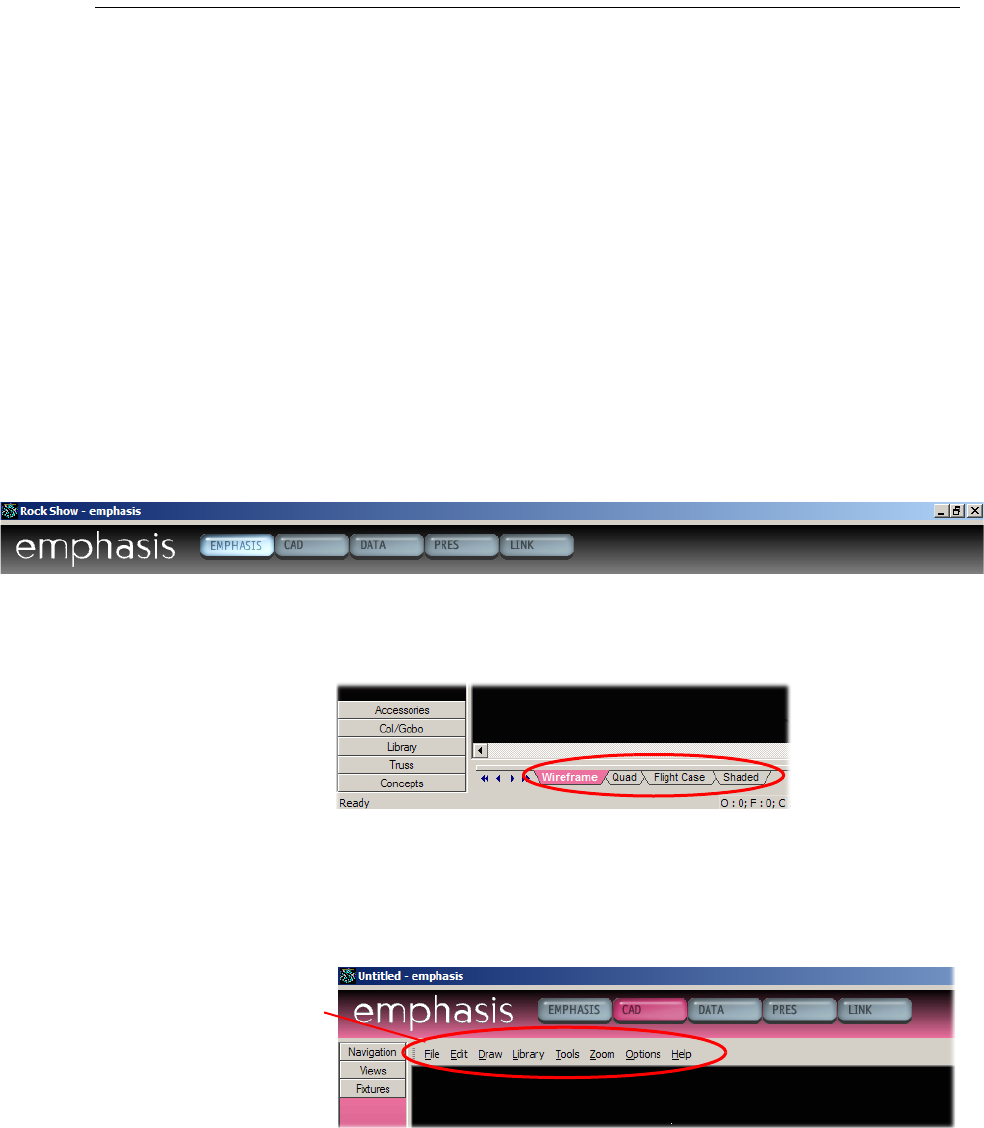
The mode buttons are used to access the different modes available within Emphasis
Visualization.
EMPHASIS is where you select and control fixtures. You can do this through the graphic
interface by clicking fixtures in a wireframe view, or by using the virtual console displays.
CAD is where you draw venues, set pieces, hang structures and fixtures. In Emphasis 2D,
you are limited to 2D views (wireframe) of your plot. In Emphasis 3D, isometric and shaded
views are available.
DATA is the spreadsheet mode. In this mode, you can view and edit information about your
fixtures, including the patch.
PRES (Presentation) is where documents to be printed are designed and stored, including
plots, reports and renderings.
LINK is where you can view WYSILink messages.
Beneath the work area in each mode is a series of layout tabs. A layout is a configuration
of work views. Views, and therefore layouts, are mode specific and are not editable. To
change layouts, click on the tab that corresponds to the layout you wish to use.
Menus and Toolbars
The menu bar is located within the Emphasis Visualization screen, below the mode buttons
and above the work area. The available menus will change as needed when moving from
mode to mode. The individual menus will be explained within the context of each mode.
Menu commands can be accessed using a pointing device, such as a mouse, by clicking
on the menu name and then clicking on the command name. Commands can also be
accessed using the keyboard by using shortcuts and hot keys. Hot keys are defined
throughout the manual. Keyboard shortcuts follow the Windows
®
convention below.
Menu Bar
