


3 Quick Start 59
screen.
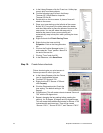
b. Click on the Reports layout tab at the bottom of the work
area. Many typical types of show paperwork are already
provided in the Reports shortcuts.
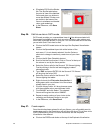
c. Scroll to find the report shortcuts for “Channel Schedule” and
“Instrument Schedule”. Click on each one to view the report
layout. You will notice that the report headings are blank.
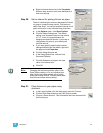
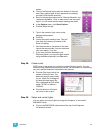
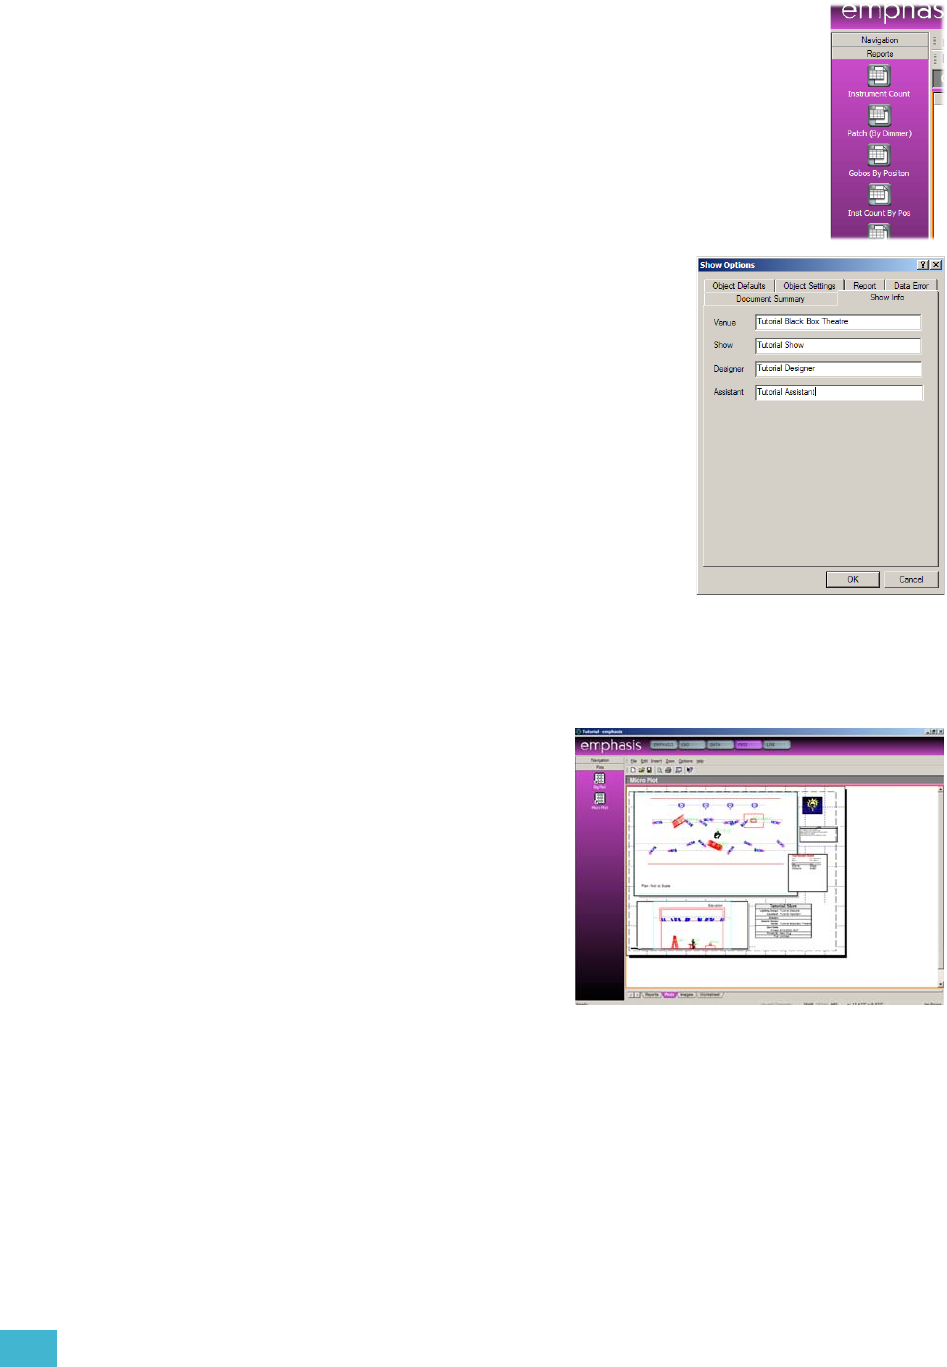
d. In the Options menu, click Show Options.
e. Click the Show Info tab.
f. Type in the names of your venue, show,
designer and assistant.
g. Click OK.
h. Look at the report headings now. They will
now show the names you entered in the
Show Info dialog.
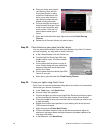
i. Use the shortcuts to view some of the other
reports that are provided. You can customize
your own reports, if you like.
j. If you have a printer attached to your
Emphasis Server, you can print these reports
using the Print command in the File menu.
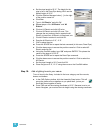
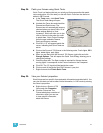
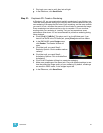
Step 28: Create a plot.
PRES mode is also where you create the printed light plot layouts. You can
create as many different plot layouts as you like. For information on customizing
your plot, see the Emphasis Visualization User Manual.
a. Click the Plots layout tab at the
bottom of the work area. Two
basic plot layouts are provided
for you. Micro Plot is designed
for letter/A4 sized paper. Big
Plot is designed for E/A0 sized
paper (36”x48” or 840mm x
1188mm).
b. Click the shortcut of the plot
you want to view or print.
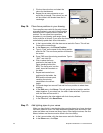
Step 29: Select and control lights.
You can select and control lights by using the Facepanel, or from within
EMPHASIS mode.
a. Click on the EMPHASIS mode button at the top of the Emphasis
Visualization screen.