


3 Quick Start 55
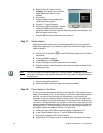
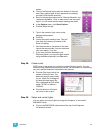
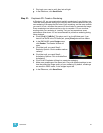
g. Right-click each shortcut and click Properties.
Rename each shortcut to be more descriptive of
their lens settings.
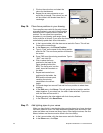
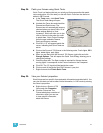
Step 20: Set an interval for placing fixtures on pipes.
There is a feature that constrains placement of fixtures
on pipes to a specific hang interval. This feature is
called Pipe Snap. You can set a default interval for all
pipes and trusses, or by individual hang structures.
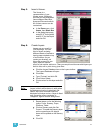
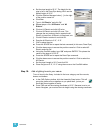
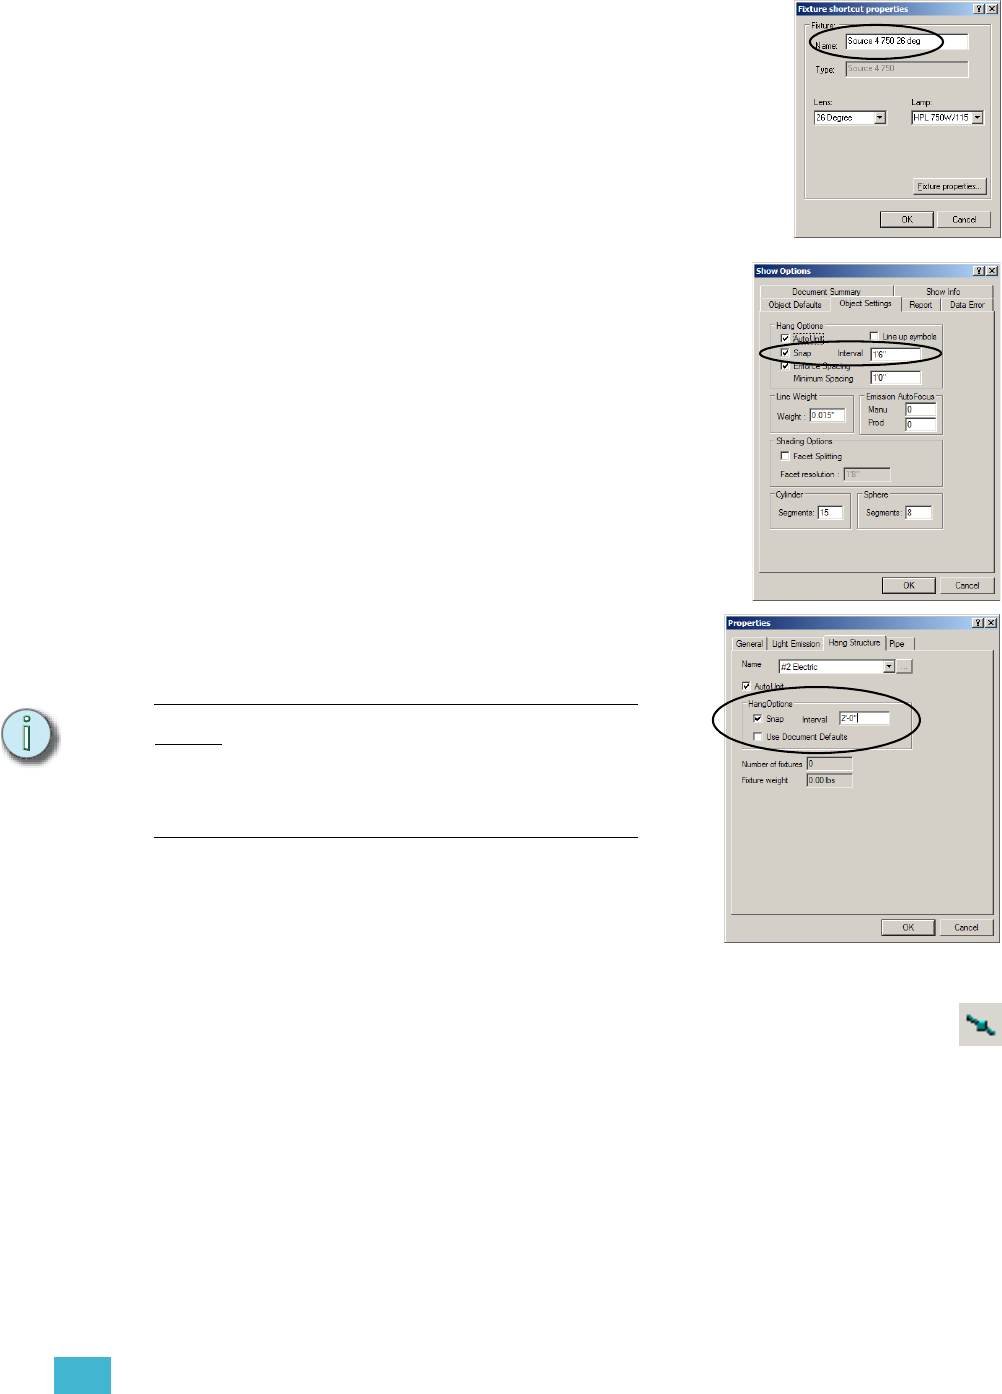
a. In the Options menu, click Show Options.
b. Click the Object Settings tab. The default
setting is for all pipes to have a snap interval
of 1’-6”, which is a typical distance for
hanging conventional fixtures. If you make a
change here, all pipes in your drawing will
use that interval.
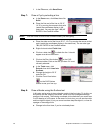
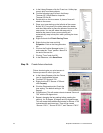
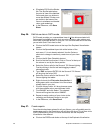
c. If you want specific pipes to have interval
settings different from the default, right-click
the pipe and click Properties.
d. Click the Hang Structure tab.
e. In the Hang Options box, uncheck Use
Document Defaults.
f. Click the Snap box and type in the new
value in the Interval box.
g. Click OK.
Note:
Changing the interval properties, either in the
Show Options dialog, or for an individual pipe,
after fixtures have been placed will not move
those pre-existing fixtures. Fixtures placed after
that will use the new interval setting.
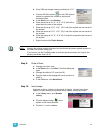
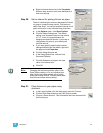
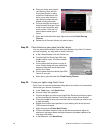
Step 21: Place fixtures on your pipes using
shortcuts.
a. In the Layers toolbar, click the down-arrow and click Fixtures.
b. Click the Pipe Snap button on the CAD Options toolbar.
c. Click on a fixture shortcut. This will execute the insert command for
that fixture type.