38 Emphasis Control System Quick Guide
Saving Your Work
It is important to save your work often during your work session. Emphasis has an Auto
Save function that will help to keep your data safe, however it is always a good idea to get
in the habit of saving your show document to the hard drive and to an external disk
periodically during your work session.
Set the Auto Save options:
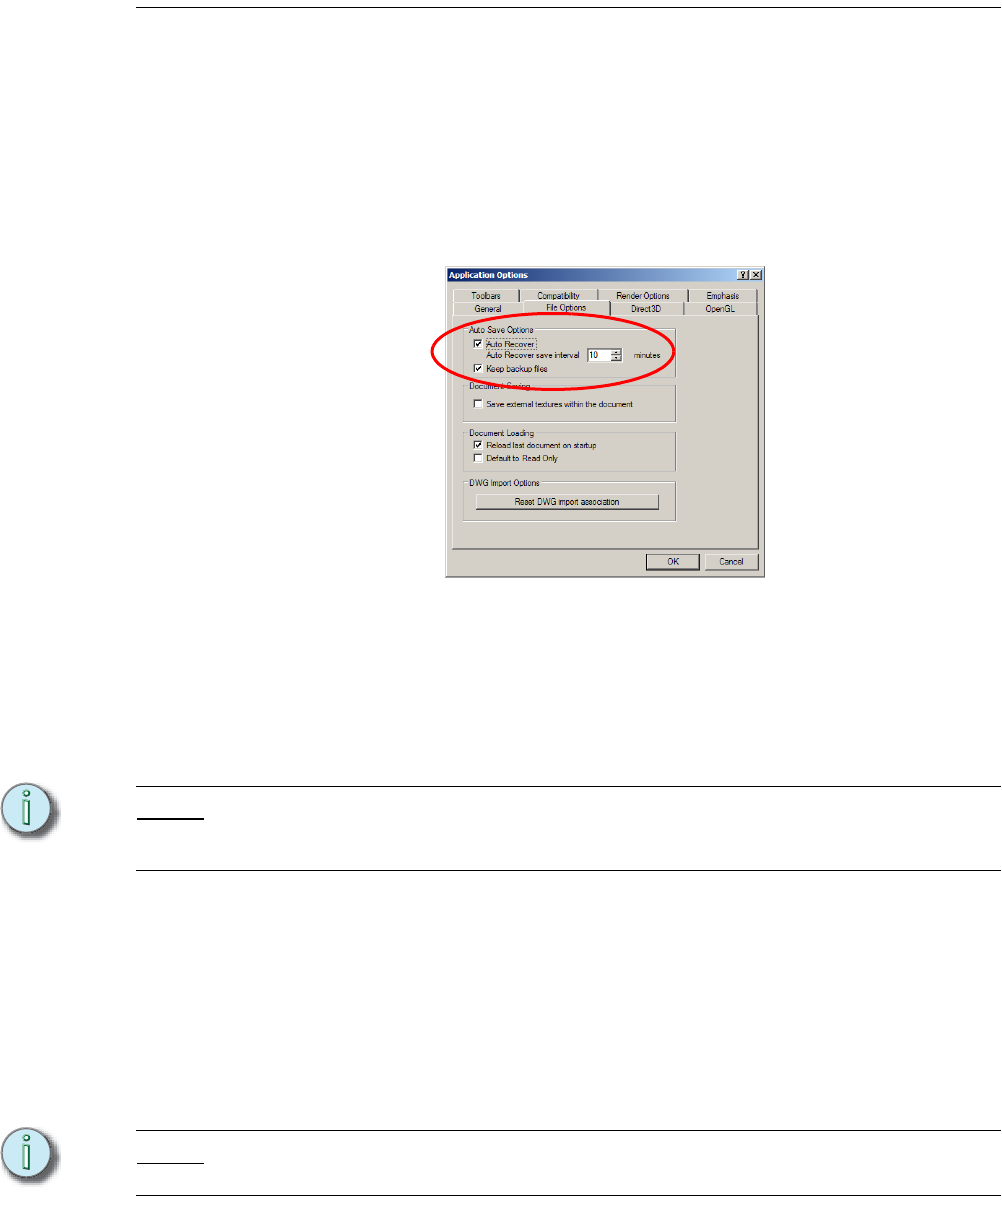
Step 1: In the Options menu, click Application Options.
Step 2: Click on the File Options tab.
Step 3: In the Auto Save options box, you have the following choices:
• Auto Recover will save your document at intervals. If for some reason
Emphasis closes unexpectedly, such as in the case of a power loss, your file
can be recovered. This recovery will only be up-to-date as of the last Auto
Save, so it is recommended that you do not set this interval to be too long.
• The default settings for these options are: Auto Recover enabled with an
interval of 10 minutes.
Note:
When you create a new show, use the Save Show As command right away. This not only
allows you to name your show at the beginning, but it also makes Auto Recover active
from the beginning of your work session.
File structure and disk functions
Emphasis stores show data in a “show file”. When booting, Emphasis will open to the last
valid show file used in the system, if available. If that show file is not available, Emphasis
will open to the default 'Untitled' file. It is recommended that you begin by saving the show
file to the name you intend to use, rather than work in the “untitled” file. Shows are saved
to the hard drive on the Server (typically to the D:/ETC/Shows). You may copy show files
to external media, such as to CD, a floppy disk or another computer on your Emphasis
network acting as a file server.
Note:
Be careful using floppy disks, as show files can exceed the maximum capacity of the disk.
It is recommended that you use CD-R disks for show file storage.
Save a show file to floppy disk (if it is small enough):
Step 1: In the File menu, click Save Show As. The Save dialog will open.


