


54 Emphasis Visualization v1.4.0 User Manual
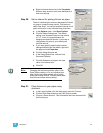
c. In the Library Browser, click the Truss icon. Unlike pipe,
truss is built from library objects.
d. Find the following type of truss in the library:
Thomas>GP 12inch>Section Imperial>
Thomas GP12in 8ft.
e. Double-click on the truss name. A piece of truss will
attach to the cursor.
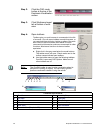
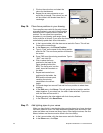
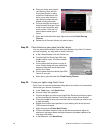
f. Place your truss starting on the left side of the screen.
Build a 40’-0” long truss (five sticks) above the ladder
and riser. Make sure to place the pieces of truss on the
snap points. You can tell where the snap point is
because the piece of truss you are placing will
automatically snap to that point when you drag the truss
close by.
g. Right-click and click Finish Placing Truss.
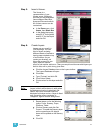
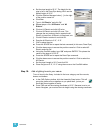
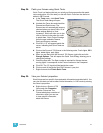
h. Right-click on the truss and click
Properties. Click on the Hang Structure
tab.
i. Click on the Position Manager button [...]
and create the “Truss” position. Move it to
the end of the sort list.
j. Click on “Truss” and click OK.
k. In the File menu, click Save Show.
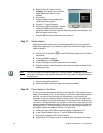
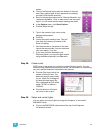
Step 19: Create fixture shortcuts.
Fixture shortcuts give you quick access to
fixtures you want to use in your plot.
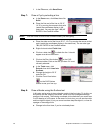
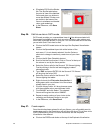
a. In the Library Browser, click the Fixture
icon to view available fixtures.
b. Find the ETC Source 4 750.
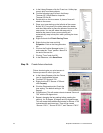
c. Right-click the ETC Source 4 750 and
click Property.
d. Click the Photometrics tab. Check the
lens setting. The default setting is “26
Degree”.
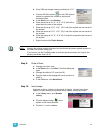
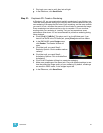
e. Click Shortcut. This will create a shortcut named “Source 4
750” with the 26 degree lens.
f. Repeat, changing the lens setting before creating the
shortcut, for 19 degree, 36 degree and 50 degree lenses.
This will create three additional shortcuts for Source 4 750
luminaires with each lens type. They will be named
“Source 4 750 1”, “Source 4 750 2”, and ”Source 4 750 3”.