


xStack
®
DES-3200-10/18/28/28F Layer 2 Ethernet Managed Switch User Manual
State
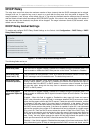
This is used to enable or disable the DHCP local relay for the specified VLAN.
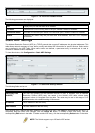
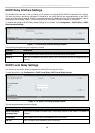
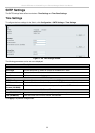
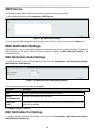
DHCP Auto Configuration Settings
The DHCP automatic configuration function on the Switch will load a previously saved configuration file for current use.
When DHCP auto configuration is Enabled on the Switch, the DHCP reply will contain a configuration file and path
name. It will then request the file from the TFTP server specified in the reply.
To view this window, click Configuration > DHCP Auto Configuration Settings:
Figure 2 - 19. DHCP Auto Configuration Settings window
When DHCP automatic configuration is Enabled, the Switch becomes a DHCP client automatically after rebooting.
The DHCP server must have the TFTP server IP address and configuration file name, and be configured to deliver
this information in the data field of the DHCP reply packet. The TFTP server must be running and have the requested
configuration file in its base directory when the request is received from the Switch. Consult the DHCP server and
TFTP server software instructions for information on loading a configuration file.
If the Switch is unable to complete the automatic configuration process, the previously saved local configuration file
present in Switch memory will be loaded.
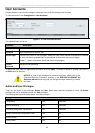
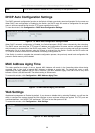
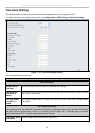
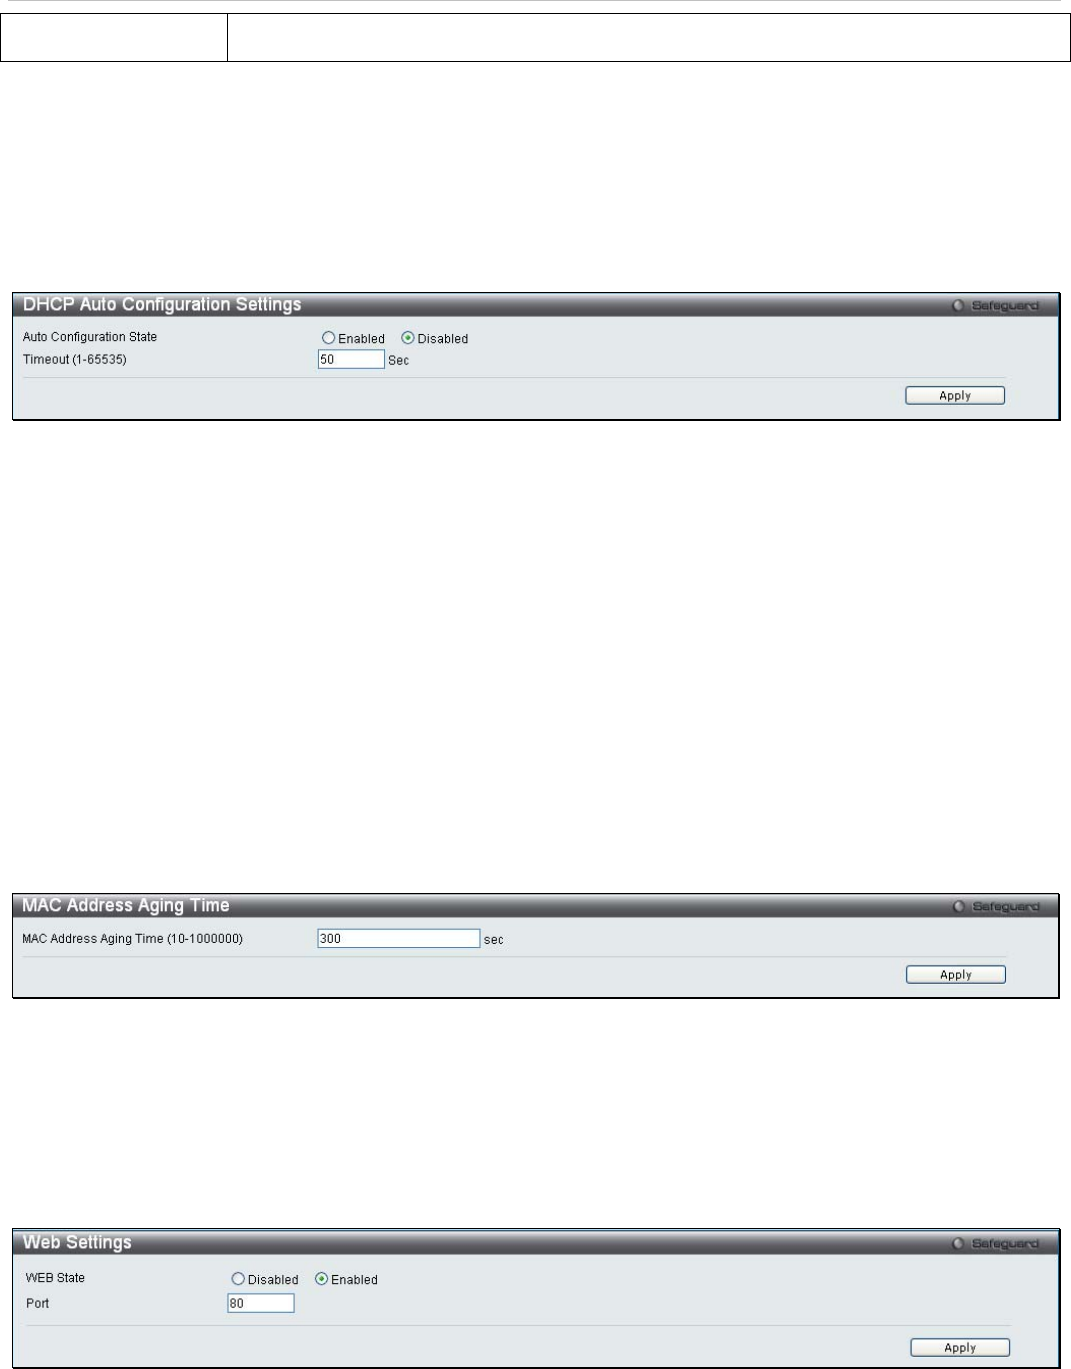
MAC Address Aging Time
This table specifies the length of time a learned MAC Address will remain in the forwarding table without being
accessed (that is, how long a learned MAC Address is allowed to remain idle). To change this, enter a value
representing the MAC address age-out time in seconds. The MAC Address Aging Time can be set to any value
between 10 and 1,000,000 seconds. The default setting is 300 seconds.
To access this window, click Configuration > MAC Address Aging Time:
Figure 2 - 20. MAC Address Aging Time window
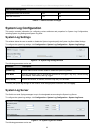
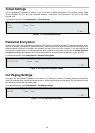
Web Settings
Web-based management is Enabled by default. If you choose to disable this by selecting Disabled, you will lose the
ability to configure the system through the Web interface as soon as these settings are applied. The TCP ports are
numbered between 1 and 65535. The "well-known" TCP port for the Web protocol is 80.
To access this window, click Configuration > Web Settings:
Figure 2 - 21. Web Settings window
29