34
Scanning from Start to Finish
Scanning a Document to E-mail
You can scan photos or documents and then attach the resulting files to an e-mail
message. Follow these steps to scan to e-mail:
1. Open the EPSON Smart Panel:
In Windows, click the Smart Panel icon on the Windows taskbar.
On a Macintosh, click the Apple menu icon, then click
EPSON SMART PANEL
.
2. Click the
Scan to E-mail
icon.
3. Select the document settings for your scans:
■ Select the document type for your source image.
■ Select a destination setting.
4. Click
Scan
. The scanner scans your image(s).
5. Click
Specify Name and Format
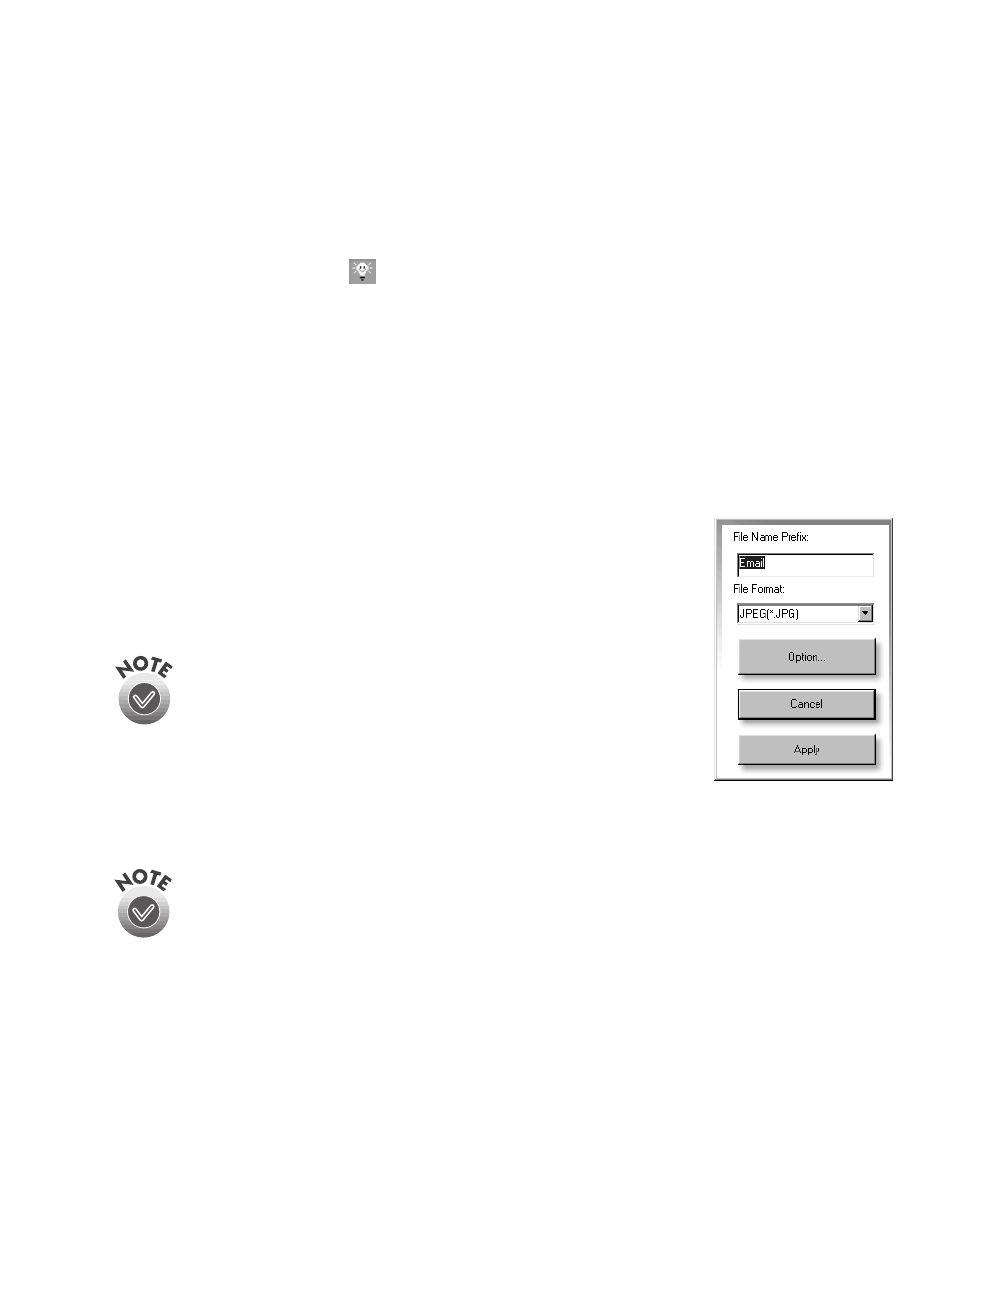
. You see the following:
6. Choose a format for your file(s).
7. Click
Apply
and then click
Finish
. A screen appears
showing any available e-mail programs on your system.
Your e-mail program must be MAPI-compliant, for example, Microsoft
Exchange or Outlook. See your e-mail documentation for details. AOL
®
is
not a MAPI-compliant e-mail application.
8. Select your e-mail program and click
Send E-mail
. Enter the e-mail address, type
in a message and subject, then send your e-mail.
If you save your file in the JPEG format, you can
select a compression application from the
Options list. If you select RTF, your scan is saved
as an image in an RTF file; it is not converted to
editable text.
basics.book Page 34 Tuesday, October 24, 2000 9:53 AM
